C4D制作挤压特效的3D艺术字教程
文章来源于 站酷,感谢作者 特立独行的琥 给我们带来经精彩的文章!设计教程/C4D教程/C4D教程2018-08-19
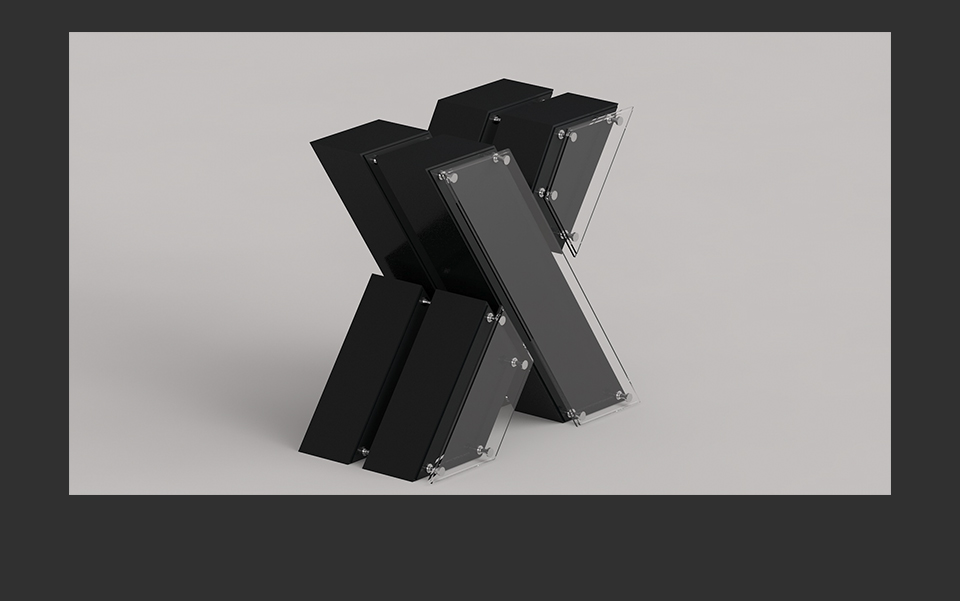
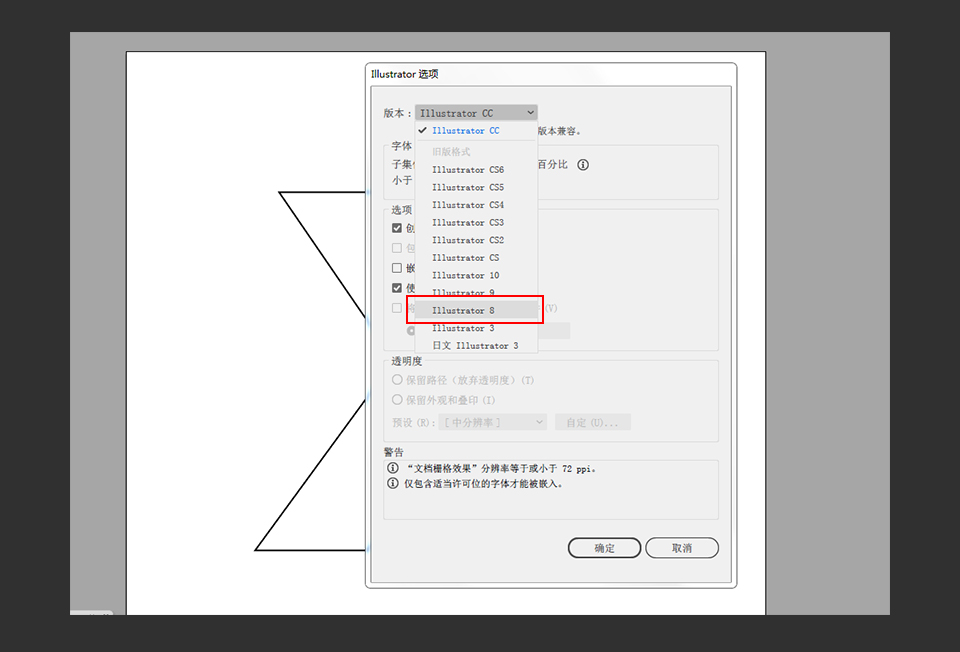
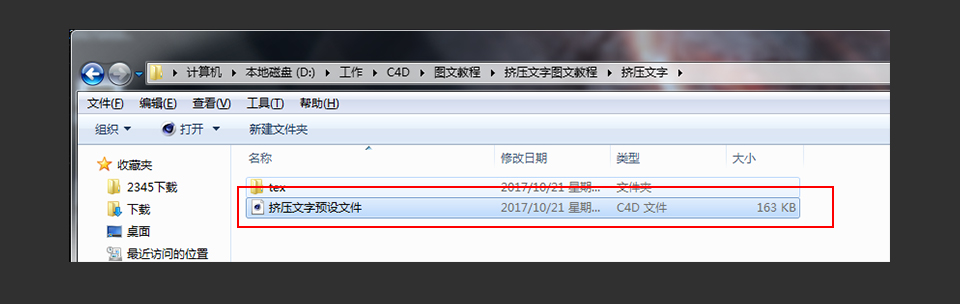
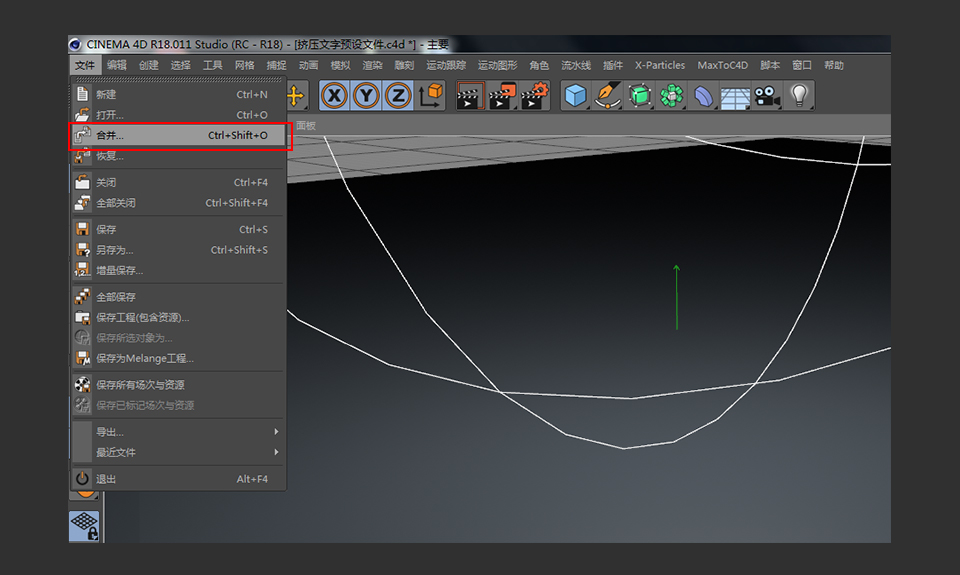
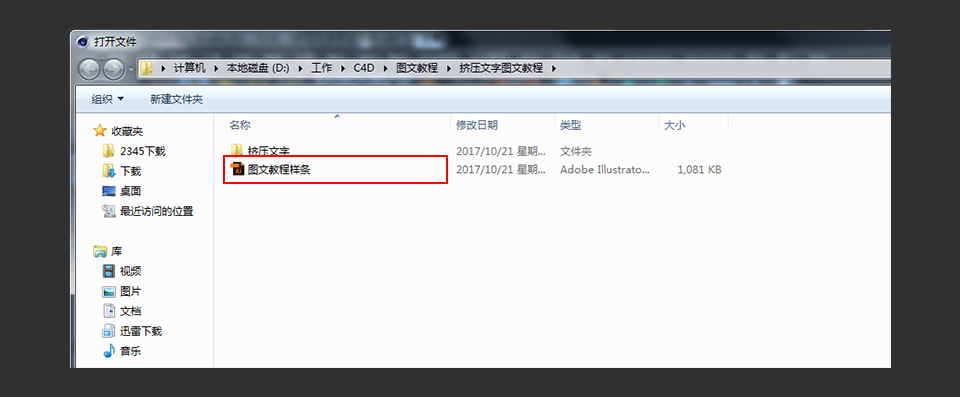
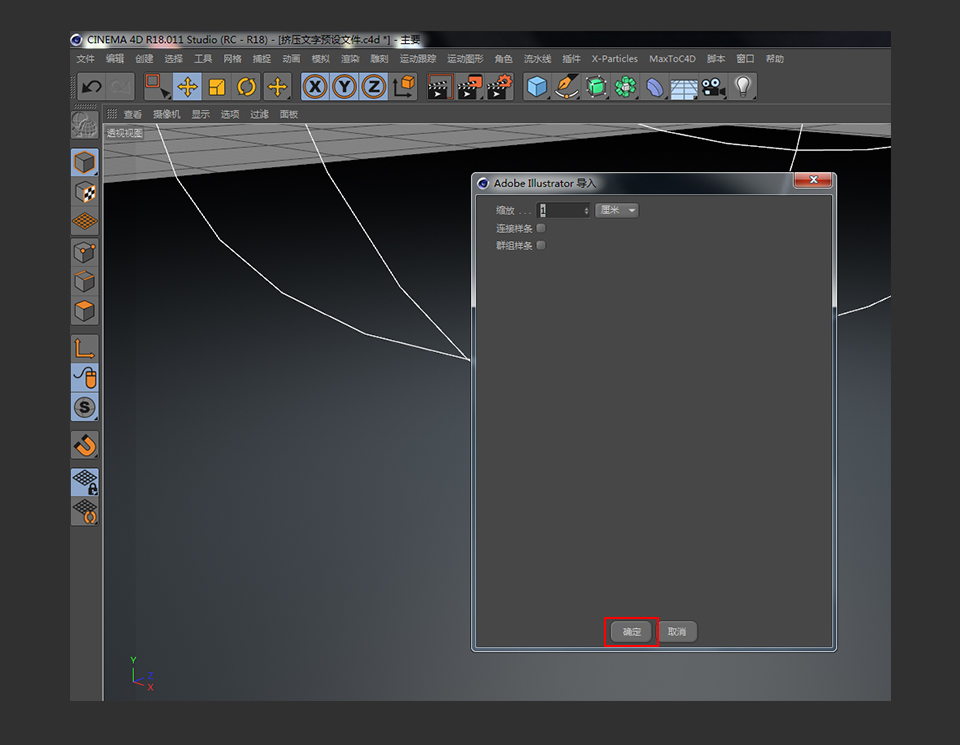
本教程主要使用C4D制作挤压特效的3D艺术字教程,前期在AI里面制作好字体形状,然后在转入到C4D里面完成,推荐给思缘的朋友学习,希望大家可以喜欢。

 情非得已
情非得已
推荐文章
-
 C4D制作国庆华诞70周年立体字2019-10-21
-
 C4D制作逼真的可口可乐易拉罐模型2019-03-04
-
 C4D制作呆萌的小黄人建模教程2019-03-04
-
 C4D教程:高级渲染技巧之卡通场景2019-02-23
-
 C4D详细解析萌萌哒小兔子建模教程2018-06-06
-
 C4D制作带墨镜的小乌龟建模教程2018-06-06
-
 C4D制作逼真的乐高小汽车建模教程2018-06-06
-
 C4D实例教程:高级材质渲染案例2018-03-13
-
 C4D制作大卫雕塑渲染教程2017-12-28
-
 C4D制作几何图形组成的山峰场景教程2017-12-25
热门文章
-
 C4D制作立体特效的药瓶
相关文章12872019-08-15
C4D制作立体特效的药瓶
相关文章12872019-08-15
-
 C4D教程:三维场景中模型为什么要倒角
相关文章5702019-07-22
C4D教程:三维场景中模型为什么要倒角
相关文章5702019-07-22
-
 C4D教程:制作超简单小球动画
相关文章10702019-07-11
C4D教程:制作超简单小球动画
相关文章10702019-07-11
-
 C4D制作小黄人飞碟建模及渲染教程
相关文章14442019-03-26
C4D制作小黄人飞碟建模及渲染教程
相关文章14442019-03-26
-
C4D制作呆萌的小黄人建模教程
相关文章19032019-03-04
-
 C4D制作孟菲斯风格的时尚海报
相关文章8632019-02-26
C4D制作孟菲斯风格的时尚海报
相关文章8632019-02-26
-
C4D教程:高级渲染技巧之卡通场景
相关文章7392019-02-23
-
 C4D实例教程:详解树木建模教程
相关文章6252019-02-15
C4D实例教程:详解树木建模教程
相关文章6252019-02-15
