3DMAX把黑白图像转矢量线条来建模(2)
文章来源于 3DXY,感谢作者 3D学院 给我们带来经精彩的文章!设计教程/设计教程/3DMAX教程2015-08-23
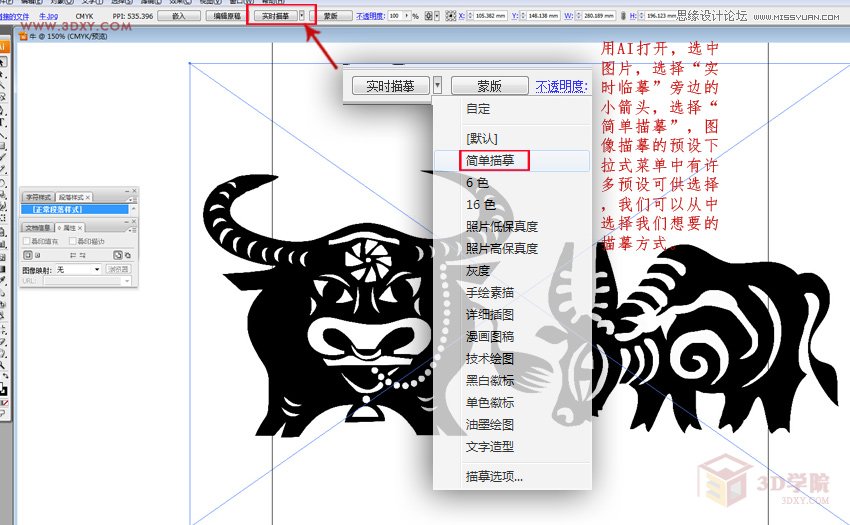
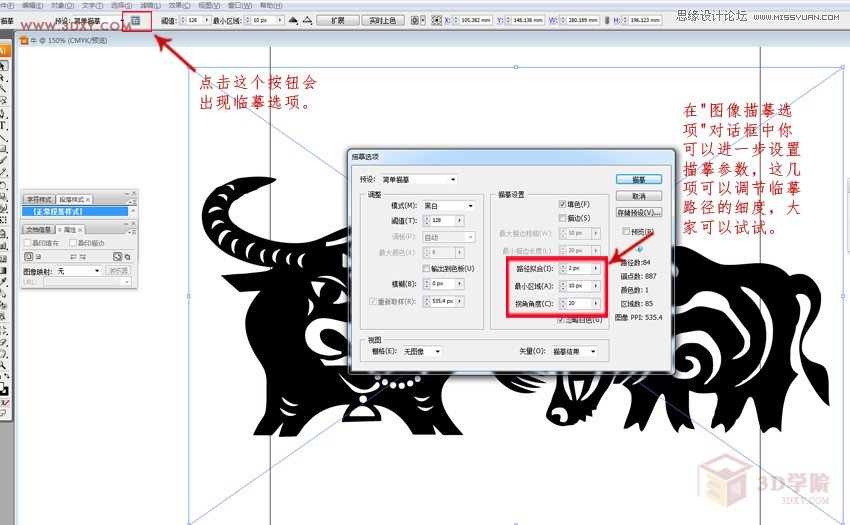
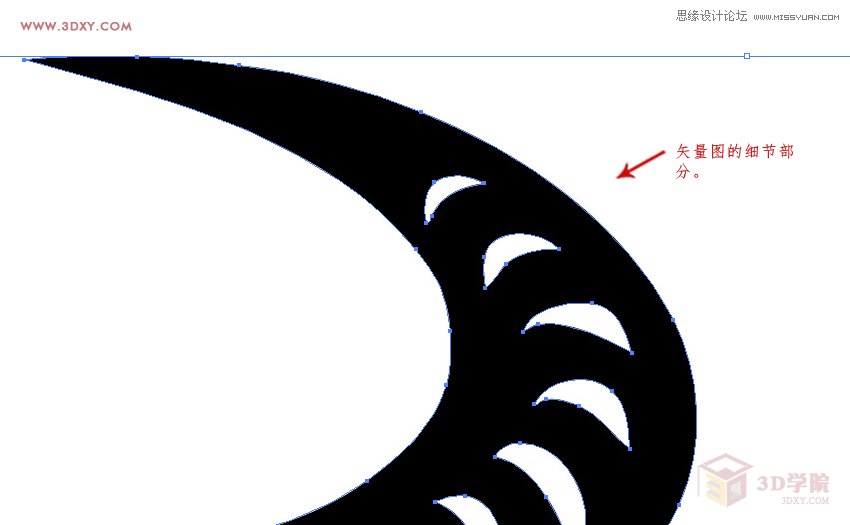
4.用AI打开,选中图片,选择实时临摹旁边的小箭头,选择简单描摹,图像描摹的预设下拉式菜单中有许多预设可供选择,我们可以从中选择我们想要的描摹方式。 5.点击这个按钮会出现临摹选项,在图像描摹选项对话框中你
 情非得已
情非得已
推荐文章
-
 3ds Max实例教程:冰爽夏日餐桌场景2011-09-02
-
 室内灯光表现中异型暗藏灯打法2010-11-12
-
 室外教程:室外夜景图制作过程2010-10-28
-
 3DsMAX制作漂亮的高贵首饰流程2010-09-02
-
 3ds MAX实例教程:制作汽车轮胎并给轮胎建模2010-06-27
-
 3D MAX新增Autodesk材质来制作环保概念车2010-06-12
-
 3D MAX使用放样建模方法给步枪建模2010-06-12
-
 3D MAX使用NURBS方法给贪吃虫建模2010-06-12
-
 3D MAX实例教程:制作漂亮的盆景花朵2010-05-27
-
 3D MAX实例教程:制作游戏风格场景2010-05-27
热门文章
-
 3DSMAX为VR设备制作立体交互图像效果
相关文章5292017-09-24
3DSMAX为VR设备制作立体交互图像效果
相关文章5292017-09-24
-
 3DMAX制作炫酷的红色跑车教程
相关文章66522014-05-03
3DMAX制作炫酷的红色跑车教程
相关文章66522014-05-03
-
 3dmax制作欧洲风格的老国王教程
相关文章22452014-05-03
3dmax制作欧洲风格的老国王教程
相关文章22452014-05-03
-
 3DMAX创建一个逼真的汽车渲染教程
相关文章71462014-04-07
3DMAX创建一个逼真的汽车渲染教程
相关文章71462014-04-07
-
 3DsMax制作“被束缚的花儿”实例教程
相关文章26472012-06-06
3DsMax制作“被束缚的花儿”实例教程
相关文章26472012-06-06
-
 3ds Max教程:“场景纹理”图像制作
相关文章13442011-10-08
3ds Max教程:“场景纹理”图像制作
相关文章13442011-10-08
