Photoshop为美女图片添加隐形水印详细步骤(2)
文章来源于 IT世界网,感谢作者 河马 给我们带来经精彩的文章!设计教程/PS教程/照片处理2010-02-22
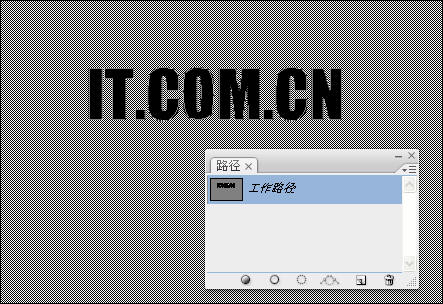
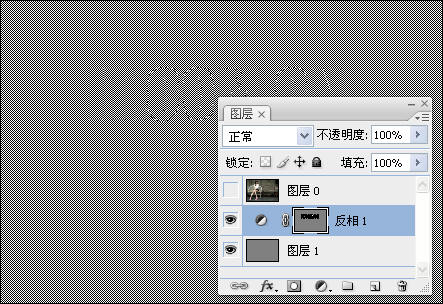
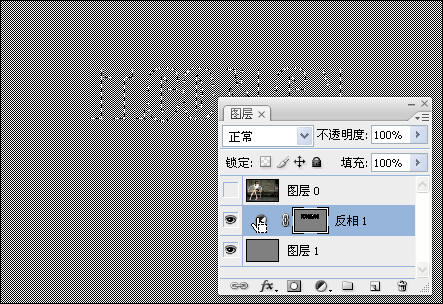
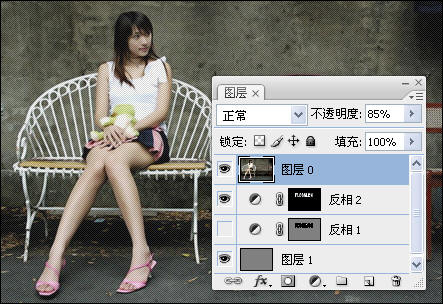
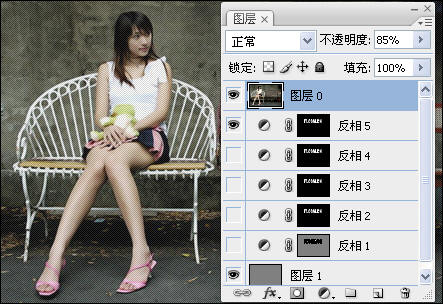
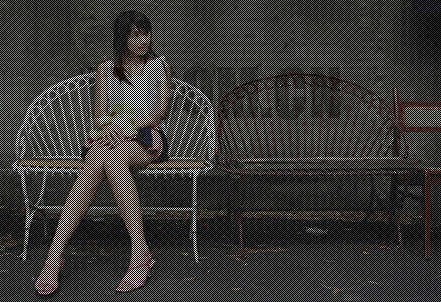
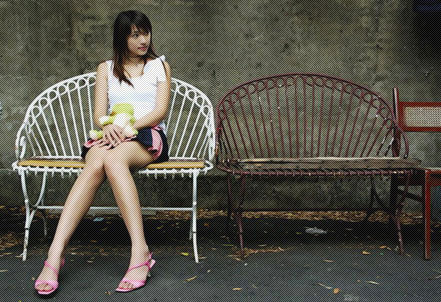
9、打开路径面板,单击从选区生成工作路径按钮,把选区变为路径,如图所示。 10、删除文字图层,选择图层1,然后单击图层面板中的创建新的填充或调整图层按钮选择反相, 如图所示。 11、按着Ctrl键单击反相1载入选
 情非得已
情非得已
推荐文章
-
 Photoshop制作唯美可爱的女生头像照片2020-03-17
-
 Photoshop快速给人物添加火焰燃烧效果2020-03-12
-
 Photoshop调出人物写真甜美通透艺术效果2020-03-06
-
 Photoshop保留质感修出古铜色人像皮肤2020-03-06
-
 Photoshop制作模特人像柔润的头发效果2020-03-04
-
 古风效果:用PS调出外景人像中国风意境效果2019-11-08
-
 插画效果:用PS把风景照片转插画效果2019-10-21
-
 胶片效果:用PS调出人像复古胶片效果2019-08-02
-
 素描效果:用PS制作人像彩色铅笔画效果2019-07-12
-
 后期精修:用PS给人物皮肤均匀的磨皮2019-05-10
热门文章
-
 Photoshop利用素材制作炫丽的科技背景2021-03-11
-
 Photoshop使用中性灰磨皮法给人像精修2021-02-23
-
 Photoshop制作水彩风格的风景图2021-03-10
-
 Photoshop制作创意的文字排版人像效果2021-03-09
-
 Photoshop制作逼真的投影效果2021-03-11
-
 Photoshop制作故障干扰艺术效果2021-03-09
-
 Photoshop制作被切割的易拉罐效果图2021-03-10
-
 Photoshop制作人物支离破碎的打散效果2021-03-10
-
 Photoshop设计复古风格的电影海报
相关文章8192020-03-04
-
 Photoshop制作模特人像柔润的头发效果
相关文章4872020-03-04
-
 噪点效果:用PS给插画添加磨砂噪点效果
相关文章10322019-07-12
-
 夜景效果:用PS把白天的风景变成黑夜效果
相关文章9112019-07-11
-
 文字人像:用PS制作文字图案肖像效果
相关文章18982019-05-22
-
 商业精修:用PS中性灰给人像后期磨皮
相关文章16012019-04-30
-
 后期精修:用PS详细解析化妆品瓶子精修
相关文章8802019-04-14
-
 磨皮教程:详细解析新一代PS高低频技术
相关文章9372019-03-04
