Photoshop调出清晰色彩的风景照
文章来源于 中国教程网,感谢作者 zi09 给我们带来经精彩的文章!设计教程/PS教程/照片处理2010-06-08
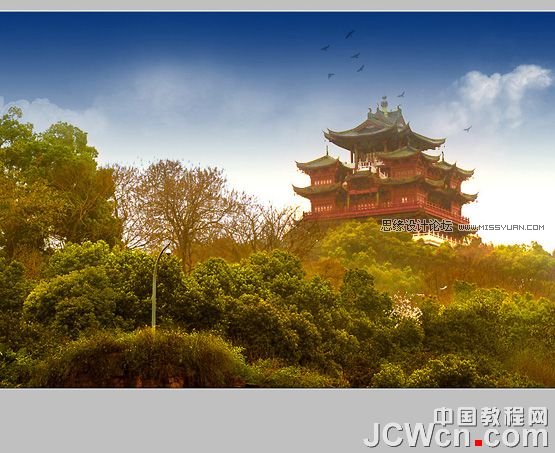
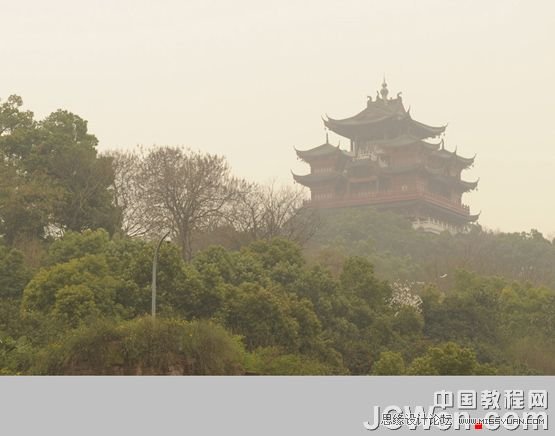
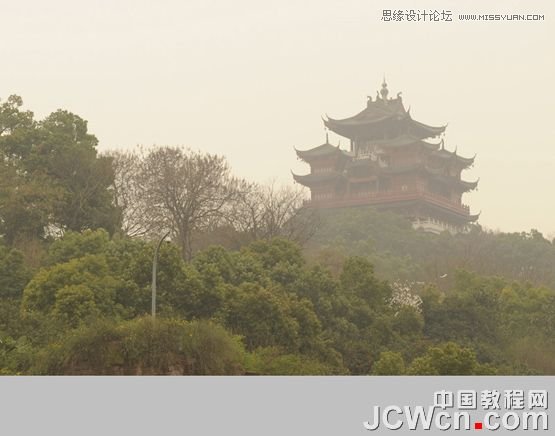
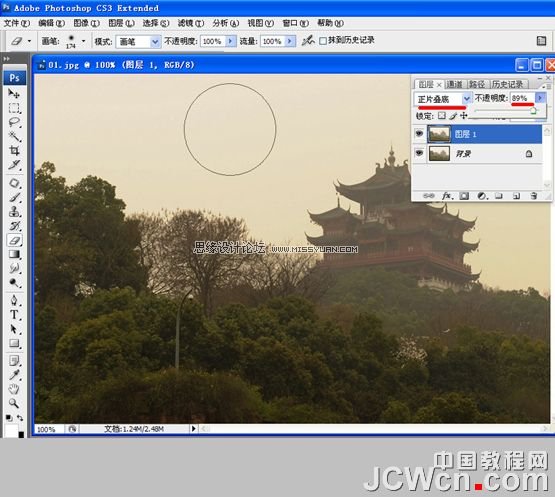
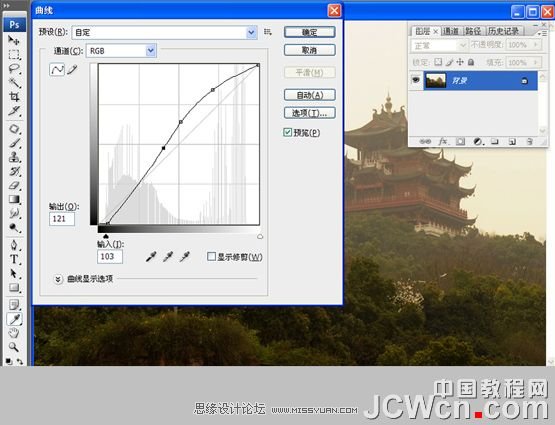
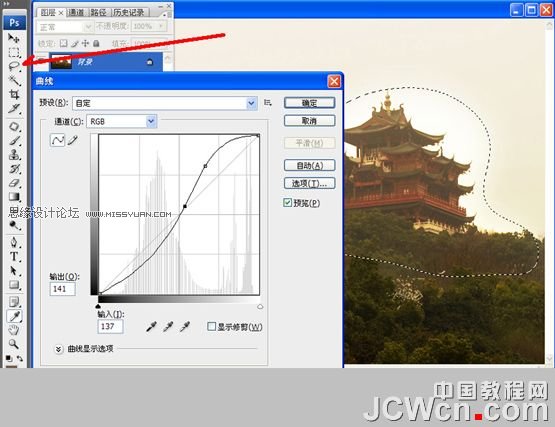
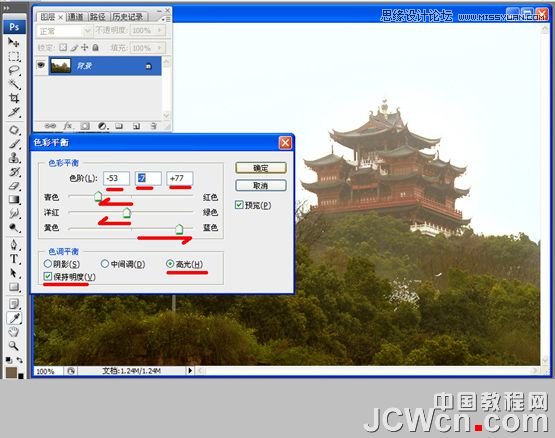
本教程用Photoshop调出清晰色彩的风景照,原图整体色彩偏灰,而且给人一种灰蒙蒙的感觉,作者通过对照片进行曲线,色彩平衡,色相饱和度,高反差保留等工具,后期使用画笔修复等完成最终效果图.
 情非得已
情非得已
推荐文章
-
 Photoshop制作唯美可爱的女生头像照片2020-03-17
-
 Photoshop快速给人物添加火焰燃烧效果2020-03-12
-
 Photoshop调出人物写真甜美通透艺术效果2020-03-06
-
 Photoshop保留质感修出古铜色人像皮肤2020-03-06
-
 Photoshop制作模特人像柔润的头发效果2020-03-04
-
 古风效果:用PS调出外景人像中国风意境效果2019-11-08
-
 插画效果:用PS把风景照片转插画效果2019-10-21
-
 胶片效果:用PS调出人像复古胶片效果2019-08-02
-
 素描效果:用PS制作人像彩色铅笔画效果2019-07-12
-
 后期精修:用PS给人物皮肤均匀的磨皮2019-05-10
热门文章
-
 Photoshop利用素材制作炫丽的科技背景2021-03-11
-
 Photoshop使用中性灰磨皮法给人像精修2021-02-23
-
 Photoshop制作水彩风格的风景图2021-03-10
-
 Photoshop制作创意的文字排版人像效果2021-03-09
-
 Photoshop制作逼真的投影效果2021-03-11
-
 Photoshop制作故障干扰艺术效果2021-03-09
-
 Photoshop制作被切割的易拉罐效果图2021-03-10
-
 Photoshop制作人物支离破碎的打散效果2021-03-10
-
 Photoshop制作水彩风格的风景图
相关文章1832021-03-10
-
 插画效果:用PS把风景照片转插画效果
相关文章15592019-10-21
-
 蓝色效果:用PS调出电影主题蓝色艺术效果
相关文章4612019-08-09
-
 通透效果:用PS调出清晰通透的蓝天效果
相关文章5502019-08-08
-
 日漫风格:用PS调出风景照片二次元漫画效果
相关文章15362019-08-07
-
 夜景效果:用PS把白天的风景变成黑夜效果
相关文章9112019-07-11
-
 后期精修:用PS给人物皮肤均匀的磨皮
相关文章36512019-05-10
-
 拯救废片:用PS制作风景照片夜景效果
相关文章16552019-04-21
