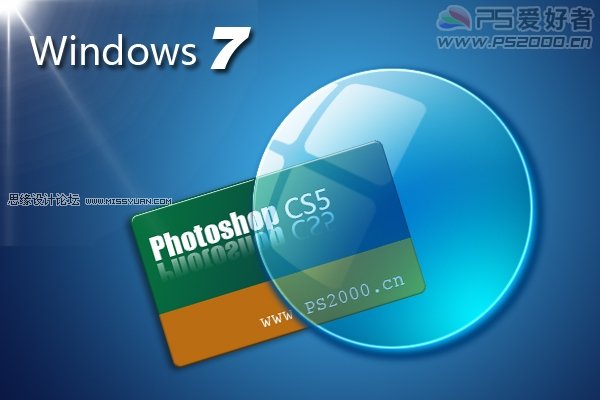
Photoshop制作一个透明风格的系统图标
文章来源于 PS2000,感谢作者 佚名 给我们带来经精彩的文章!设计教程/PS教程/照片处理2010-06-30
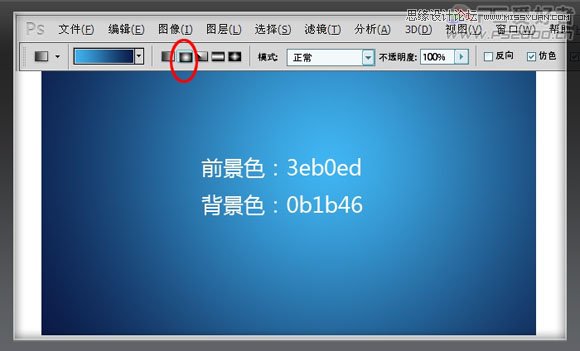
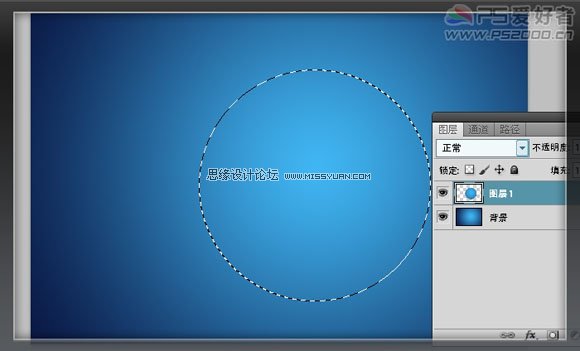
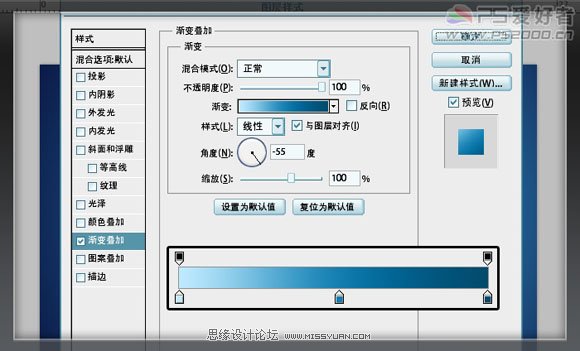
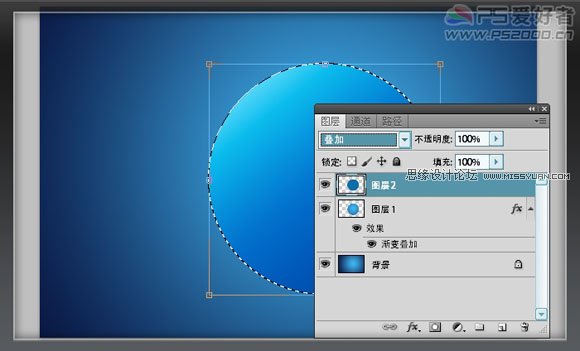
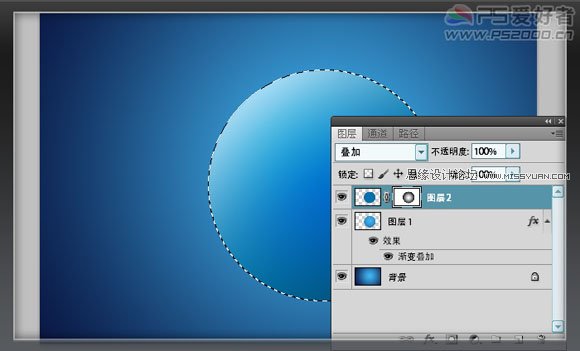
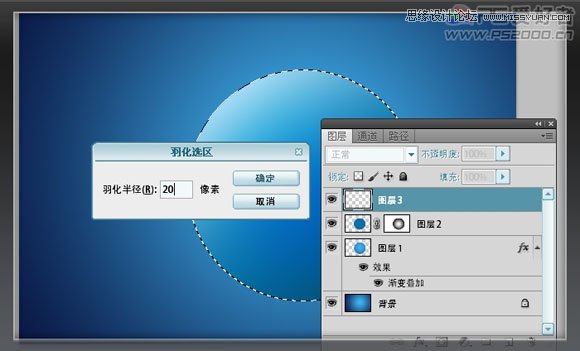
这是一篇photoshop的透明风格图标制作教程,主要为大家介绍使用photoshop中的图层样式等工具制作透明的玻璃效果。
 情非得已
情非得已
推荐文章
-
 Photoshop制作唯美可爱的女生头像照片2020-03-17
-
 Photoshop快速给人物添加火焰燃烧效果2020-03-12
-
 Photoshop调出人物写真甜美通透艺术效果2020-03-06
-
 Photoshop保留质感修出古铜色人像皮肤2020-03-06
-
 Photoshop制作模特人像柔润的头发效果2020-03-04
-
 古风效果:用PS调出外景人像中国风意境效果2019-11-08
-
 插画效果:用PS把风景照片转插画效果2019-10-21
-
 胶片效果:用PS调出人像复古胶片效果2019-08-02
-
 素描效果:用PS制作人像彩色铅笔画效果2019-07-12
-
 后期精修:用PS给人物皮肤均匀的磨皮2019-05-10
热门文章
-
 Photoshop利用素材制作炫丽的科技背景2021-03-11
-
 Photoshop使用中性灰磨皮法给人像精修2021-02-23
-
 Photoshop制作水彩风格的风景图2021-03-10
-
 Photoshop制作创意的文字排版人像效果2021-03-09
-
 Photoshop制作逼真的投影效果2021-03-11
-
 Photoshop制作故障干扰艺术效果2021-03-09
-
 Photoshop制作被切割的易拉罐效果图2021-03-10
-
 Photoshop制作人物支离破碎的打散效果2021-03-10
-
 Photoshop制作水彩风格的风景图
相关文章1832021-03-10
-
 Photoshop设计复古风格的电影海报
相关文章8192020-03-04
-
 复古人像:用PS调出古典风格的人像效果
相关文章6302019-08-12
-
 日漫风格:用PS调出风景照片二次元漫画效果
相关文章15362019-08-07
-
 古风效果:用PS调出古典风格的荷花照片
相关文章6582019-08-02
-
 唯美人像:用PS调出古典风格的人像照片
相关文章5982019-07-23
-
 冷色效果:用PS调出冷色风格的古风人像
相关文章11202019-04-21
-
 复古效果:用PS制作民国风格的人像效果
相关文章8332019-04-08
