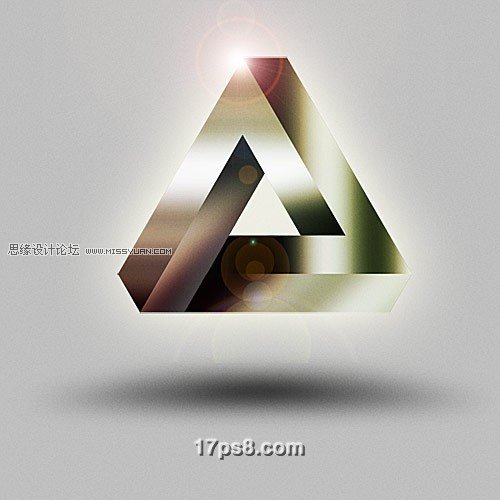
Photoshop制作视觉错位的立体三角形
文章来源于 一起PS吧,感谢作者 佚名 给我们带来经精彩的文章!设计教程/PS教程/设计教程2010-09-07
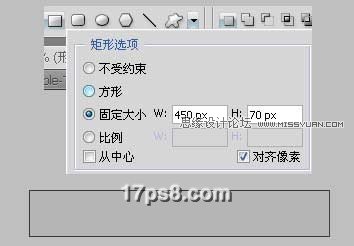
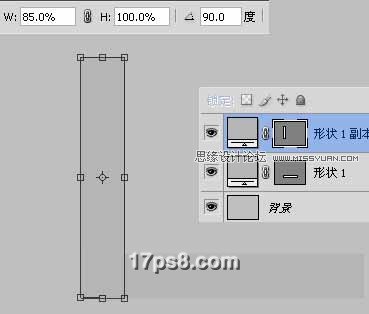
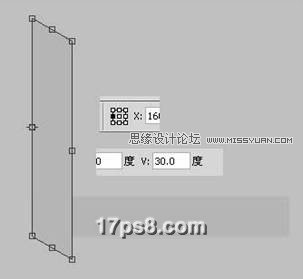
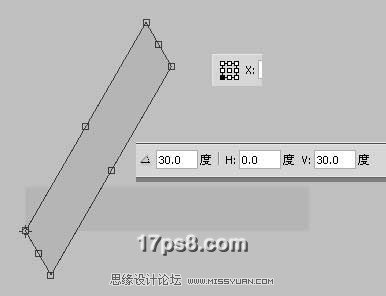
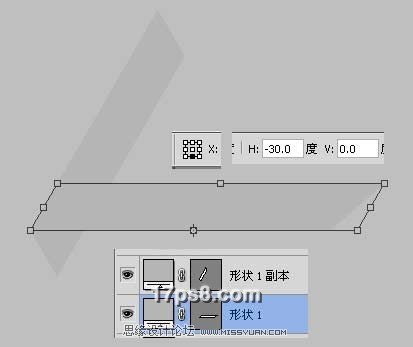
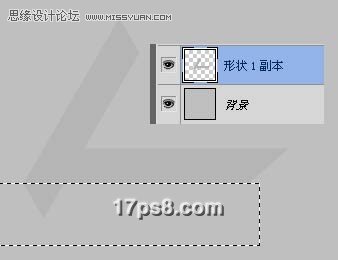
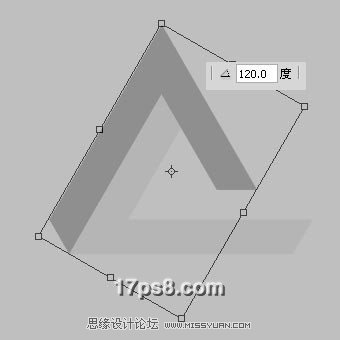
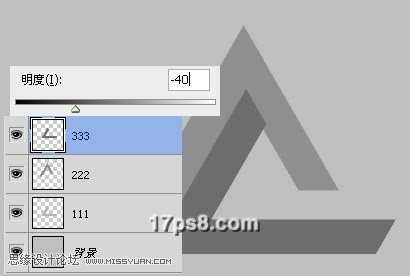
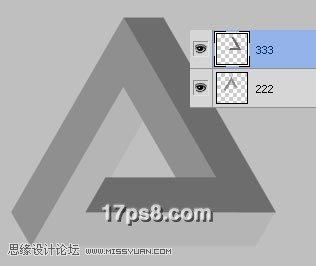
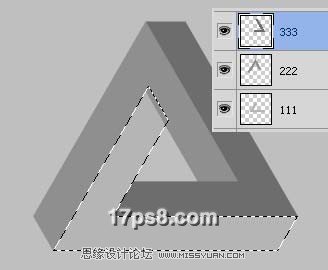
此教程从视觉上看是一个错位的三角形,所以我们在制作过程中不要将图形变形后的位置排列错了.排列好后就是对三角形添加颜色 渐变及光照效果.使其更有立体感.
 情非得已
情非得已
推荐文章
-
 Photoshop设计撕纸特效的人物海报教程2020-10-28
-
 Photoshop制作立体风格的国庆节海报2020-10-10
-
 Photoshop设计撕纸特效的人像海报2020-03-27
-
 图标设计:用PS制作奶油质感手机主题图标2019-11-06
-
 图标设计:用PS制作中国风圆形APP图标2019-11-01
-
 手机图标:用PS设计儿童贴画风格的APP图标2019-08-09
-
 电影海报:用PS制作蜘蛛侠海报效果2019-07-09
-
 创意海报:用PS合成铁轨上的霸王龙2019-07-08
-
 电影海报:用PS设计钢铁侠电影海报2019-07-08
-
 立体海报:用PS制作创意的山川海报2019-05-22
热门文章
-
 Photoshop设计猕猴桃风格的APP图标2021-03-10
-
 Photoshop制作逼真的毛玻璃质感图标2021-03-09
-
 Photoshop结合AI制作抽象动感的丝带2021-03-16
-
 Photoshop结合AI制作炫酷的手机贴纸2021-03-16
-
 Photoshop设计猕猴桃风格的APP图标
相关文章2212021-03-10
-
 Photoshop制作立体风格的国庆节海报
相关文章7132020-10-10
-
 立体海报:用PS设计立体文字海报教程
相关文章31452019-11-01
-
 立体海报:用PS制作创意的山川海报
相关文章20852019-05-22
-
 立体海报:巧用PS的3D功能制作立体海报
相关文章5522018-12-25
-
 Photoshop制作立体质感的下载图标教程
相关文章12192018-10-22
-
 Photoshop设计立体折纸风格的字母海报
相关文章18272018-09-20
-
 Photoshop设计立体插画风格的圆形图标
相关文章13672018-08-21
