Photoshop调出外景风景片震撼的紫色调(3)
文章来源于 新浪博客,感谢作者 佚名 给我们带来经精彩的文章!设计教程/PS教程/调色教程2011-03-30
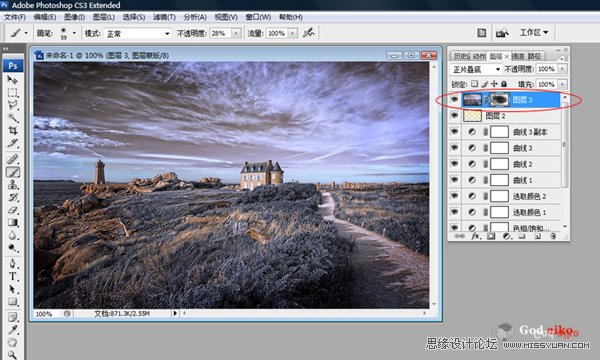
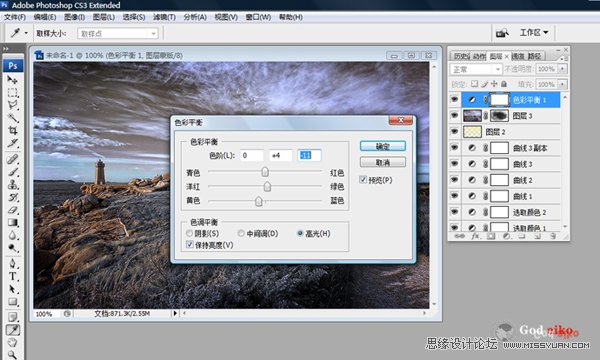
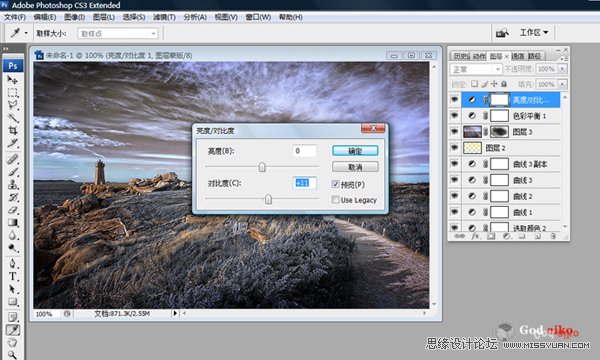
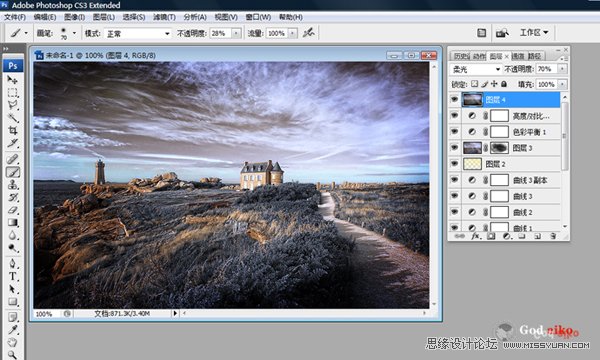
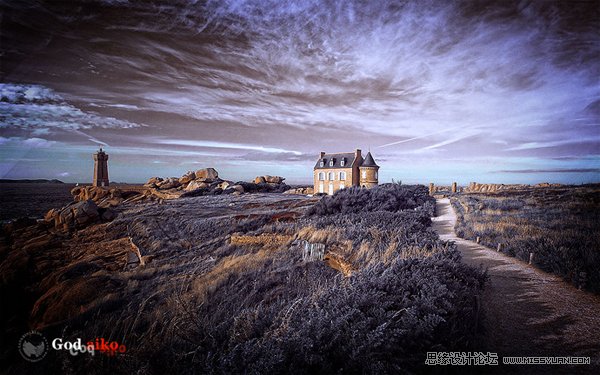
8 新建一个图层,按Ctrl + Alt + Shift + E 盖印图层。图层混合模式改为正片叠底,加深图层蒙版,用黑色画笔把中间部分擦出来 9 创建色彩平衡调整图层,对高光进行调整,参数设置如图15,确定后把图层不透明度改为
 情非得已
情非得已
推荐文章
-
 复古效果:用PS调出儿童照片复古电影效果2019-08-02
-
 暖色效果:用PS调出外景人像暖黄色效果2019-07-29
-
 清新人像:用PS调出逆光人像小清新效果2019-04-16
-
 电影色调:用PS减法调出电影胶片效果2019-03-29
-
 复古效果:PS调出人像复古电影艺术效果2019-01-17
-
 Photoshop调出外景人像暖色淡雅效果2018-11-29
-
 Photoshop调出梦幻唯美风格的少女照片2018-10-17
-
 Photoshop详细解析夜景风光如何后期修图2018-09-29
-
 Photoshop调出清晨村庄照片暖色效果2018-09-29
-
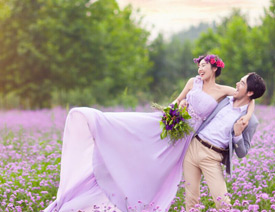
 Photoshop调出婚纱外景春夏秋冬四季效果2018-09-20
热门文章
-
 Photoshop结合CR修出通透干净的人像肤色2021-03-04
-
 Photoshopo调出外景人像金黄色皮肤效果2021-03-05
-
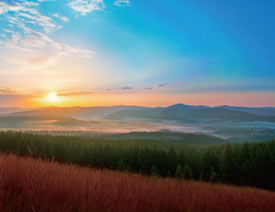
 复古效果:用LR调出风景照片Instagram效果
相关文章9362019-04-02
复古效果:用LR调出风景照片Instagram效果
相关文章9362019-04-02
-
 Photoshop调出粉嫩甜美的外景建筑照片
相关文章5512018-12-05
Photoshop调出粉嫩甜美的外景建筑照片
相关文章5512018-12-05
-
 Photoshop调出日系胶片风景调色教程
相关文章18752017-03-22
Photoshop调出日系胶片风景调色教程
相关文章18752017-03-22
-
 Photoshop给灰蒙蒙的风景添加唯美色彩效果
相关文章24702016-11-29
Photoshop给灰蒙蒙的风景添加唯美色彩效果
相关文章24702016-11-29
-
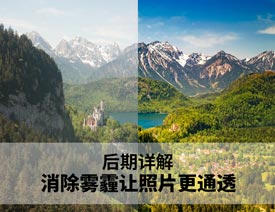 Photoshop让灰蒙蒙的风景照片更加清新通透
相关文章43992016-09-08
Photoshop让灰蒙蒙的风景照片更加清新通透
相关文章43992016-09-08
-
 Photoshop调出薰衣草外景婚片唯美的色彩
相关文章34962016-02-27
Photoshop调出薰衣草外景婚片唯美的色彩
相关文章34962016-02-27
-
 Photoshop制作风景照片唯美的小清新效果
相关文章41602014-05-08
Photoshop制作风景照片唯美的小清新效果
相关文章41602014-05-08
-
 Photoshop调出风景照片蓝色通透的自然景色
相关文章222802013-08-27
Photoshop调出风景照片蓝色通透的自然景色
相关文章222802013-08-27
