Photoshop简单方法给美女上妆(2)
文章来源于 PS123,感谢作者 嘉嘉 给我们带来经精彩的文章!设计教程/PS教程/照片处理2011-06-14
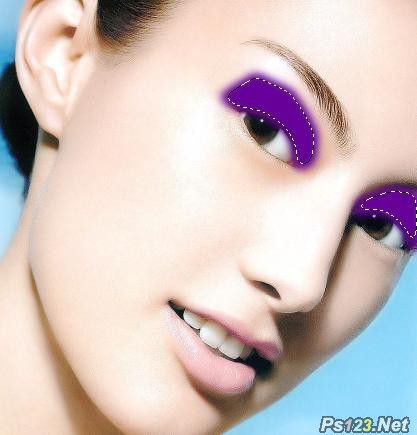
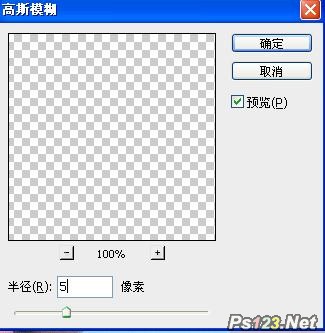
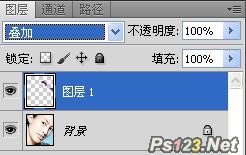
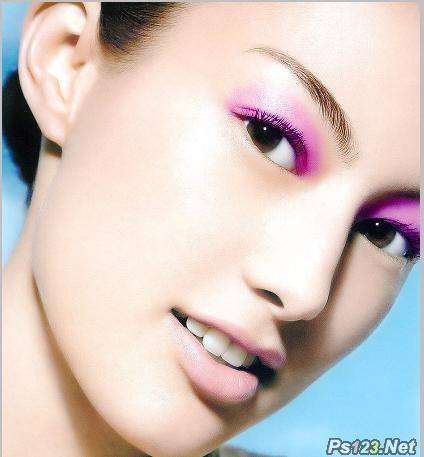
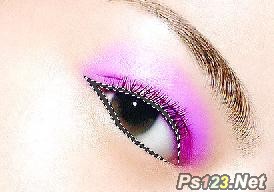
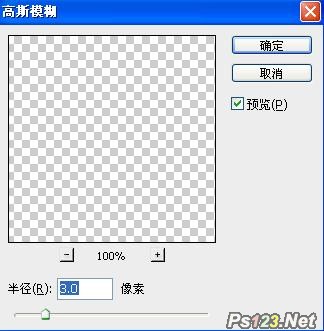
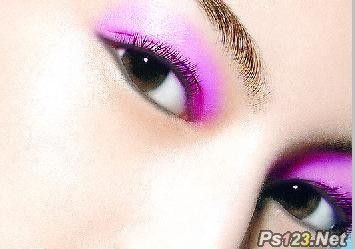
3、按着Shift键,当光标附近出现加号时,表示你可以再添加另一眼影的选区。之后创建一个新图层,在选区内填充颜色#cc66ff。 4、按下Ctrl+D取消选择,然后执行滤镜模糊高斯模糊,参考下图所示的设置。 5、设置图层混
 情非得已
情非得已
推荐文章
-
 Photoshop制作唯美可爱的女生头像照片2020-03-17
-
 Photoshop快速给人物添加火焰燃烧效果2020-03-12
-
 Photoshop调出人物写真甜美通透艺术效果2020-03-06
-
 Photoshop保留质感修出古铜色人像皮肤2020-03-06
-
 Photoshop制作模特人像柔润的头发效果2020-03-04
-
 古风效果:用PS调出外景人像中国风意境效果2019-11-08
-
 插画效果:用PS把风景照片转插画效果2019-10-21
-
 胶片效果:用PS调出人像复古胶片效果2019-08-02
-
 素描效果:用PS制作人像彩色铅笔画效果2019-07-12
-
 后期精修:用PS给人物皮肤均匀的磨皮2019-05-10
热门文章
-
 Photoshop利用素材制作炫丽的科技背景2021-03-11
-
 Photoshop使用中性灰磨皮法给人像精修2021-02-23
-
 Photoshop制作水彩风格的风景图2021-03-10
-
 Photoshop制作创意的文字排版人像效果2021-03-09
-
 Photoshop制作逼真的投影效果2021-03-11
-
 Photoshop制作故障干扰艺术效果2021-03-09
-
 Photoshop制作被切割的易拉罐效果图2021-03-10
-
 Photoshop制作人物支离破碎的打散效果2021-03-10
-
 Photoshop给美女人像快速转为素描效果
相关文章16692020-03-03
-
 逆光效果:用PS给外景人像添加逆光效果
相关文章9302019-11-05
-
 后期修图:详解商业级人像修图磨皮技巧
相关文章13122019-08-22
-
 甜美效果:用PS调出室内美女清新淡雅效果
相关文章5022019-08-09
-
 清新效果:用PS调出儿童照片小清新效果
相关文章2462019-08-07
-
 朦胧仙境:用PS调出美女人像柔光效果
相关文章7792019-03-26
-
 工笔画效果:用PS快速制作工笔画效果
相关文章4002019-03-04
-
 公章制作:用PS制作逼真的电子公章
相关文章16792019-02-26
