Photoshop给头像转手绘教程(4)
文章来源于 PS联盟,感谢作者 洋芋片 给我们带来经精彩的文章!设计教程/PS教程/照片处理2011-07-03
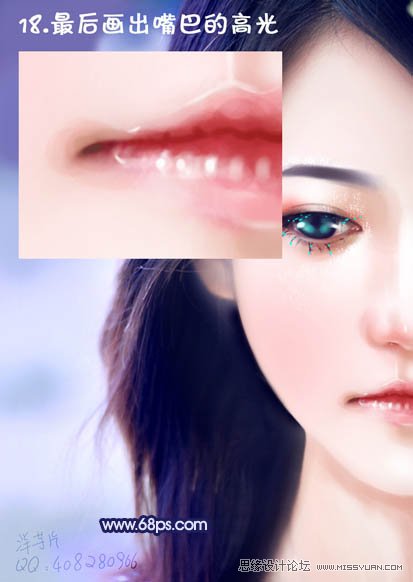
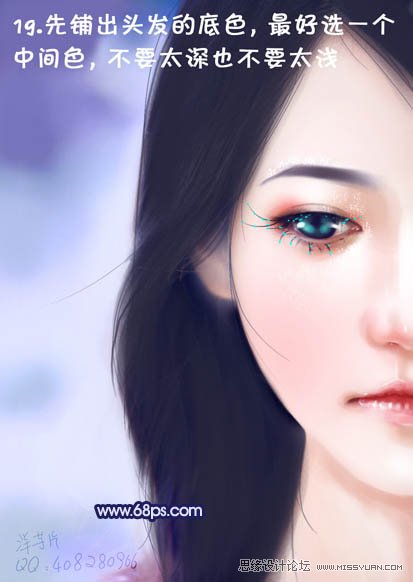
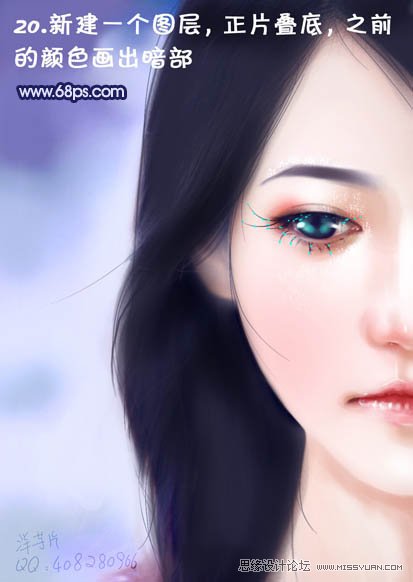
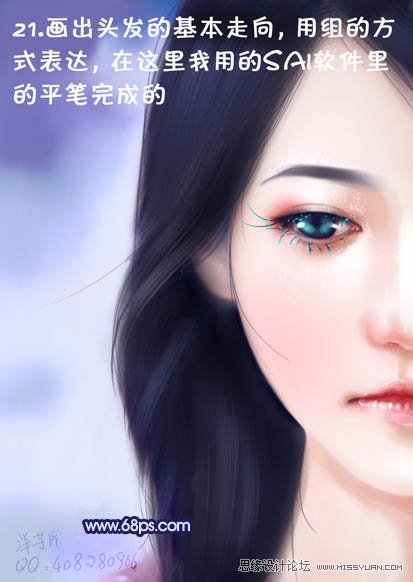
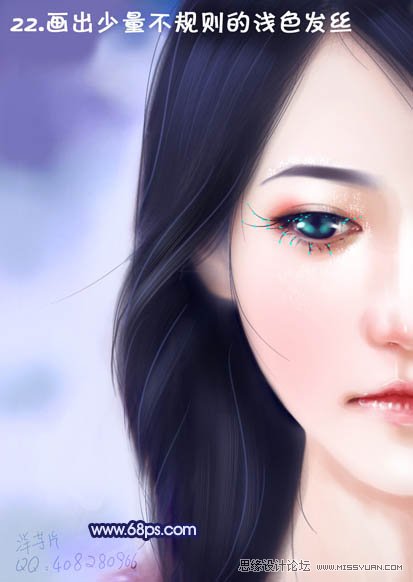
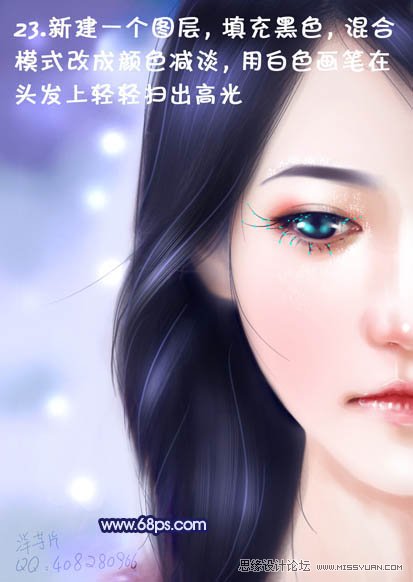
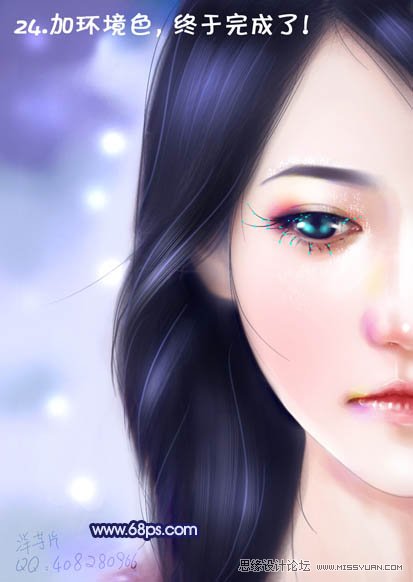
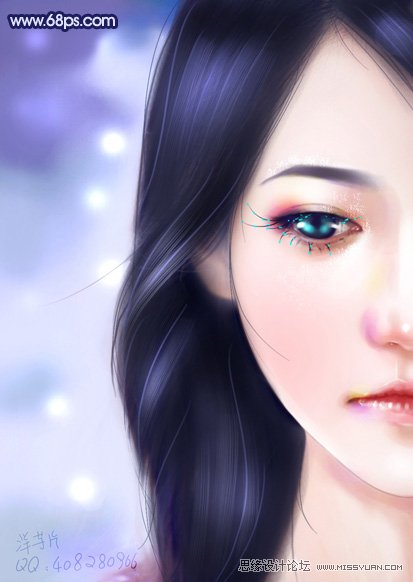
18、最后画出嘴巴的高光。 19、先铺出头发的底色,最好选一个中间色,不要太深也不要太浅。 20、新建一个图层,混合模式为正片叠底,用之前的颜色画出暗部。 21、画出头发的基本走向,用组的方式表达,在这里我用的
 情非得已
情非得已
推荐文章
-
 Photoshop制作唯美可爱的女生头像照片2020-03-17
-
 Photoshop快速给人物添加火焰燃烧效果2020-03-12
-
 Photoshop调出人物写真甜美通透艺术效果2020-03-06
-
 Photoshop保留质感修出古铜色人像皮肤2020-03-06
-
 Photoshop制作模特人像柔润的头发效果2020-03-04
-
 古风效果:用PS调出外景人像中国风意境效果2019-11-08
-
 插画效果:用PS把风景照片转插画效果2019-10-21
-
 胶片效果:用PS调出人像复古胶片效果2019-08-02
-
 素描效果:用PS制作人像彩色铅笔画效果2019-07-12
-
 后期精修:用PS给人物皮肤均匀的磨皮2019-05-10
热门文章
-
 Photoshop利用素材制作炫丽的科技背景2021-03-11
-
 Photoshop使用中性灰磨皮法给人像精修2021-02-23
-
 Photoshop制作水彩风格的风景图2021-03-10
-
 Photoshop制作创意的文字排版人像效果2021-03-09
-
 Photoshop制作逼真的投影效果2021-03-11
-
 Photoshop制作故障干扰艺术效果2021-03-09
-
 Photoshop制作被切割的易拉罐效果图2021-03-10
-
 Photoshop制作人物支离破碎的打散效果2021-03-10
-
 Photoshop制作逼真的投影效果
相关文章1332021-03-11
-
 Photoshop利用素材制作炫丽的科技背景
相关文章2062021-03-11
-
 Photoshop制作人物支离破碎的打散效果
相关文章752021-03-10
-
 Photoshop制作被切割的易拉罐效果图
相关文章852021-03-10
-
 Photoshop制作水彩风格的风景图
相关文章1832021-03-10
-
 Photoshop制作创意的文字排版人像效果
相关文章1802021-03-09
-
 Photoshop制作故障干扰艺术效果
相关文章1032021-03-09
-
 Photoshop使用中性灰磨皮法给人像精修
相关文章1932021-02-23
