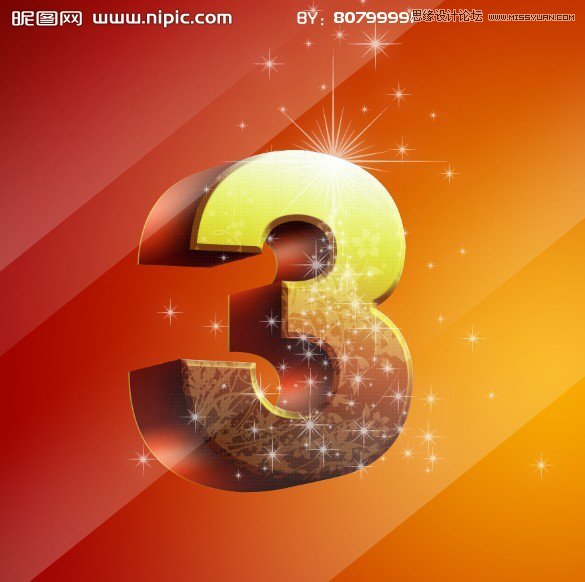
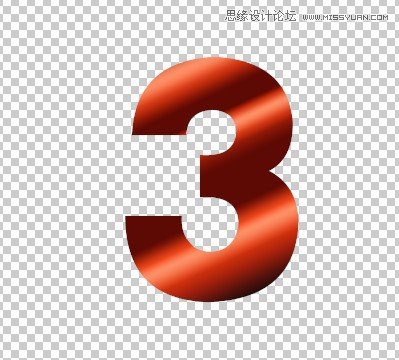
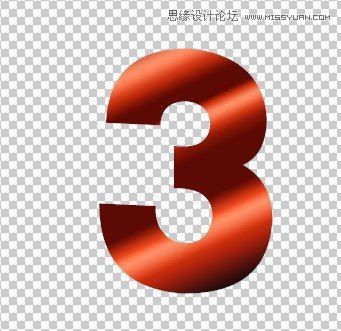
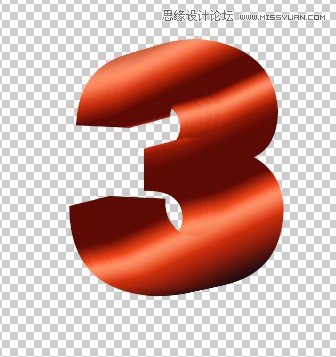
Photoshop制作立体质感3D花纹字效果
文章来源于 昵图,感谢作者 80799991 给我们带来经精彩的文章!设计教程/PS教程/文字特效2011-11-15
用PS也可以做出立体质感的3D花纹字效果,本例就教你如何用PS来制作。
 情非得已
情非得已
推荐文章
-
 Photoshop制作火焰燃烧的文字效果2021-03-10
-
 Photoshop制作金色的海报标题文字教程2021-02-22
-
 Photoshop制作炫丽的游戏风格艺术字2021-02-22
-
 Photoshop制作立体效果的黄金艺术字2020-03-18
-
 Photoshop制作逼真的熔岩艺术字2020-03-15
-
 Photoshop通过透视制作公路上的艺术字2020-03-15
-
 Photoshop设计金色立体特效的艺术字2020-03-12
-
 Photoshop制作卡通风格的手绘艺术字2020-03-09
-
 银色文字:用PS图层样式制作金属字教程2019-07-22
-
 3D立体字:用PS制作沙发靠椅主题立体字2019-07-18
热门文章
-
 Photoshop制作金色的海报标题文字教程2021-02-22
-
 Photoshop绘制逼真的粉笔字教程2021-03-05
-
 Photoshop制作火焰燃烧的文字效果2021-03-10
-
 Photoshop制作火焰燃烧的文字教程2021-03-05
-
 Photoshop制作暗黑破坏神主题金属字教程2021-03-16
-
 Photoshop制作炫丽的游戏风格艺术字2021-02-22
-
 Photoshop制作暗黑破坏神主题金属字教程
相关文章1812021-03-16
-
 Photoshop制作火焰燃烧的文字效果
相关文章2082021-03-10
-
 Photoshop制作火焰燃烧的文字教程
相关文章1882021-03-05
-
 Photoshop制作金色的海报标题文字教程
相关文章3742021-02-22
-
 Photoshop制作炫丽的游戏风格艺术字
相关文章1692021-02-22
-
 Photoshop制作彩色手写字教程
相关文章20042020-09-28
-
 Photoshop制作夏季水花艺术字教程
相关文章16862020-07-09
-
 Photoshop制作创意的海边泡沫艺术字
相关文章17032020-03-18


