Photoshop制作立体效果的金属立体字教程(4)
文章来源于 ENET,感谢作者 杨合峰 给我们带来经精彩的文章!设计教程/PS教程/文字特效2012-03-28
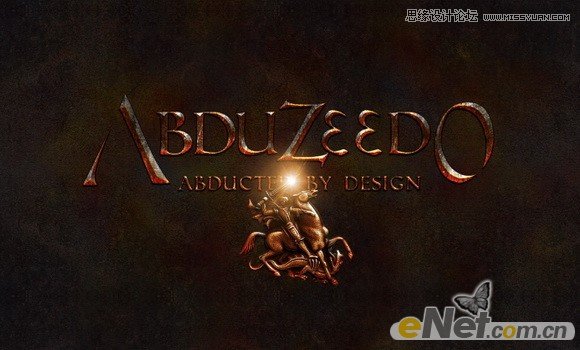
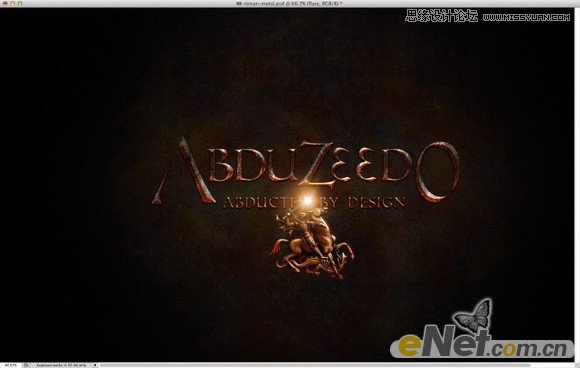
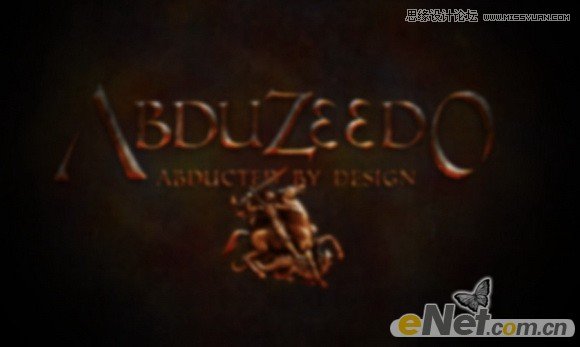
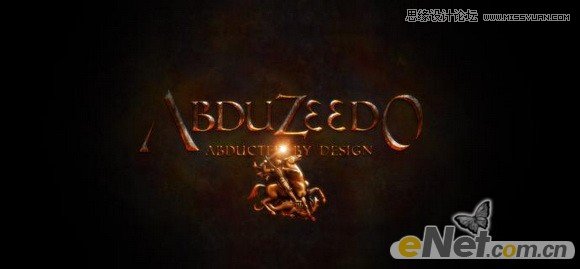
14.下面添加一些魔法的效果,给骑士的剑上加上光晕,在百度上搜索光的素材拖拽至合适的位置。 15.添加一个新的层,并填充黑色。选择橡皮檫工具,用柔角笔刷将图片中心搽除,凸显出主题效果。 16.选择所用图层盖印,
 情非得已
情非得已
推荐文章
-
 Photoshop制作火焰燃烧的文字效果2021-03-10
-
 Photoshop制作金色的海报标题文字教程2021-02-22
-
 Photoshop制作炫丽的游戏风格艺术字2021-02-22
-
 Photoshop制作立体效果的黄金艺术字2020-03-18
-
 Photoshop制作逼真的熔岩艺术字2020-03-15
-
 Photoshop通过透视制作公路上的艺术字2020-03-15
-
 Photoshop设计金色立体特效的艺术字2020-03-12
-
 Photoshop制作卡通风格的手绘艺术字2020-03-09
-
 银色文字:用PS图层样式制作金属字教程2019-07-22
-
 3D立体字:用PS制作沙发靠椅主题立体字2019-07-18
热门文章
-
 Photoshop制作金色的海报标题文字教程2021-02-22
-
 Photoshop绘制逼真的粉笔字教程2021-03-05
-
 Photoshop制作火焰燃烧的文字效果2021-03-10
-
 Photoshop制作火焰燃烧的文字教程2021-03-05
-
 Photoshop制作暗黑破坏神主题金属字教程2021-03-16
-
 Photoshop制作炫丽的游戏风格艺术字2021-02-22
-
 Photoshop制作暗黑破坏神主题金属字教程
相关文章1812021-03-16
-
 Photoshop制作火焰燃烧的文字效果
相关文章2082021-03-10
-
 Photoshop绘制逼真的粉笔字教程
相关文章2642021-03-05
-
 Photoshop制作火焰燃烧的文字教程
相关文章1882021-03-05
-
 Photoshop制作金色的海报标题文字教程
相关文章3742021-02-22
-
 Photoshop制作炫丽的游戏风格艺术字
相关文章1692021-02-22
-
 Photoshop设计金属质感的火焰燃烧字
相关文章22472020-09-28
-
 Photoshop制作彩色手写字教程
相关文章20042020-09-28


