Photoshop设计七夕情人节心形海报教程(3)
文章来源于 思缘论坛,感谢作者 瑭大官人 给我们带来经精彩的文章!设计教程/PS教程/合成教程2012-07-07
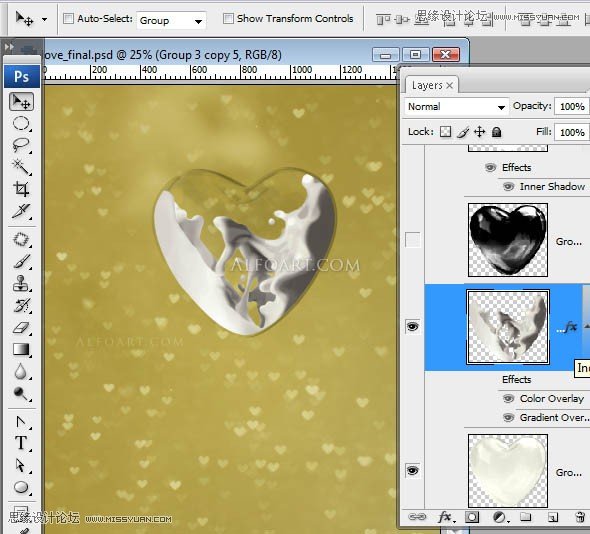
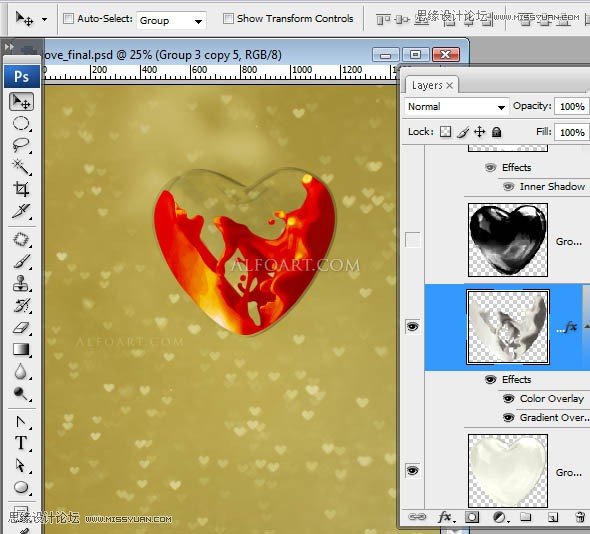
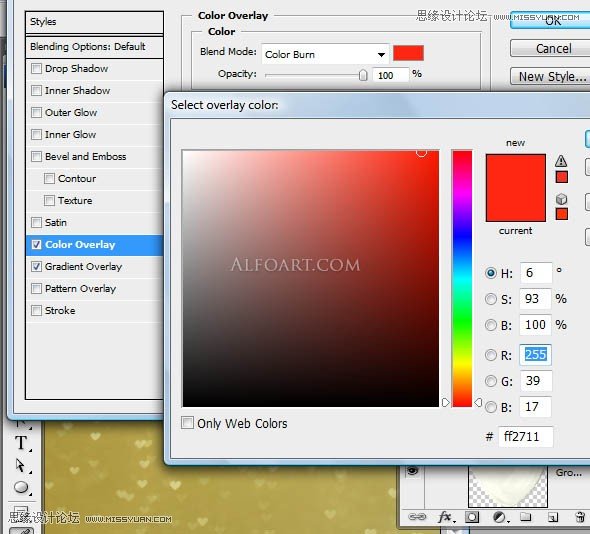
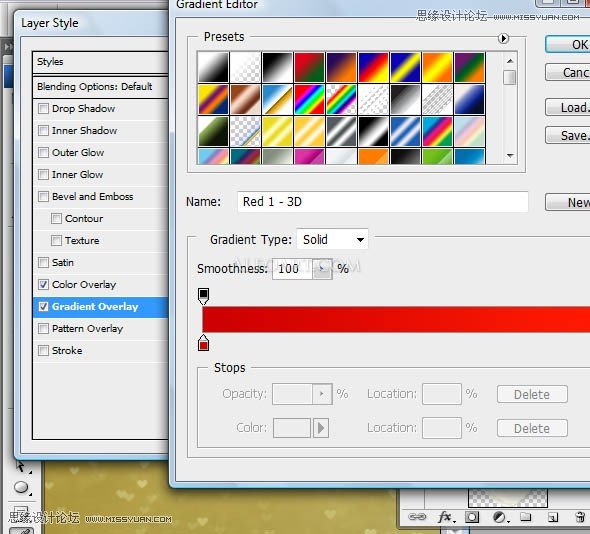
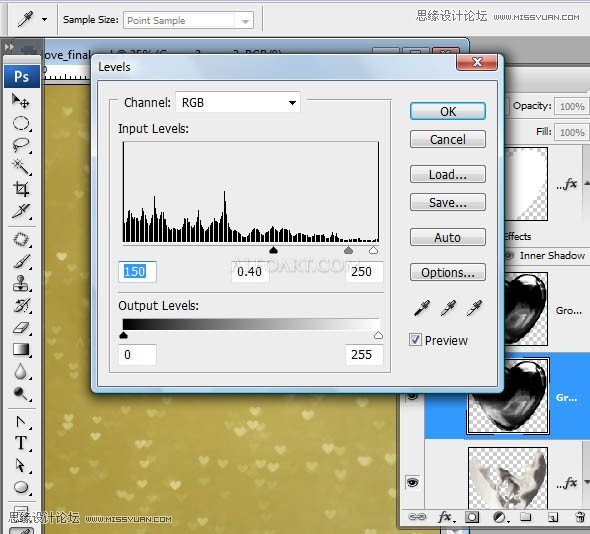
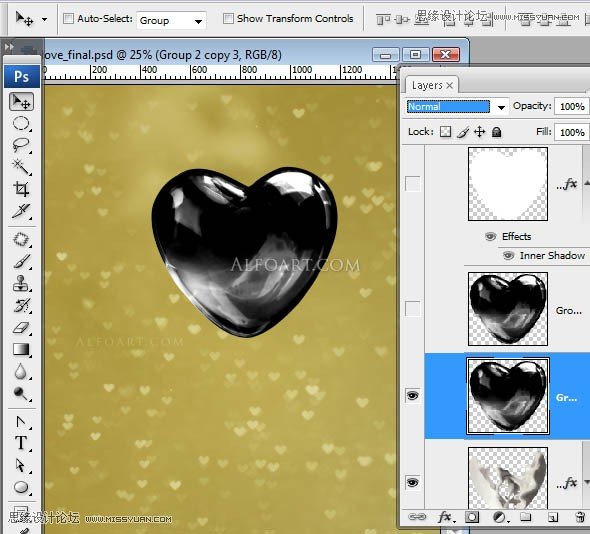
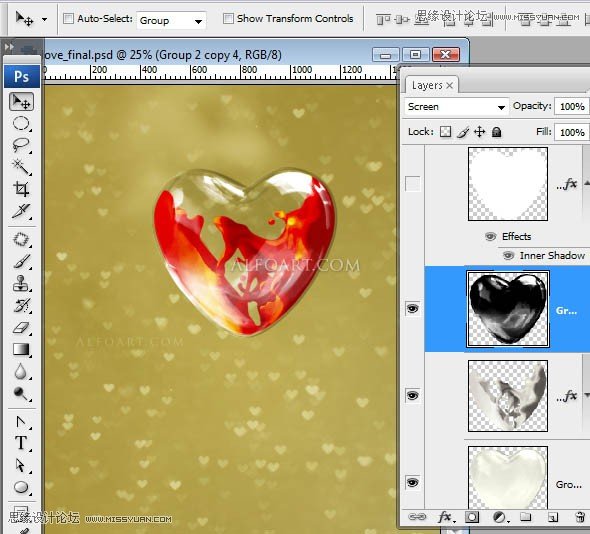
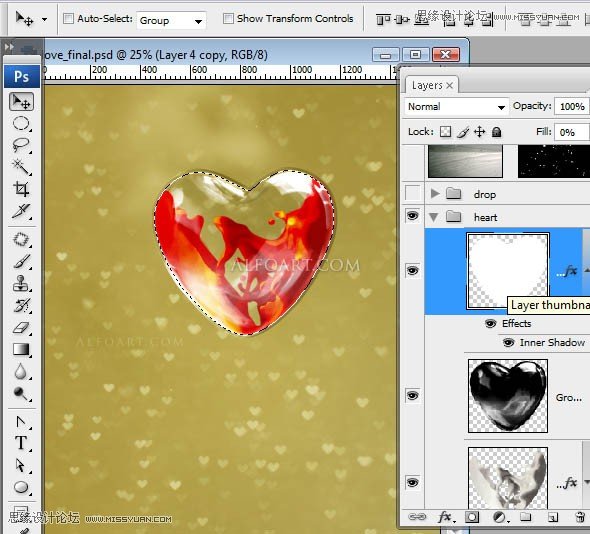
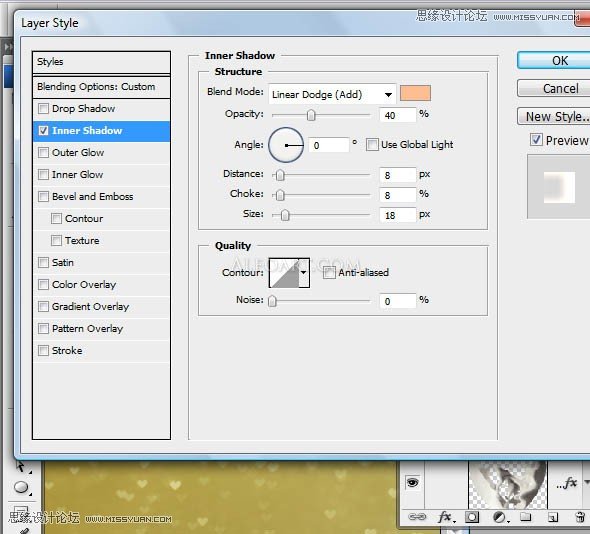
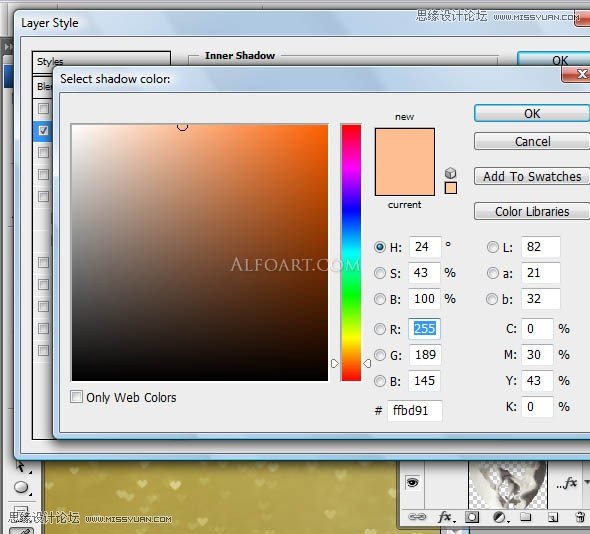
6、插入液体素材,对心形载入选区,执行:选择---修改----收缩,10像素,选择---反向,删除选区内图案。 7、对液体图层添加颜色叠加(颜色加深)图层样式。 8、再次插入心形素材,使用色阶将其调暗,并能看到少许白色
 情非得已
情非得已
推荐文章
-
 Photoshop合成海边海龟和被掀起的海浪场景2021-03-08
-
 Photoshop创意合成森林中的新娘和鸟笼2021-02-23
-
 Photoshop合成森林中马灯下的小动物2020-04-01
-
 Photoshop合成梦幻仙境场景的精灵仙子2020-03-27
-
 Photoshop合成创意头像长出花朵效果2020-03-26
-
 Photoshop合成被蝴蝶和星光打散的头像2020-03-26
-
 Photoshop合成创意的美女和野兽场景2020-03-20
-
 Photoshop合成创意的乌龟背着城堡效果图2020-03-20
-
 Photoshop合成房间里抚摸恐龙头的小男孩2020-03-20
-
 Photoshop快速给建筑照片添加傍晚效果2020-03-19
热门文章
-
 Photoshop创意合成森林中的新娘和鸟笼2021-02-23
-
 Photoshop合成魔幻主题的发光山羊2021-03-04
-
 Photoshop合成海边海龟和被掀起的海浪场景2021-03-08
-
 Photoshop创意合成苹果身体的易拉罐2021-03-10
-
 Photoshop合成闪电下的超级跑车2021-03-04
-
 Photoshop创意合成在脚底下魔法师2021-03-08
-
 Photoshop创意合成被热气球带飞的鲸鱼2021-03-16
-
 Photoshop创意合成被热气球带飞的鲸鱼
相关文章672021-03-16
-
 Photoshop创意合成苹果身体的易拉罐
相关文章2362021-03-10
-
 Photoshop合成魔幻主题的发光山羊
相关文章2882021-03-04
-
 Photoshop合成闪电下的超级跑车
相关文章1882021-03-04
-
 Photoshop创意的合成猫咪头像的猫头鹰
相关文章9822020-10-10
-
 Photoshop创意合成禁烟公益宣传海报
相关文章15762020-09-28
-
 Photoshop合成森林中马灯下的小动物
相关文章21572020-04-01
-
 Photoshop创意合成人像二次曝光效果
相关文章17892020-03-27
