Photoshop创意合成出门旅行的天鹅先生(2)
文章来源于 一起PS吧,感谢作者 情非得已 给我们带来经精彩的文章!设计教程/PS教程/合成教程2012-07-16
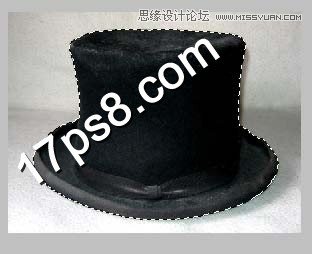
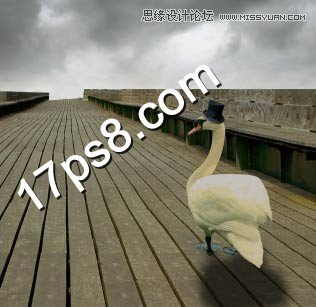
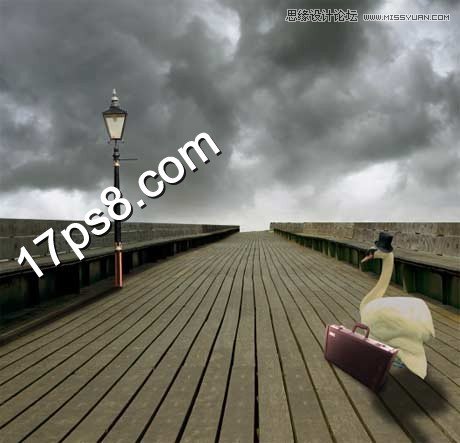
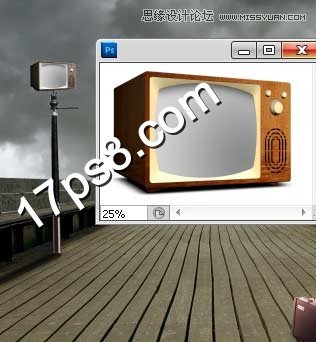
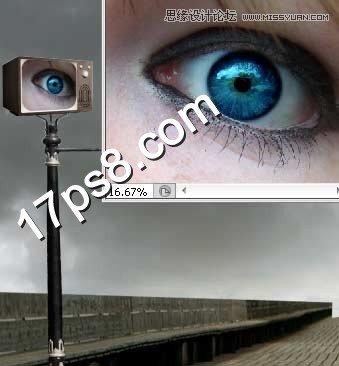
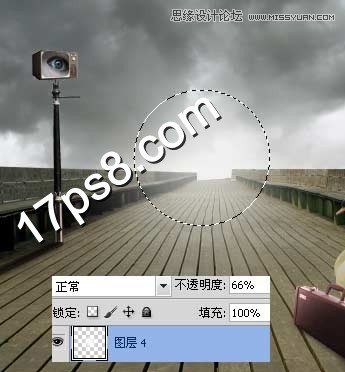
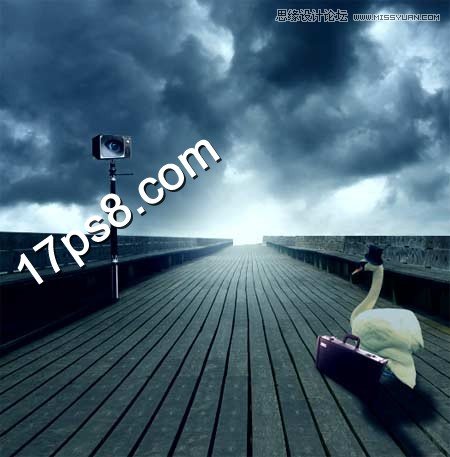
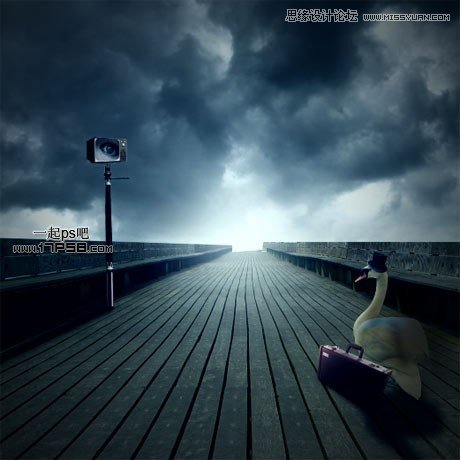
打开礼帽图片用快速选择工具抠出。 拖入文档中,大小位置如下,可以为帽子添加一些阴影。 同样的步骤,把箱子和路灯抠出,并添加阴影。 用橡皮把路灯顶部涂抹掉,把电视抠出放路灯顶上并降低饱和度。 把眼睛图片挪
 情非得已
情非得已
推荐文章
-
 Photoshop合成海边海龟和被掀起的海浪场景2021-03-08
-
 Photoshop创意合成森林中的新娘和鸟笼2021-02-23
-
 Photoshop合成森林中马灯下的小动物2020-04-01
-
 Photoshop合成梦幻仙境场景的精灵仙子2020-03-27
-
 Photoshop合成创意头像长出花朵效果2020-03-26
-
 Photoshop合成被蝴蝶和星光打散的头像2020-03-26
-
 Photoshop合成创意的美女和野兽场景2020-03-20
-
 Photoshop合成创意的乌龟背着城堡效果图2020-03-20
-
 Photoshop合成房间里抚摸恐龙头的小男孩2020-03-20
-
 Photoshop快速给建筑照片添加傍晚效果2020-03-19
热门文章
-
 Photoshop创意合成森林中的新娘和鸟笼2021-02-23
-
 Photoshop合成魔幻主题的发光山羊2021-03-04
-
 Photoshop合成海边海龟和被掀起的海浪场景2021-03-08
-
 Photoshop创意合成苹果身体的易拉罐2021-03-10
-
 Photoshop合成闪电下的超级跑车2021-03-04
-
 Photoshop创意合成在脚底下魔法师2021-03-08
-
 Photoshop创意合成被热气球带飞的鲸鱼2021-03-16
-
 Photoshop创意合成被热气球带飞的鲸鱼
相关文章672021-03-16
-
 Photoshop创意合成苹果身体的易拉罐
相关文章2362021-03-10
-
 Photoshop创意合成在脚底下魔法师
相关文章1422021-03-08
-
 Photoshop创意合成森林中的新娘和鸟笼
相关文章2982021-02-23
-
 Photoshop创意的合成猫咪头像的猫头鹰
相关文章9822020-10-10
-
 Photoshop创意合成禁烟公益宣传海报
相关文章15762020-09-28
-
 Photoshop创意合成人像二次曝光效果
相关文章17892020-03-27
-
 Photoshop合成梦幻仙境场景的精灵仙子
相关文章23182020-03-27
