Photoshop使用通道混合器给狗狗抠图(4)
文章来源于 新浪博客,感谢作者 均铭 给我们带来经精彩的文章!设计教程/PS教程/抠图教程2012-10-25
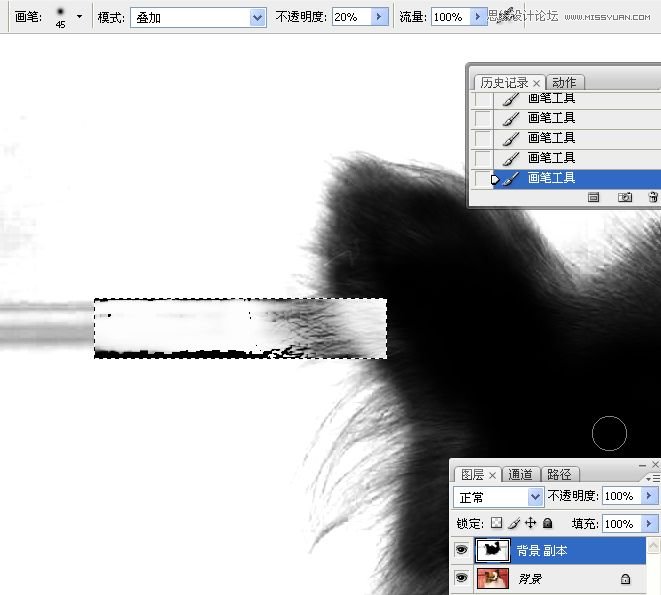
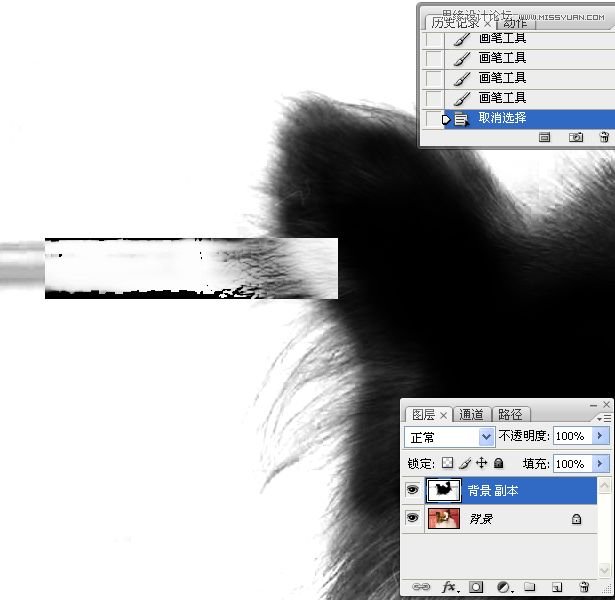
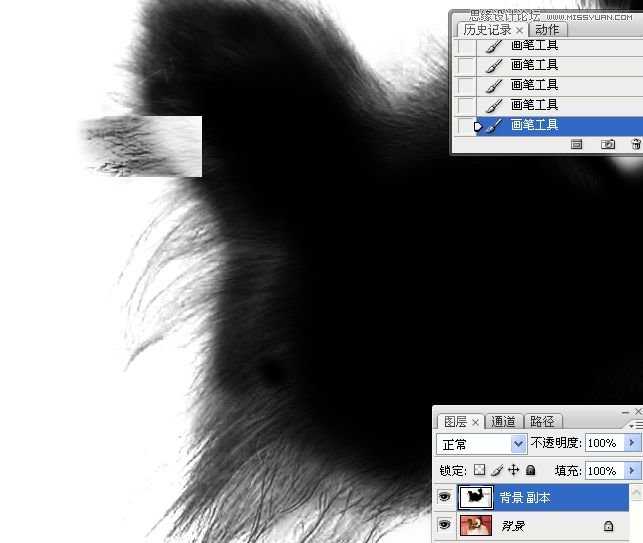
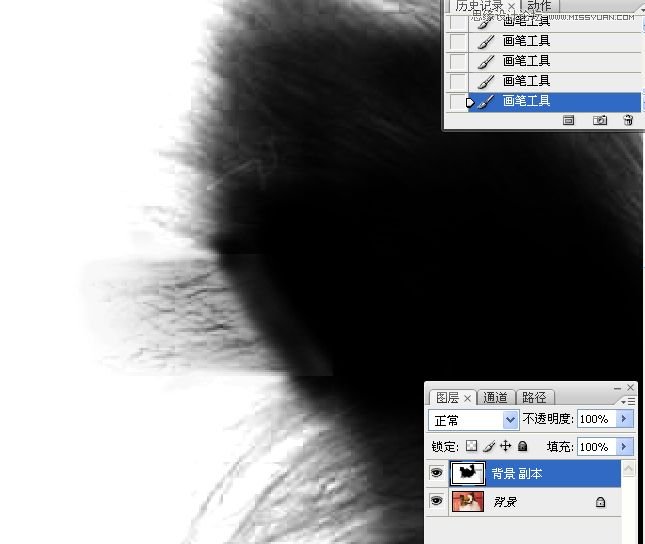
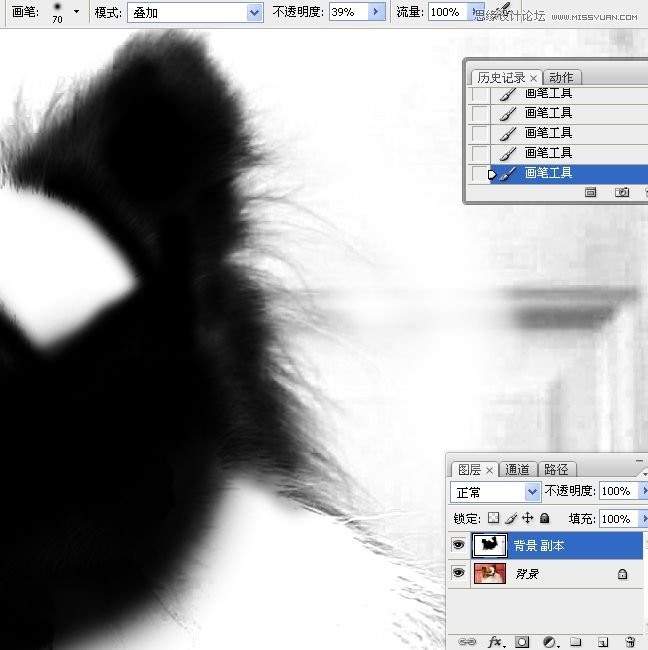
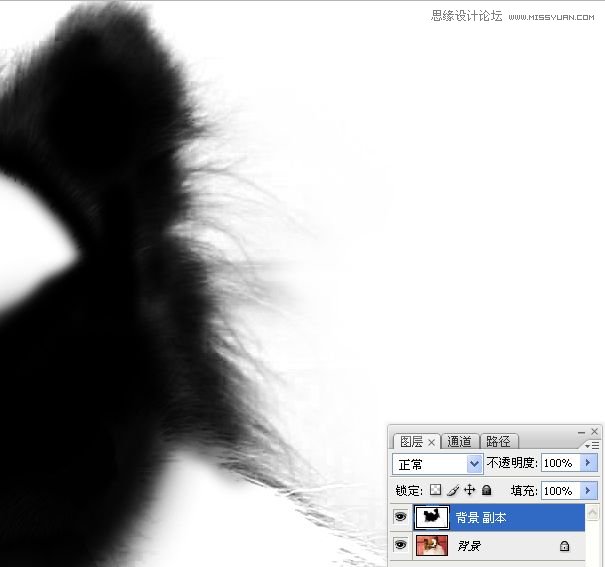
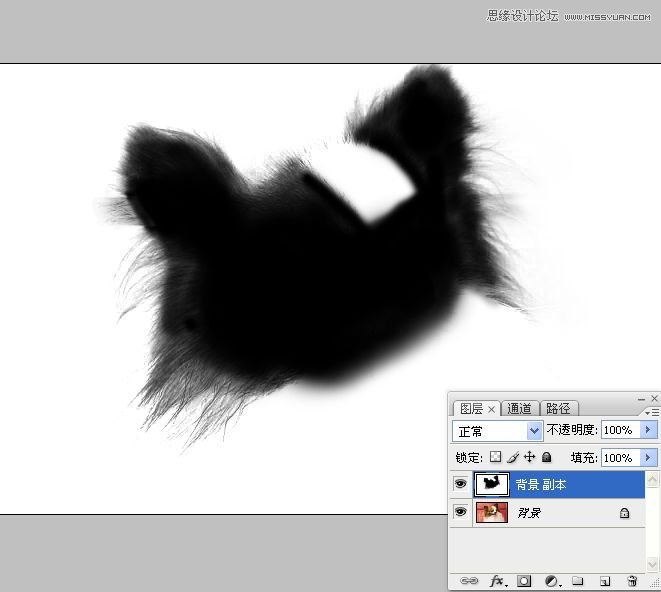
8。用白色涂抹背景和毛发的边缘。取消选择,将画笔工具的混合模式恢复为正常,不透明度设置为100%,将背景涂抹为白色。我们现在进行的处理比较繁琐,所以应尽量耐心和细致地操作。 9。将毛发内部的白色区域涂抹为黑
 情非得已
情非得已
推荐文章
-
 Photoshop使用通道工具抠出可爱的狗狗2020-03-15
-
 Photoshop使用通道工具抠出逆光美女2020-03-08
-
 抠图教程:详解5种PS经典的抠图方法2019-08-29
-
 Photoshop巧用通道超精细的抠儿童头发丝教程2015-05-20
-
 Photoshop完美抠出穿婚纱的新娘照片2013-11-07
-
 Photoshop使用通道混合器给狗狗抠图2012-10-25
-
 Photoshop给头发蓬松的孩子抠图并合成2012-06-19
-
 Photoshop给白色婚纱抠图并合成到风景照中2012-06-14
-
 Photoshop详细讲解钢笔工具在抠图中的使用2011-08-30
-
 Photoshop抠图教程:抠出飘逸长发美女2011-03-30
热门文章
-
 Photoshop快速抠出卷发的美女人像2021-03-04
-
 Photoshop快速抠出卷发的美女人像
相关文章1722021-03-04
-
 Photoshop使用通道工具给人像进修抠图
相关文章11992020-03-21
-
 Photoshop使用通道工具给美女抠图
相关文章47892020-03-19
-
 Photoshop抠出倒酒效果的玻璃杯
相关文章28452020-03-17
-
 Photoshop使用通道工具抠出可爱的狗狗
相关文章28972020-03-15
-
 Photoshop使用通道混合器抠出茂密的树木
相关文章10232020-03-14
-
 Photoshop使用钢笔工具抠出母子人像
相关文章10852020-03-10
-
 Photoshop快速抠出篮子里的猫咪
相关文章13292020-03-09
