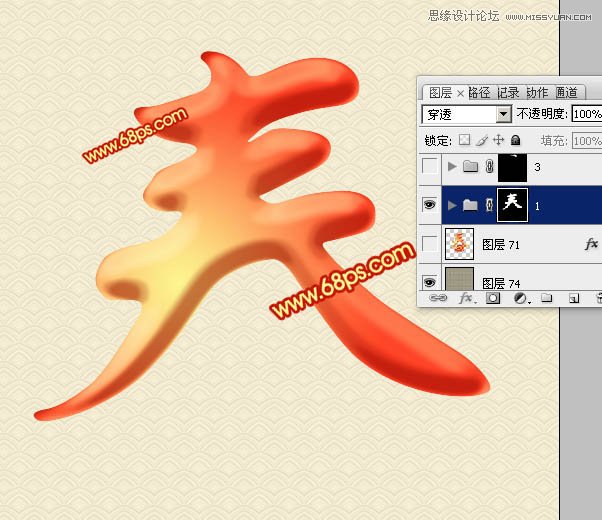
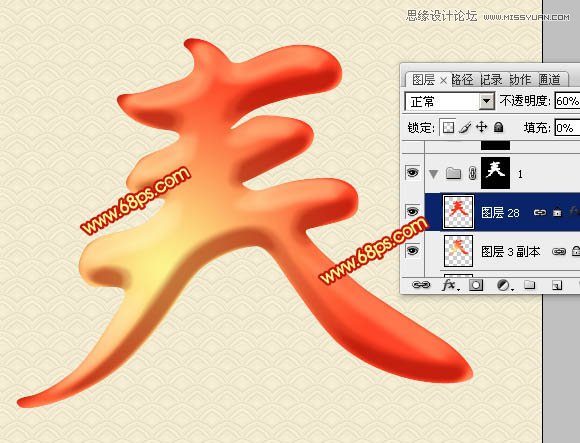
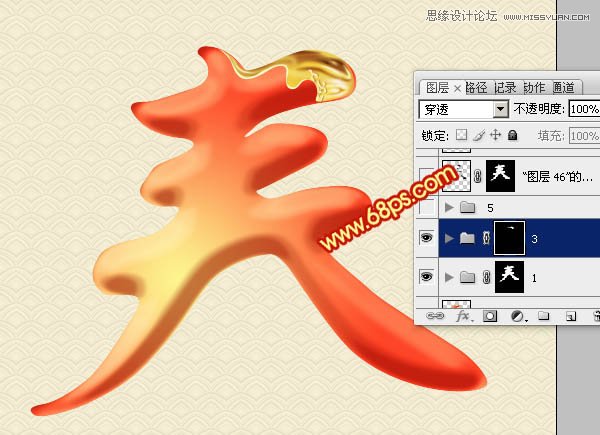
Photoshop设计立体华丽的春字
文章来源于 PS联盟,感谢作者 Sener 给我们带来经精彩的文章!设计教程/PS教程/文字特效2012-12-26
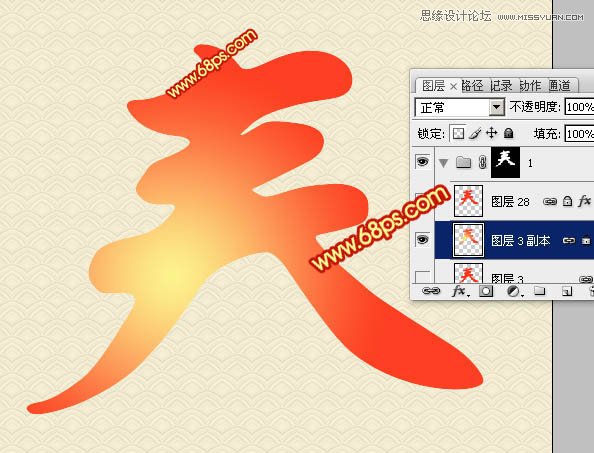
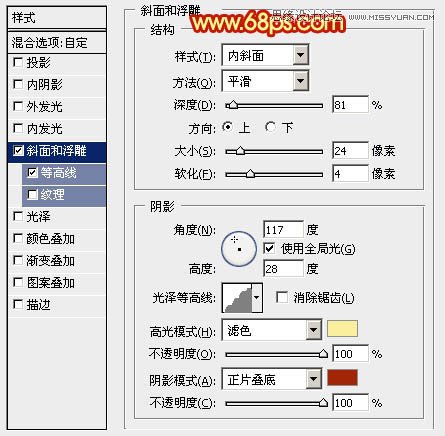
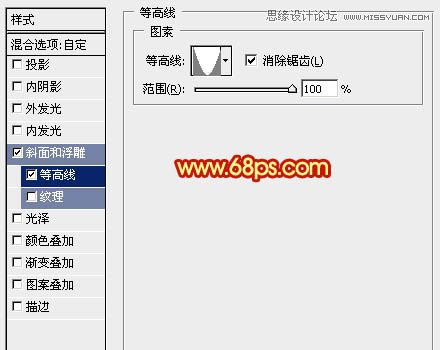
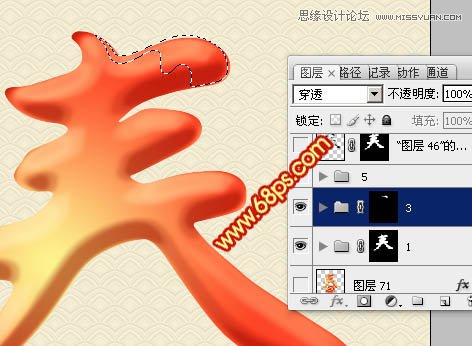
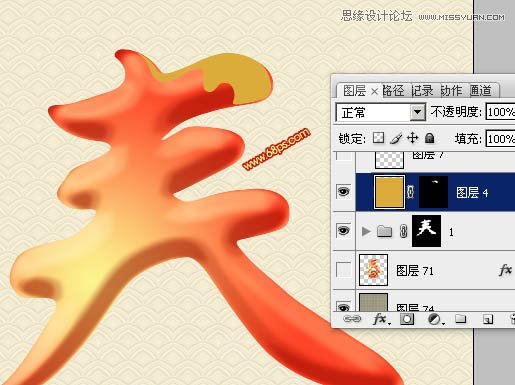
文字制作稍微有点复杂,难点是文字边缘的金属边框的制作,需要根据笔画的走向制作合适的金属质感。如果不想花时间,可以找一些金属素材也可以。
 情非得已
情非得已
推荐文章
-
 Photoshop制作火焰燃烧的文字效果2021-03-10
-
 Photoshop制作金色的海报标题文字教程2021-02-22
-
 Photoshop制作炫丽的游戏风格艺术字2021-02-22
-
 Photoshop制作立体效果的黄金艺术字2020-03-18
-
 Photoshop制作逼真的熔岩艺术字2020-03-15
-
 Photoshop通过透视制作公路上的艺术字2020-03-15
-
 Photoshop设计金色立体特效的艺术字2020-03-12
-
 Photoshop制作卡通风格的手绘艺术字2020-03-09
-
 银色文字:用PS图层样式制作金属字教程2019-07-22
-
 3D立体字:用PS制作沙发靠椅主题立体字2019-07-18
热门文章
-
 Photoshop制作金色的海报标题文字教程2021-02-22
-
 Photoshop绘制逼真的粉笔字教程2021-03-05
-
 Photoshop制作火焰燃烧的文字效果2021-03-10
-
 Photoshop制作火焰燃烧的文字教程2021-03-05
-
 Photoshop制作暗黑破坏神主题金属字教程2021-03-16
-
 Photoshop制作炫丽的游戏风格艺术字2021-02-22
-
 Photoshop设计金属质感的火焰燃烧字
相关文章22472020-09-28
-
 Photoshop制作创意的海边泡沫艺术字
相关文章17032020-03-18
-
 Photoshop制作立体效果的黄金艺术字
相关文章19362020-03-18
-
 Photoshop通过透视制作公路上的艺术字
相关文章18902020-03-15
-
 Photoshop制作橙色圆润的新年立体字
相关文章4762020-03-14
-
 Photoshop设计金色立体特效的艺术字
相关文章6462020-03-12
-
 Photoshop制作叠加效果立体字教程
相关文章6252020-03-12
-
 Photoshop设计武汉加油黄金书法字教程
相关文章6332020-03-03

