Photoshop设计金色大气的母亲节立体字(3)
文章来源于 PS联盟,感谢作者 Sener 给我们带来经精彩的文章!设计教程/PS教程/文字特效2013-05-11
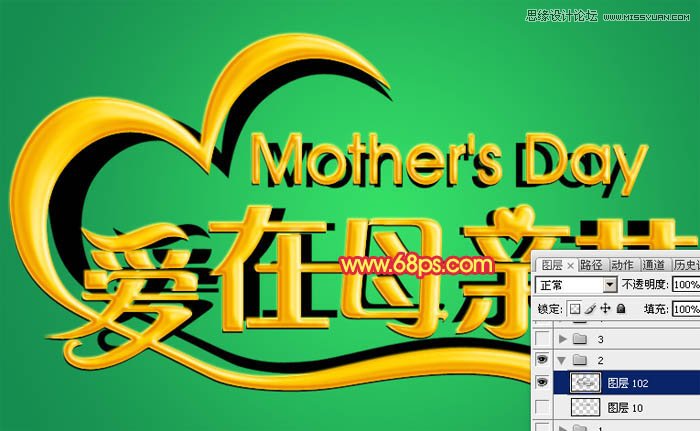
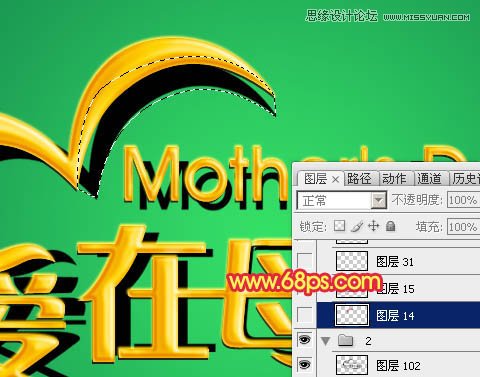
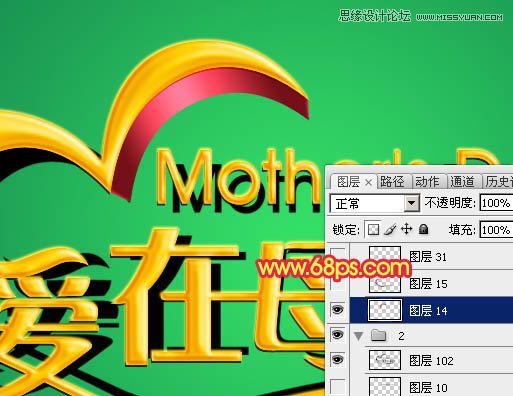
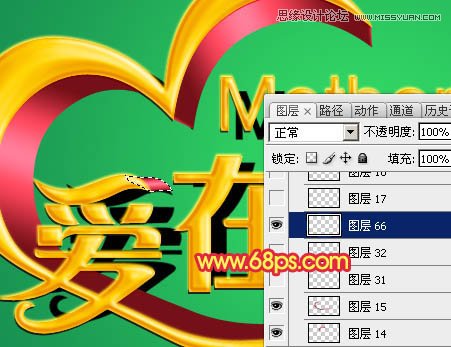
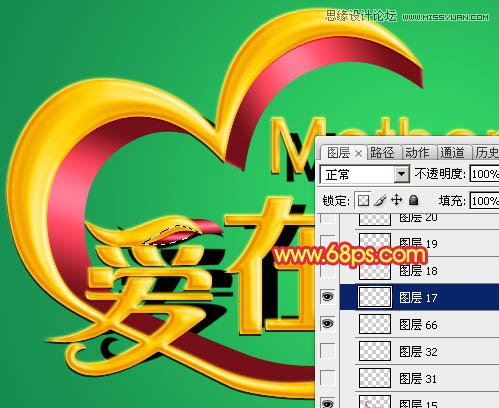
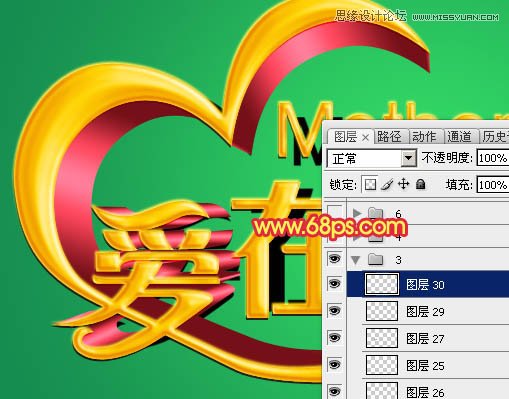
8、文字部分大致的效果如下图,后面再来制作立体面。 9、调出原文字选区,在背景图层上面新建一个组,在组里新建一个图层填充黑色。取消选区后按Ctrl + T 变形,稍微缩小一点做出透视效果,如下图。 10、新建一个组
 情非得已
情非得已
推荐文章
-
 Photoshop制作火焰燃烧的文字效果2021-03-10
-
 Photoshop制作金色的海报标题文字教程2021-02-22
-
 Photoshop制作炫丽的游戏风格艺术字2021-02-22
-
 Photoshop制作立体效果的黄金艺术字2020-03-18
-
 Photoshop制作逼真的熔岩艺术字2020-03-15
-
 Photoshop通过透视制作公路上的艺术字2020-03-15
-
 Photoshop设计金色立体特效的艺术字2020-03-12
-
 Photoshop制作卡通风格的手绘艺术字2020-03-09
-
 银色文字:用PS图层样式制作金属字教程2019-07-22
-
 3D立体字:用PS制作沙发靠椅主题立体字2019-07-18
热门文章
-
 Photoshop制作金色的海报标题文字教程2021-02-22
-
 Photoshop绘制逼真的粉笔字教程2021-03-05
-
 Photoshop制作火焰燃烧的文字效果2021-03-10
-
 Photoshop制作火焰燃烧的文字教程2021-03-05
-
 Photoshop制作暗黑破坏神主题金属字教程2021-03-16
-
 Photoshop制作炫丽的游戏风格艺术字2021-02-22
-
 Photoshop制作金色的海报标题文字教程
相关文章3742021-02-22
-
 Photoshop制作创意的海边泡沫艺术字
相关文章17032020-03-18
-
 Photoshop制作立体效果的黄金艺术字
相关文章19362020-03-18
-
 Photoshop制作橙色圆润的新年立体字
相关文章4762020-03-14
-
 Photoshop设计金色立体特效的艺术字
相关文章6462020-03-12
-
 Photoshop制作叠加效果立体字教程
相关文章6252020-03-12
-
 Photoshop制作大气的霓虹灯特效立体字
相关文章5822020-03-02
-
 立体文字:用PS制作海报中常见的立体字
相关文章20602019-08-29

