Photoshop合成科幻战争片中城市场景(8)
文章来源于 优设,感谢作者 cyRotel 给我们带来经精彩的文章!设计教程/PS教程/合成教程2013-12-31
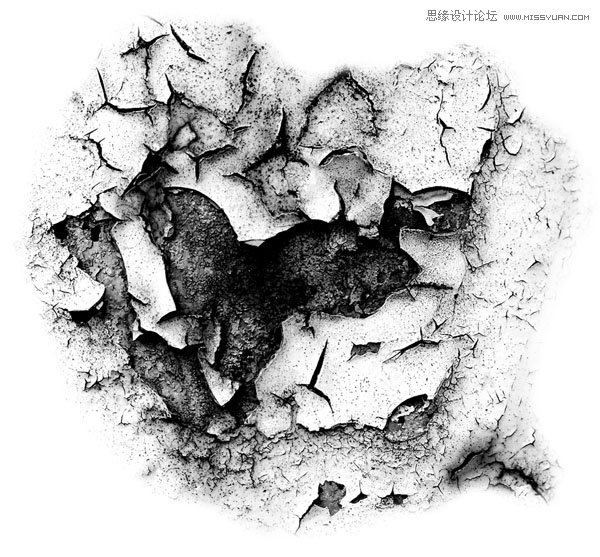
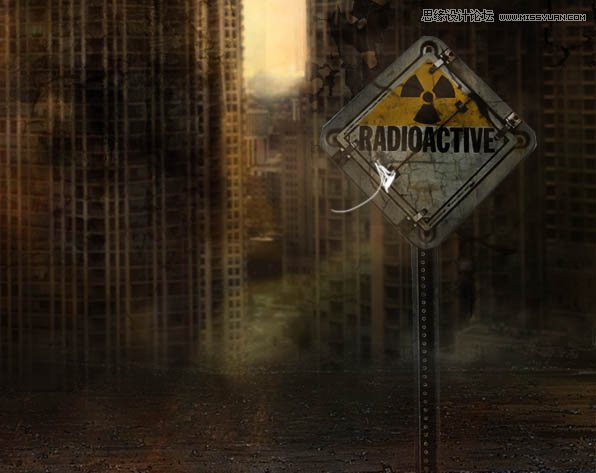
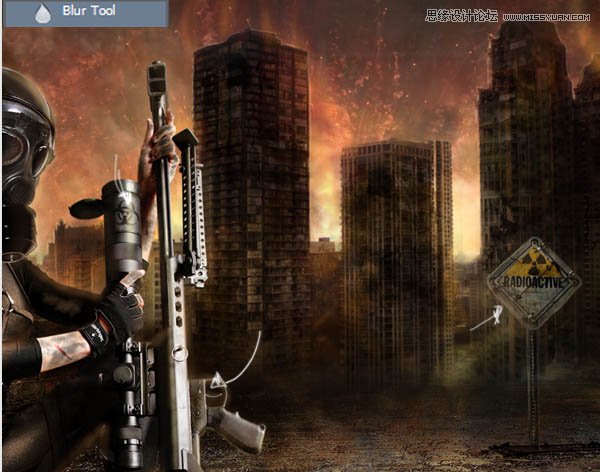
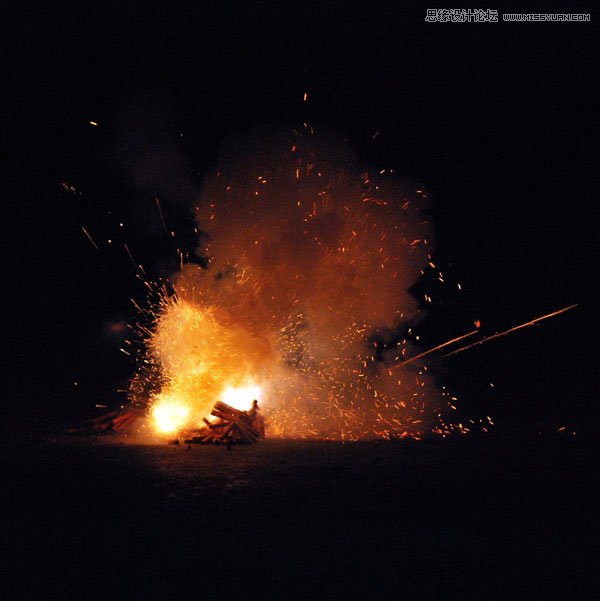
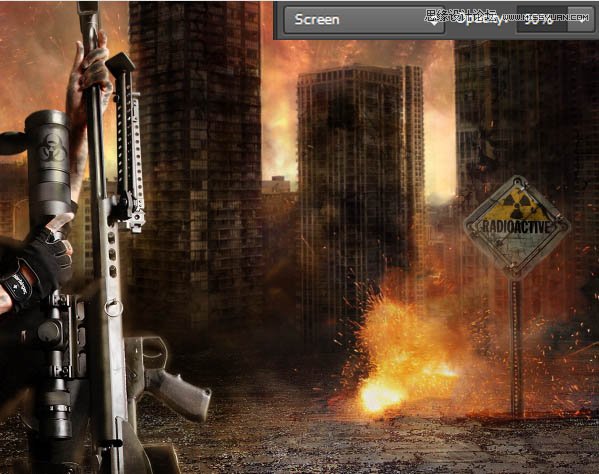
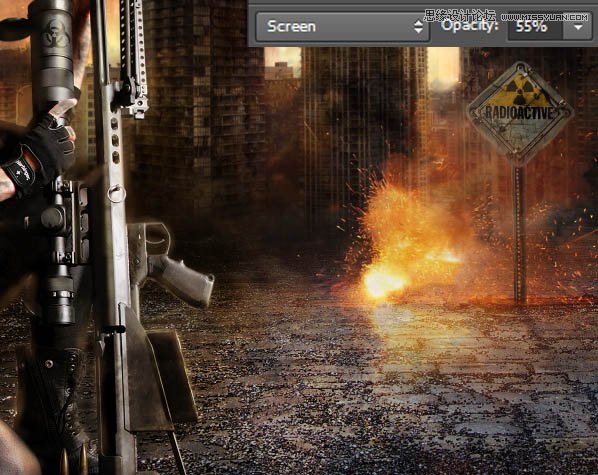
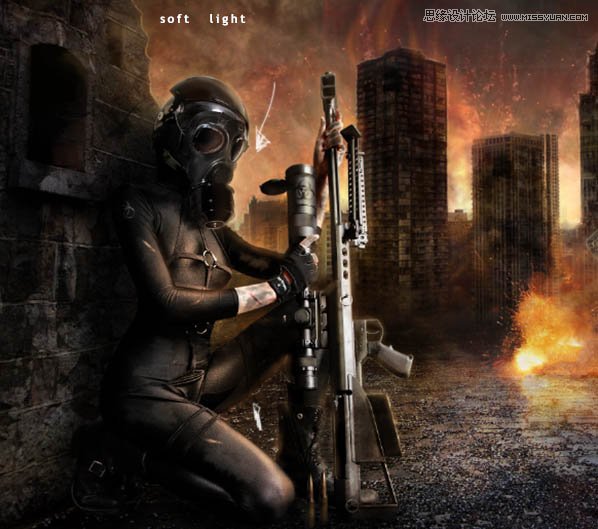
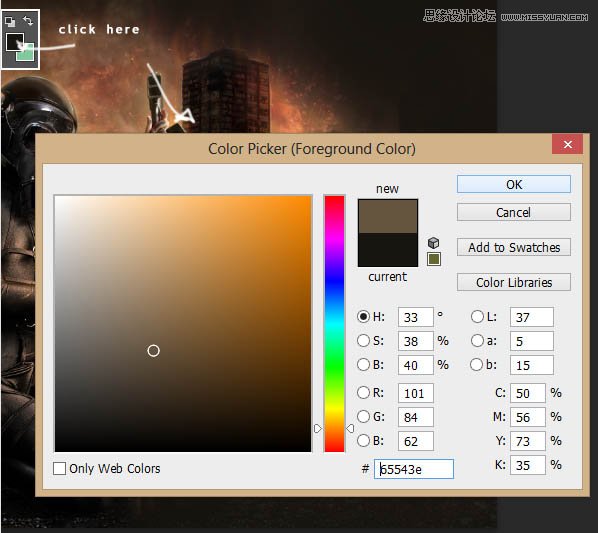
43、为辐射标志添加点斑驳的效果,你可以把素材的破碎图案拖一个进来,图层模式改为颜色加深,多复制几个,旋转,调整大小跟方向就好。 44、同样用2px大小的画笔给标志描亮光的边。 45、把素材包的「爆炸效果」图拖
 情非得已
情非得已
推荐文章
-
 Photoshop合成海边海龟和被掀起的海浪场景2021-03-08
-
 Photoshop创意合成森林中的新娘和鸟笼2021-02-23
-
 Photoshop合成森林中马灯下的小动物2020-04-01
-
 Photoshop合成梦幻仙境场景的精灵仙子2020-03-27
-
 Photoshop合成创意头像长出花朵效果2020-03-26
-
 Photoshop合成被蝴蝶和星光打散的头像2020-03-26
-
 Photoshop合成创意的美女和野兽场景2020-03-20
-
 Photoshop合成创意的乌龟背着城堡效果图2020-03-20
-
 Photoshop合成房间里抚摸恐龙头的小男孩2020-03-20
-
 Photoshop快速给建筑照片添加傍晚效果2020-03-19
热门文章
-
Photoshop创意合成森林中的新娘和鸟笼2021-02-23
-
 Photoshop合成魔幻主题的发光山羊2021-03-04
-
Photoshop合成海边海龟和被掀起的海浪场景2021-03-08
-
 Photoshop创意合成苹果身体的易拉罐2021-03-10
-
 Photoshop合成闪电下的超级跑车2021-03-04
-
 Photoshop创意合成在脚底下魔法师2021-03-08
-
 Photoshop创意合成被热气球带飞的鲸鱼2021-03-16
-
Photoshop合成海边海龟和被掀起的海浪场景
相关文章2562021-03-08
-
Photoshop合成魔幻主题的发光山羊
相关文章2882021-03-04
-
Photoshop合成森林中马灯下的小动物
相关文章21572020-04-01
-
Photoshop合成梦幻仙境场景的精灵仙子
相关文章23182020-03-27
-
Photoshop合成创意的美女和野兽场景
相关文章10342020-03-20
-
 Photoshop合成月光下的少女场景
相关文章20872020-03-17
Photoshop合成月光下的少女场景
相关文章20872020-03-17
-
 Photoshop合成人物和城市二次曝光效果
相关文章9222020-03-03
Photoshop合成人物和城市二次曝光效果
相关文章9222020-03-03
-
 童话场景:用PS合成森林中的精灵仙子
相关文章19402019-12-24
童话场景:用PS合成森林中的精灵仙子
相关文章19402019-12-24
