Photoshop设计简洁风格的CD包装盒效果图(3)
文章来源于 站酷,感谢作者 家有娇花 给我们带来经精彩的文章!设计教程/PS教程/设计教程2014-05-30
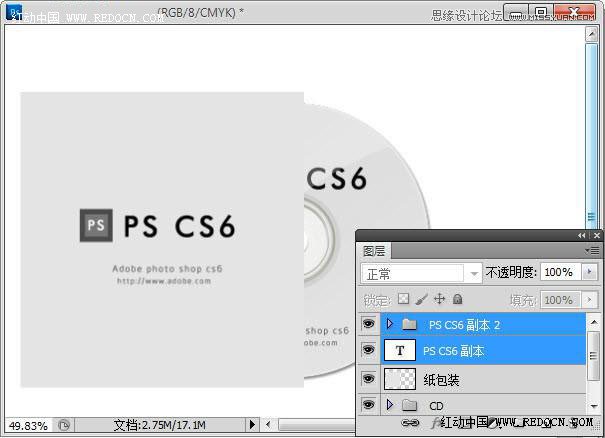
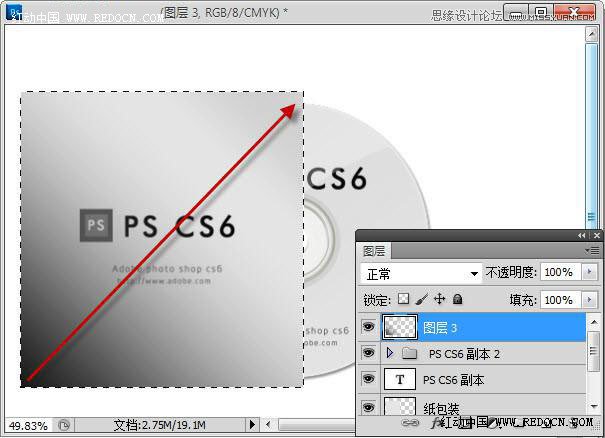
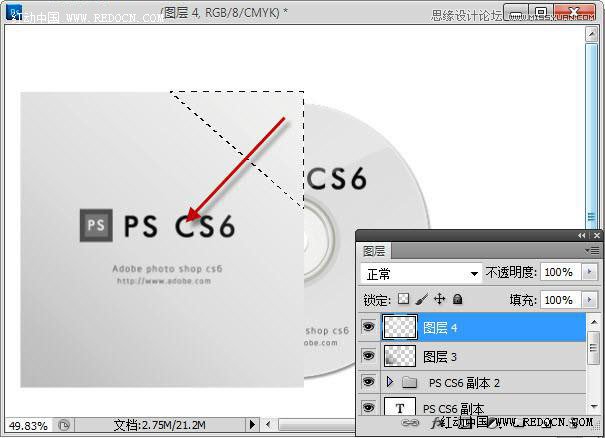
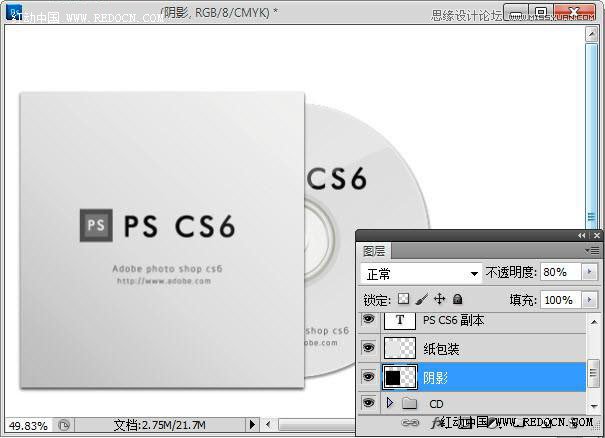
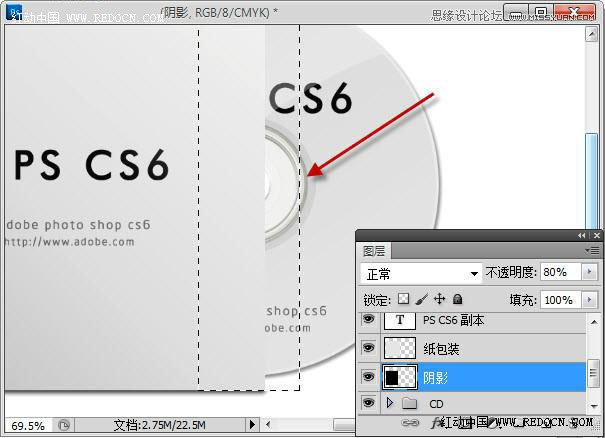
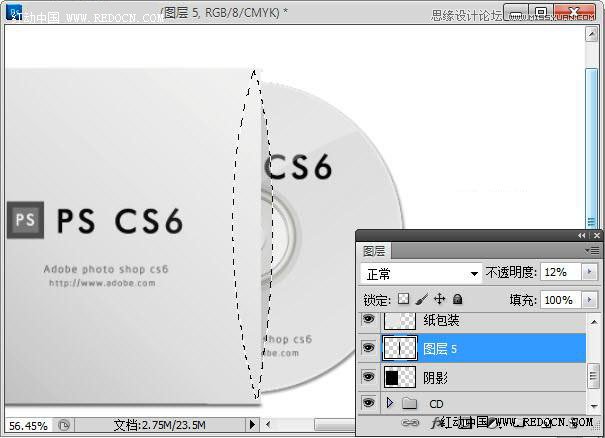
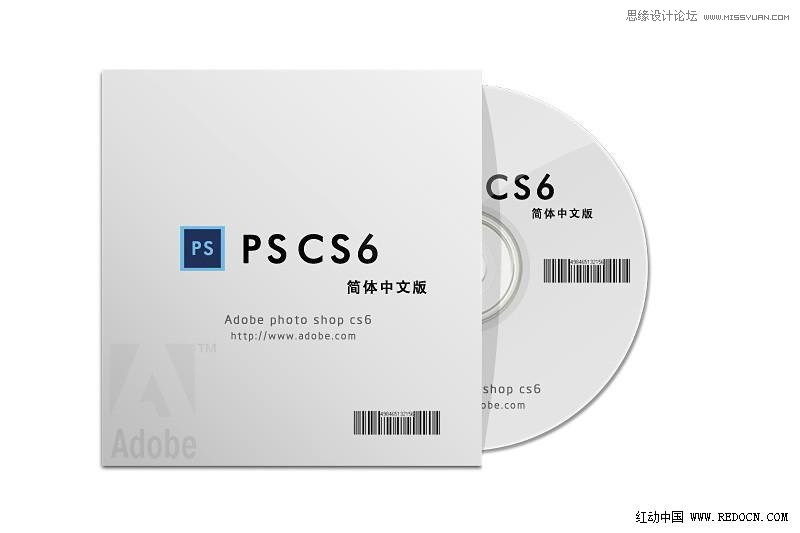
步骤12 添加简单的文字内容。 步骤13 新建一个图层,用渐变工具从下角拉一个黑色到透明的渐变,调整图层不透明度,效果如下。 步骤14 用同样的方法,从上角拉一个白色到透明的渐变。 步骤15 在纸包装下面新建一个图
 情非得已
情非得已
推荐文章
-
 Photoshop设计撕纸特效的人物海报教程2020-10-28
-
 Photoshop制作立体风格的国庆节海报2020-10-10
-
 Photoshop设计撕纸特效的人像海报2020-03-27
-
 图标设计:用PS制作奶油质感手机主题图标2019-11-06
-
 图标设计:用PS制作中国风圆形APP图标2019-11-01
-
 手机图标:用PS设计儿童贴画风格的APP图标2019-08-09
-
 电影海报:用PS制作蜘蛛侠海报效果2019-07-09
-
 创意海报:用PS合成铁轨上的霸王龙2019-07-08
-
 电影海报:用PS设计钢铁侠电影海报2019-07-08
-
 立体海报:用PS制作创意的山川海报2019-05-22
热门文章
-
 Photoshop设计猕猴桃风格的APP图标2021-03-10
-
 Photoshop制作逼真的毛玻璃质感图标2021-03-09
-
 Photoshop结合AI制作抽象动感的丝带2021-03-16
-
 Photoshop结合AI制作炫酷的手机贴纸2021-03-16
-
 Photoshop设计猕猴桃风格的APP图标
相关文章2212021-03-10
-
 Photoshop制作立体风格的国庆节海报
相关文章7132020-10-10
-
 Photoshop合成加勒比海盗风格电影海报
相关文章17202020-04-02
-
 Photoshop制作火焰燃烧风格的武士海报
相关文章6962020-03-17
-
 手机图标:用PS设计儿童贴画风格的APP图标
相关文章13392019-08-09
-
 设计图标:用PS设计拟物风格的APP图标
相关文章16132019-08-05
-
 手机图标:用PS制作拟物风格手机APP图标
相关文章15532019-07-12
-
 海报设计:用PS设计3D风格的海报作品
相关文章19572019-04-21
