Photoshop制作简单的艺术花朵时尚壁纸
文章来源于 Pconline,感谢作者 么么茶 给我们带来经精彩的文章!设计教程/PS教程/设计教程2014-06-05
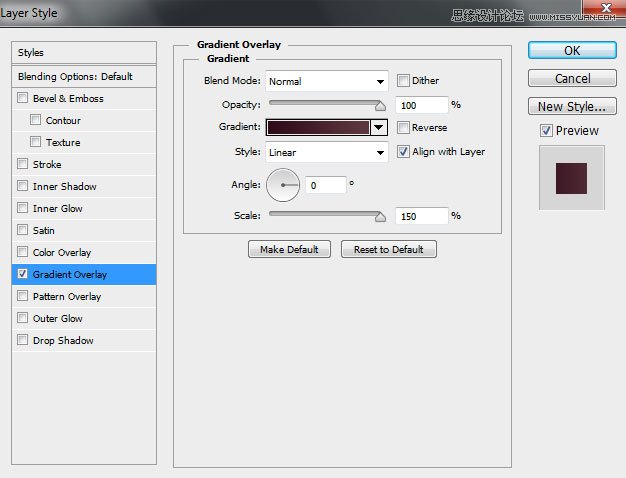
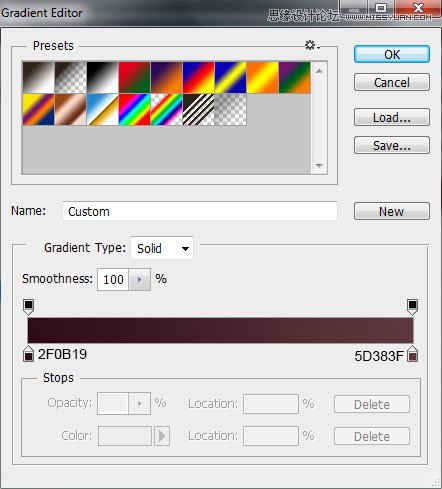
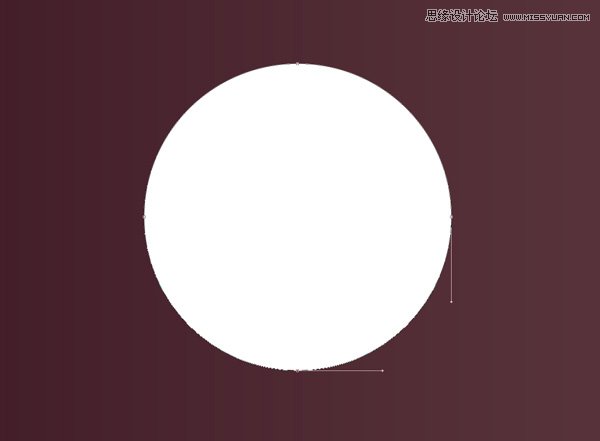
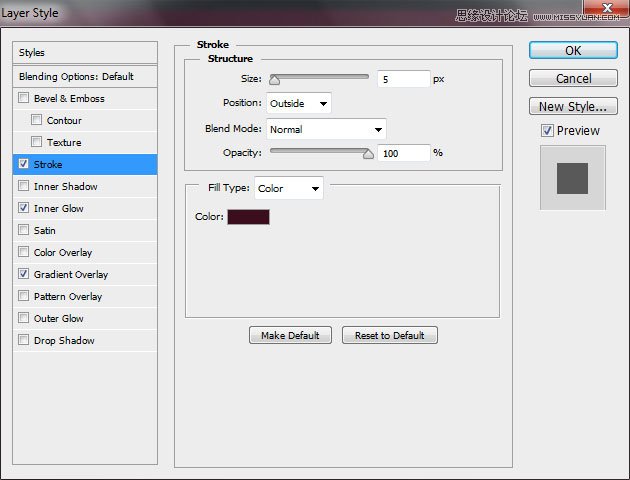
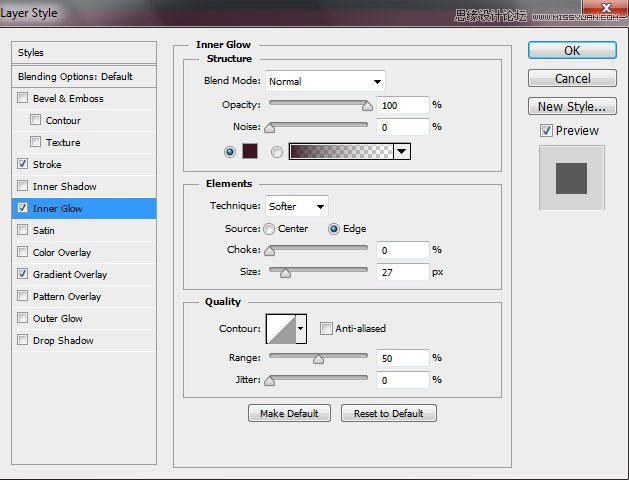
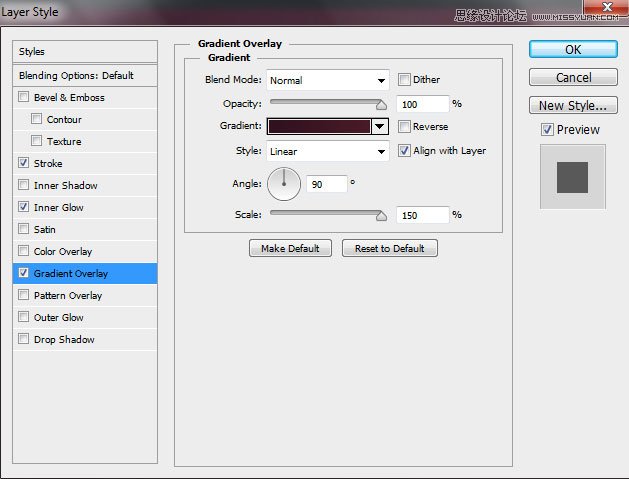
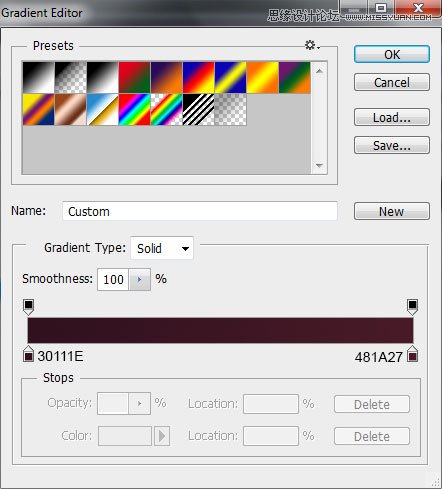
效果图制作非常简单,基本上都是以圆形为主,制作的时候只需要降低图层的不透明度,然后多复制一些圆形色块叠加到一起,就可以得到非常不错的效果,喜欢的朋友让我们一起来学习吧。
 情非得已
情非得已
推荐文章
-
 Photoshop设计撕纸特效的人物海报教程2020-10-28
-
 Photoshop制作立体风格的国庆节海报2020-10-10
-
 Photoshop设计撕纸特效的人像海报2020-03-27
-
 图标设计:用PS制作奶油质感手机主题图标2019-11-06
-
 图标设计:用PS制作中国风圆形APP图标2019-11-01
-
 手机图标:用PS设计儿童贴画风格的APP图标2019-08-09
-
 电影海报:用PS制作蜘蛛侠海报效果2019-07-09
-
 创意海报:用PS合成铁轨上的霸王龙2019-07-08
-
 电影海报:用PS设计钢铁侠电影海报2019-07-08
-
 立体海报:用PS制作创意的山川海报2019-05-22
热门文章
-
 Photoshop设计猕猴桃风格的APP图标2021-03-10
-
 Photoshop制作逼真的毛玻璃质感图标2021-03-09
-
 Photoshop结合AI制作抽象动感的丝带2021-03-16
-
 Photoshop结合AI制作炫酷的手机贴纸2021-03-16
-
 Photoshop制作立体风格的国庆节海报
相关文章7132020-10-10
-
 Photoshop制作时尚大气的足球比赛海报
相关文章11832020-07-09
-
 Photoshop设计时尚的夏季啤酒广告
相关文章6472020-03-16
-
 字体壁纸:用PS设计以文字为主的壁纸
相关文章7152019-03-21
-
 邮件图标:用PS鼠绘时尚的邮件图标
相关文章6442019-02-26
-
 化妆品海报:PS设计时尚的化妆品海报
相关文章4312019-01-10
-
 PS设计时尚大气的渐变主题海报
相关文章6902018-12-19
-
 Photoshop调出人像照片暗色胶片艺术效果
相关文章3452018-11-09

