Photoshop调出街景照片唯美的手绘效果图(4)
文章来源于 优设,感谢作者 他山之眼 给我们带来经精彩的文章!设计教程/PS教程/照片处理2015-07-11
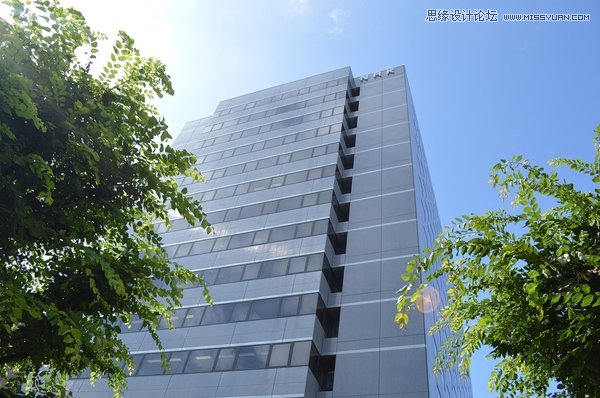
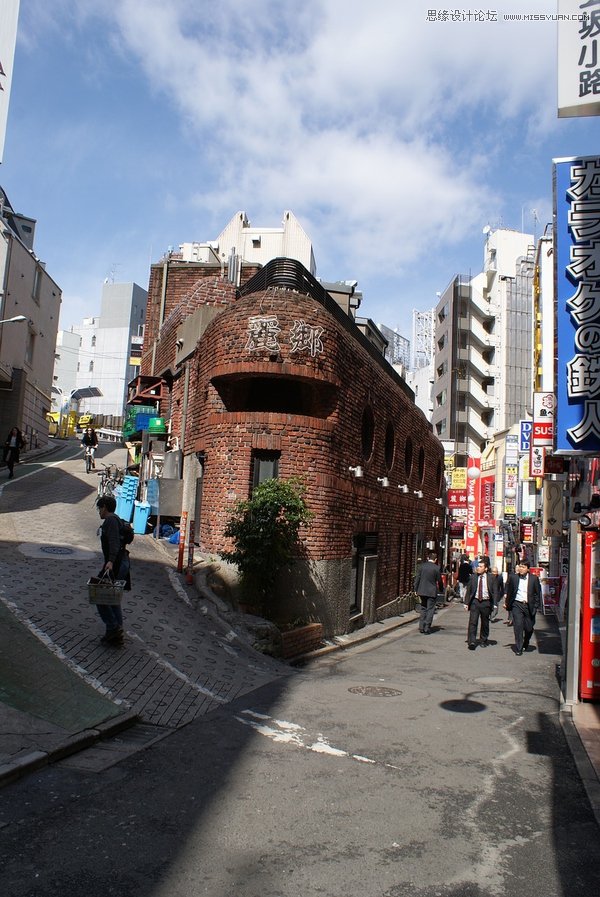
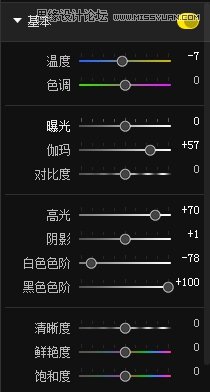
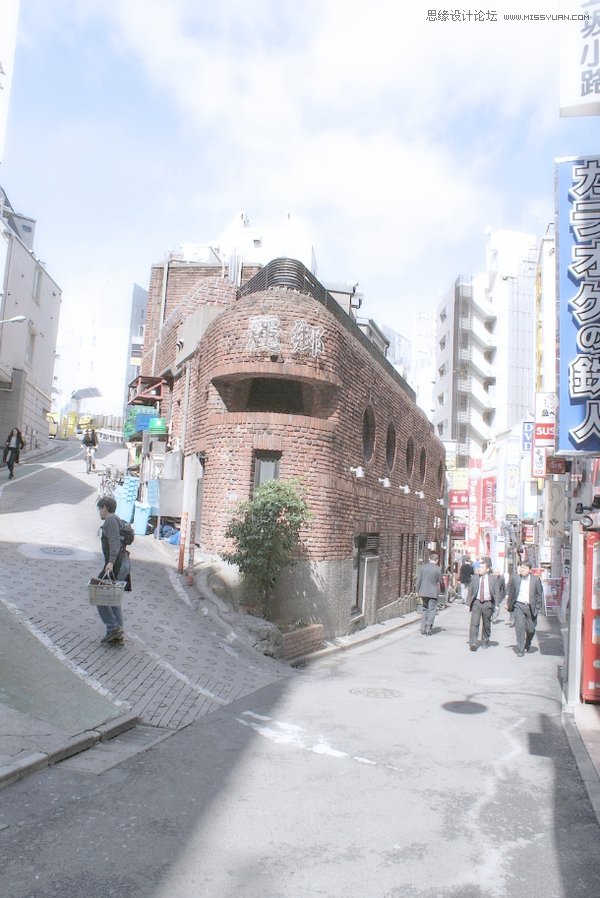
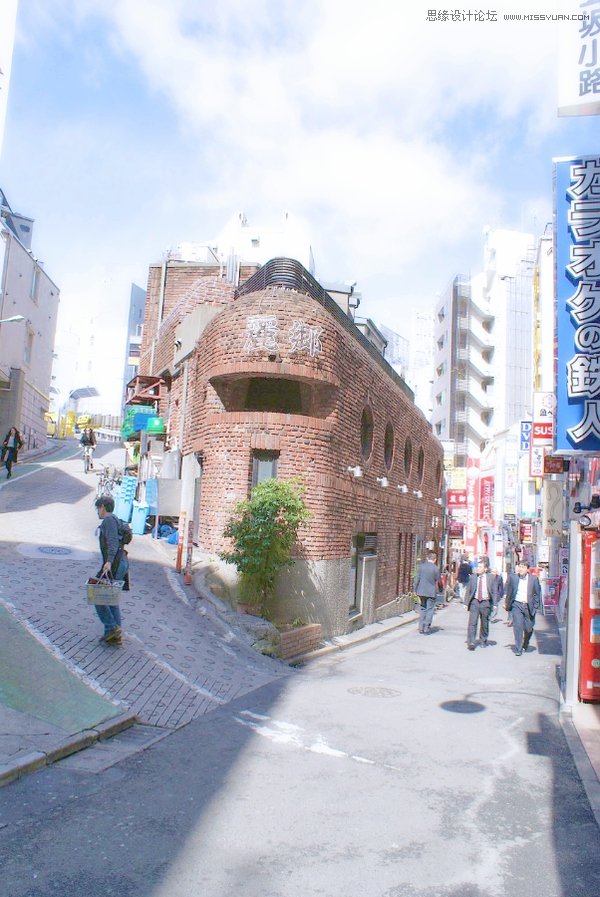
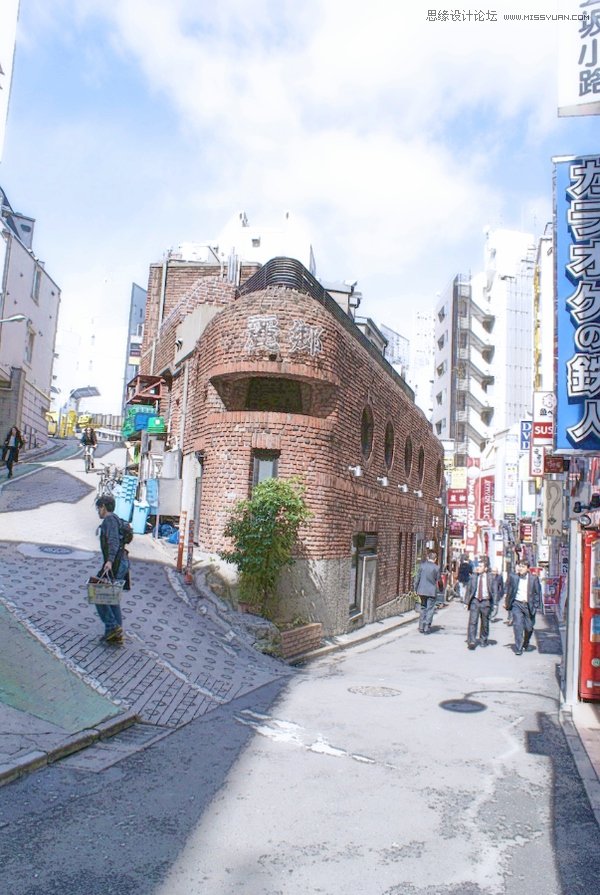
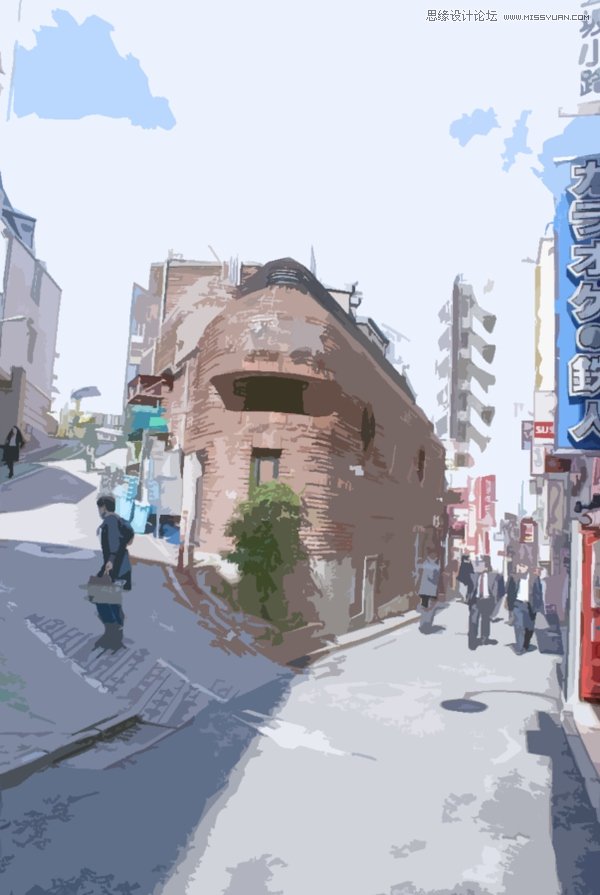
与原图对比: 细节: OK,这是最简单的版本。 下面我们来玩个高级版本。 我们先打开一张图片: 我们还是导入图片,对曝光进行一个调整,参数如图: 得到的效果如图: 可以看到,这时候画面的细节得到了丰富的呈现。
 情非得已
情非得已
推荐文章
-
 Photoshop制作唯美可爱的女生头像照片2020-03-17
-
 Photoshop快速给人物添加火焰燃烧效果2020-03-12
-
 Photoshop调出人物写真甜美通透艺术效果2020-03-06
-
 Photoshop保留质感修出古铜色人像皮肤2020-03-06
-
 Photoshop制作模特人像柔润的头发效果2020-03-04
-
 古风效果:用PS调出外景人像中国风意境效果2019-11-08
-
 插画效果:用PS把风景照片转插画效果2019-10-21
-
 胶片效果:用PS调出人像复古胶片效果2019-08-02
-
 素描效果:用PS制作人像彩色铅笔画效果2019-07-12
-
 后期精修:用PS给人物皮肤均匀的磨皮2019-05-10
热门文章
-
 Photoshop利用素材制作炫丽的科技背景2021-03-11
-
 Photoshop使用中性灰磨皮法给人像精修2021-02-23
-
 Photoshop制作水彩风格的风景图2021-03-10
-
 Photoshop制作创意的文字排版人像效果2021-03-09
-
 Photoshop制作逼真的投影效果2021-03-11
-
 Photoshop制作故障干扰艺术效果2021-03-09
-
 Photoshop制作被切割的易拉罐效果图2021-03-10
-
 Photoshop制作人物支离破碎的打散效果2021-03-10
-
 Photoshop制作被切割的易拉罐效果图
相关文章852021-03-10
-
 Photoshop制作下雨天玻璃后效果图
相关文章4502020-09-26
-
 Photosho合成创意的星轨效果图
相关文章9382020-03-19
-
 Photoshop调出人物写真甜美通透艺术效果
相关文章5952020-03-06
-
 素描效果:用PS制作人像彩色铅笔画效果
相关文章22462019-07-12
-
 精致磨皮:用PS给人像光滑甜美的磨皮
相关文章22122019-05-22
-
 冬季特效:用PS调出冬季唯美的人像效果
相关文章4222019-04-04
-
 移轴摄影:用PS快速制作移轴效果图
相关文章5112019-03-04
