Photoshop合成海上漂浮的海龟岛效果图(8)
文章来源于 站酷,感谢作者 garick 给我们带来经精彩的文章!第43步
选中组“waterfall”"tree1"和"stone",再次编组,命名为“created Island”
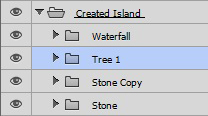
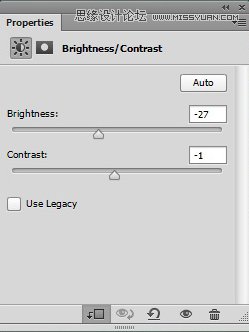
给“created island”组添加一个亮度/对比度调整层,设置如下:
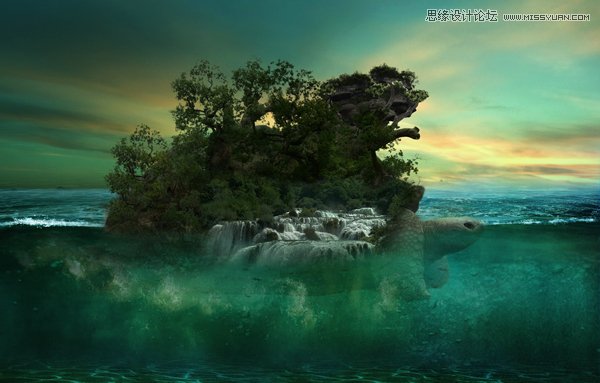
得到如下效果:
第44步
给刚刚建立的亮/对比度调整层建一个图层蒙版,用黑色画笔涂抹下图所示区域:
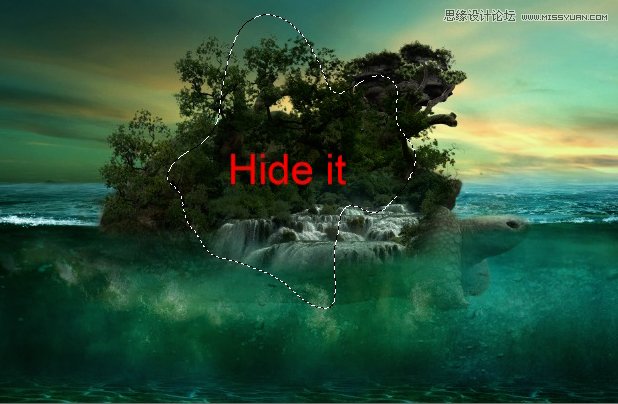
效果如下:
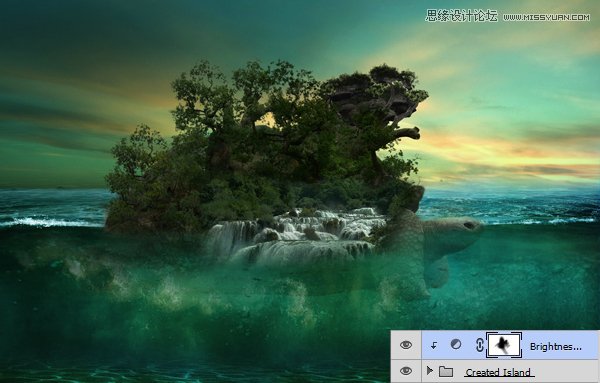
第45步
把附件中所带的“water 07 brush”装进PS中,用这个笔刷创建出一些水花的效果(这里我用了七个图层):
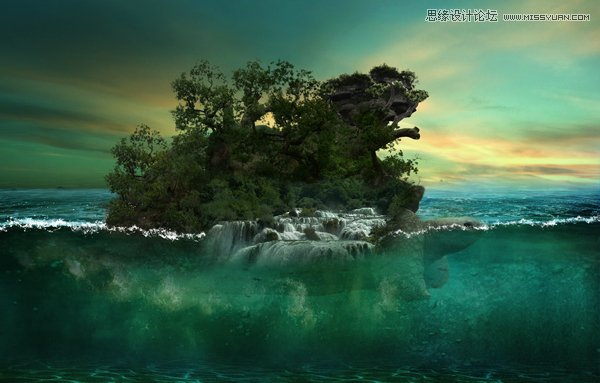
第46步
在瀑布下面,我另外创建了一个水花层,然后用变形工具做一些变形,使它与瀑布更贴合:
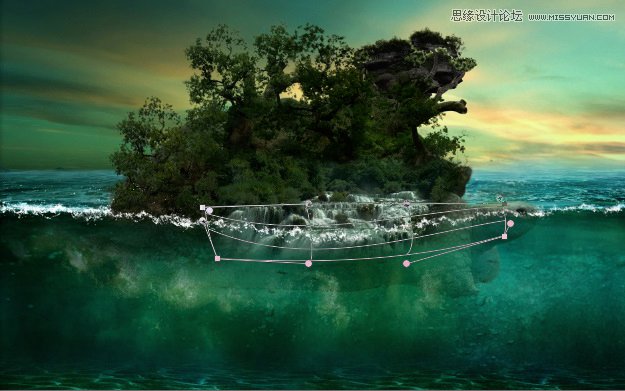
效果如下:
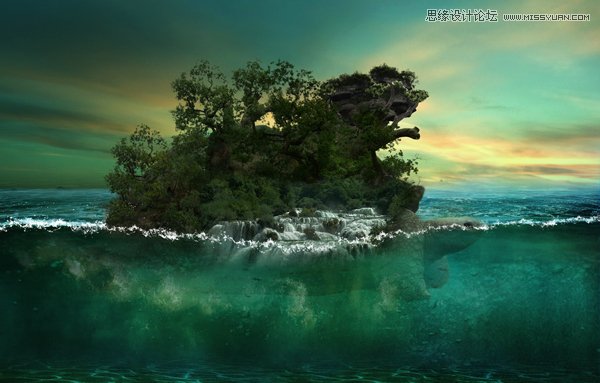
第47步
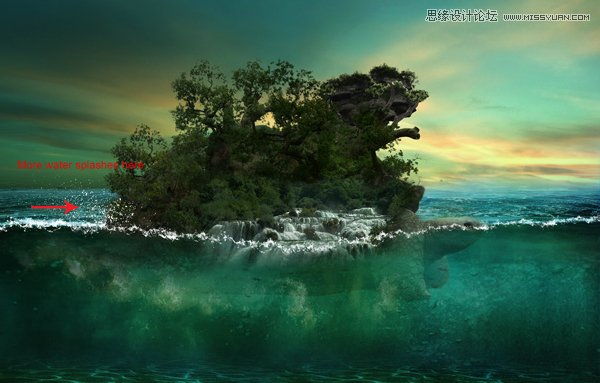
用水花笔刷做一些水花喷溅的效果:
第48步
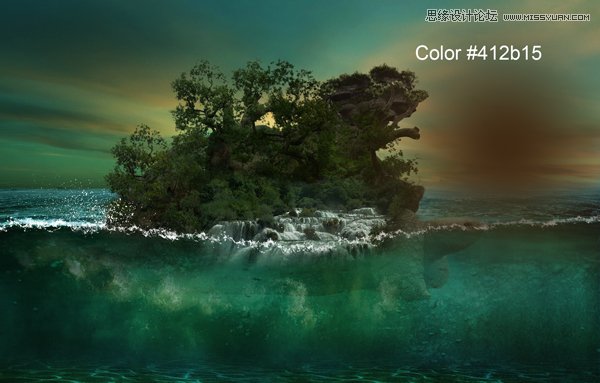
Now, we’ll add the lighting effects to the scene. I created a new layer by pressing (Ctrl+Shift+N) on keyboard then grab the brush tool and change your foreground color to #412b15. Set the opacity and flow to 100% with the size to 900 pixels then paint a big stroke as shown in the image below.
现在,我们要给画面加上光效了。新建一层(ctrl+shift+n),切换到画笔工具,前景色#412b15,画笔不透明度100%,画笔大小900px,在下图所示位置点一下:
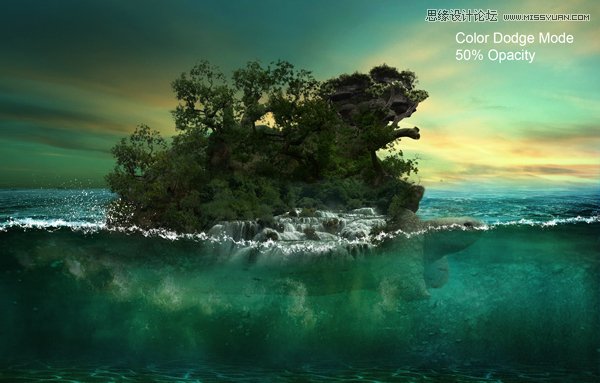
把这个图层的混合模式改为颜色减淡,不透明度50%,得到如下效果:
第49步
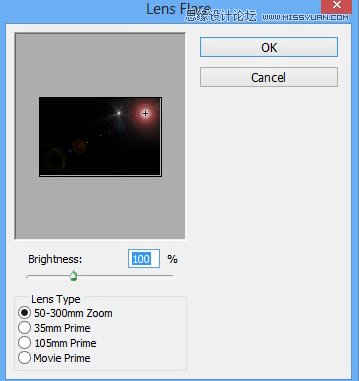
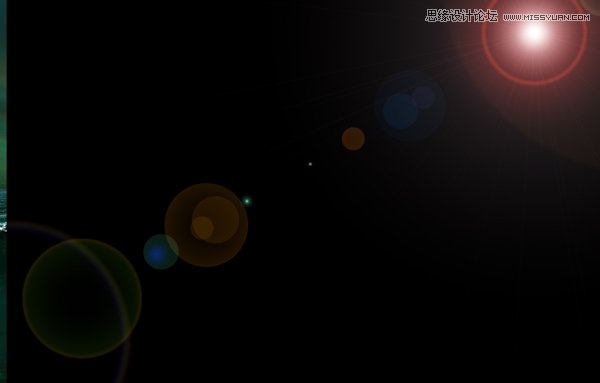
再新建一层,填充黑色,然后选择滤镜>渲染>镜头光晕,设置如下:
效果如下:
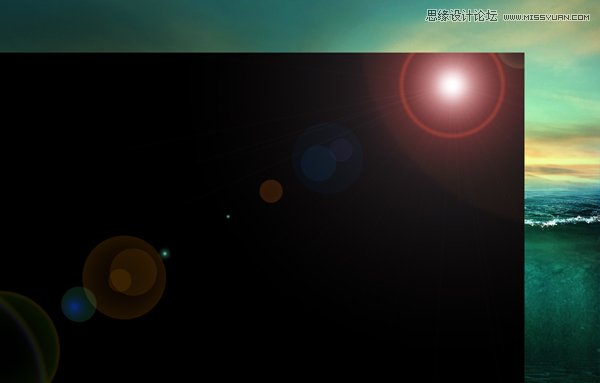
将它移动到合适位置,如下图:
 情非得已
情非得已
-
 Photoshop合成海边海龟和被掀起的海浪场景2021-03-08
-
 Photoshop创意合成森林中的新娘和鸟笼2021-02-23
-
 Photoshop合成森林中马灯下的小动物2020-04-01
-
 Photoshop合成梦幻仙境场景的精灵仙子2020-03-27
-
 Photoshop合成创意头像长出花朵效果2020-03-26
-
 Photoshop合成被蝴蝶和星光打散的头像2020-03-26
-
 Photoshop合成创意的美女和野兽场景2020-03-20
-
 Photoshop合成创意的乌龟背着城堡效果图2020-03-20
-
 Photoshop合成房间里抚摸恐龙头的小男孩2020-03-20
-
 Photoshop快速给建筑照片添加傍晚效果2020-03-19
-
 Photoshop创意合成森林中的新娘和鸟笼2021-02-23
-
 Photoshop合成魔幻主题的发光山羊2021-03-04
-
 Photoshop合成海边海龟和被掀起的海浪场景2021-03-08
-
 Photoshop创意合成苹果身体的易拉罐2021-03-10
-
 Photoshop合成闪电下的超级跑车2021-03-04
-
 Photoshop创意合成在脚底下魔法师2021-03-08
-
 Photoshop创意合成被热气球带飞的鲸鱼2021-03-16
-
 Photoshop创意合成被热气球带飞的鲸鱼
相关文章672021-03-16
-
 Photoshop创意合成苹果身体的易拉罐
相关文章2362021-03-10
-
 Photoshop创意合成在脚底下魔法师
相关文章1422021-03-08
-
 Photoshop合成海边海龟和被掀起的海浪场景
相关文章2562021-03-08
-
 Photoshop合成魔幻主题的发光山羊
相关文章2882021-03-04
-
 Photoshop合成闪电下的超级跑车
相关文章1882021-03-04
-
 Photoshop创意合成森林中的新娘和鸟笼
相关文章2982021-02-23
-
 Photoshop创意的合成猫咪头像的猫头鹰
相关文章9822020-10-10
