Photoshop给人像照片后期祛斑和精细磨皮(2)
文章来源于 240ps,感谢作者 火焰 给我们带来经精彩的文章!设计教程/PS教程/照片处理2016-10-22
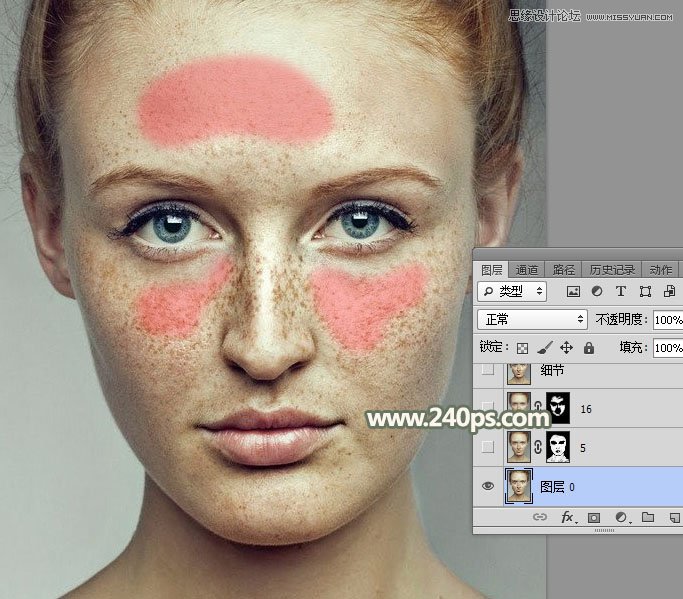
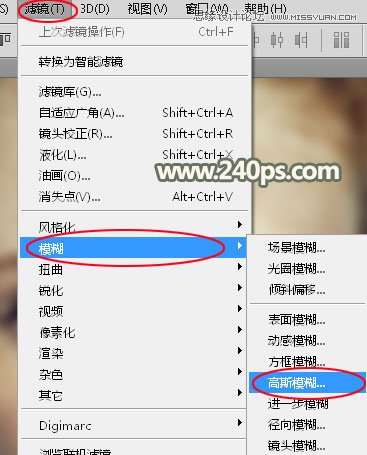
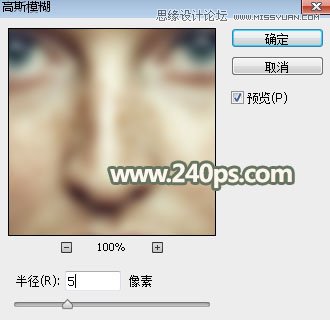
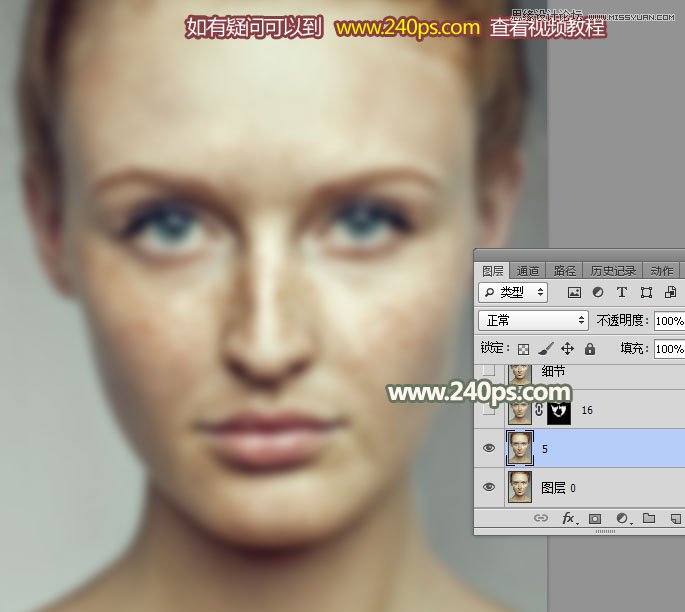
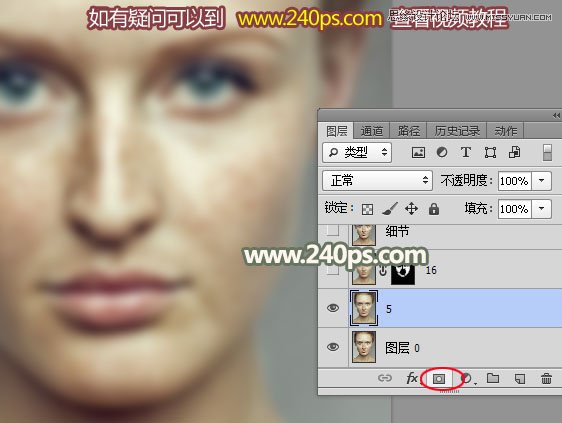
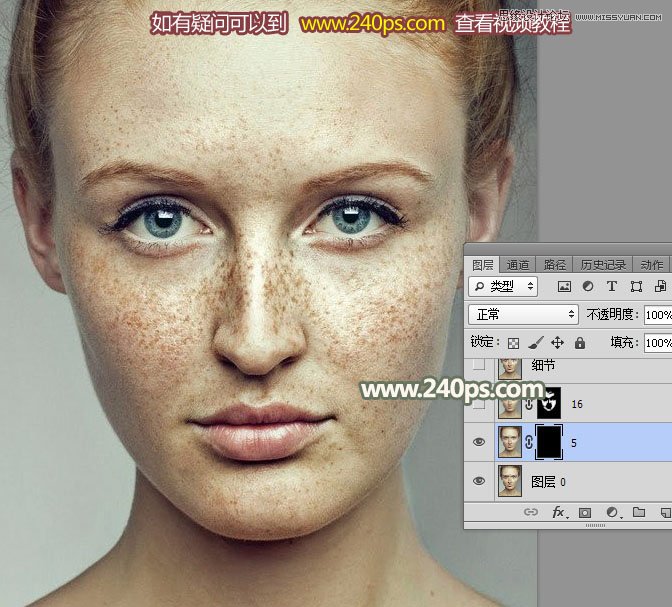
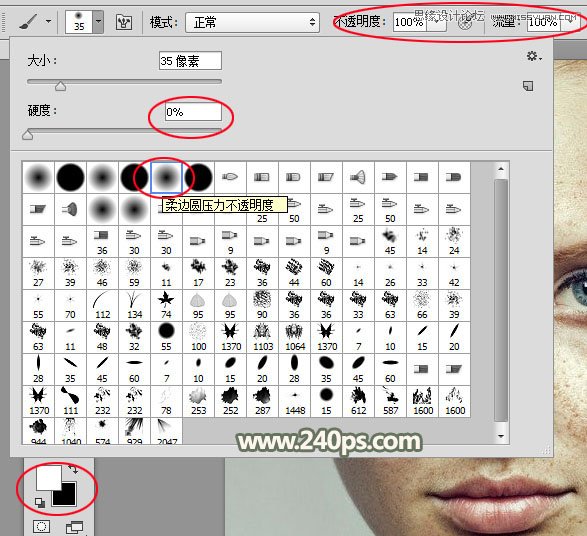
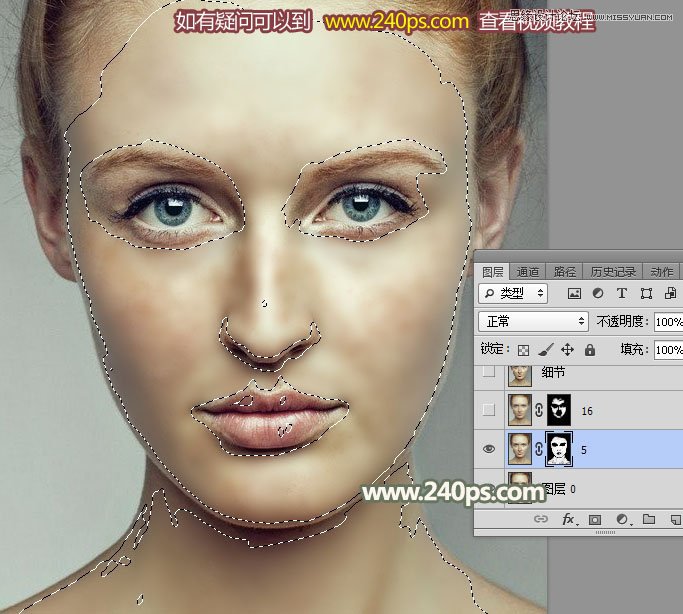
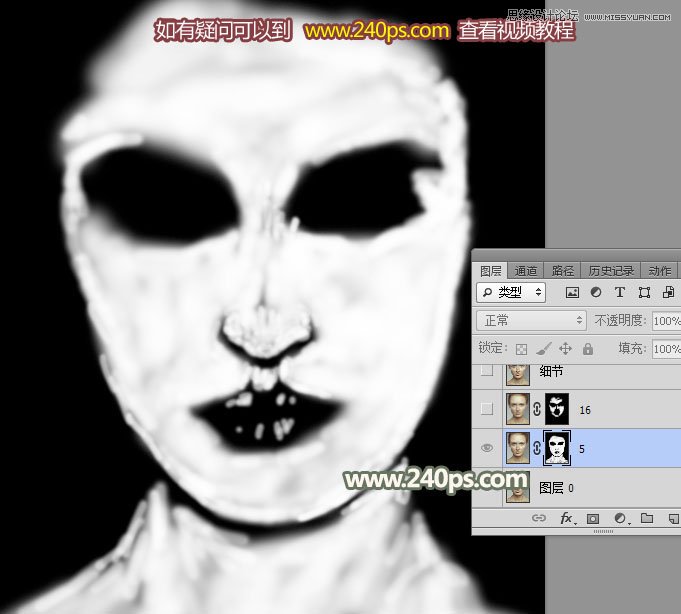
1、打开原图素材,我们先分析一下要处理的部分:除了斑点外,人物皮肤的高光区域有点过亮,如下图。 2、按Ctrl + J 把背景图层复制一层,然后自己命名,如下图。 3、选择菜单:滤镜 模糊 高斯模糊,半径设置为5,然
 情非得已
情非得已
推荐文章
-
 Photoshop制作唯美可爱的女生头像照片2020-03-17
-
 Photoshop快速给人物添加火焰燃烧效果2020-03-12
-
 Photoshop调出人物写真甜美通透艺术效果2020-03-06
-
 Photoshop保留质感修出古铜色人像皮肤2020-03-06
-
 Photoshop制作模特人像柔润的头发效果2020-03-04
-
 古风效果:用PS调出外景人像中国风意境效果2019-11-08
-
 插画效果:用PS把风景照片转插画效果2019-10-21
-
 胶片效果:用PS调出人像复古胶片效果2019-08-02
-
 素描效果:用PS制作人像彩色铅笔画效果2019-07-12
-
 后期精修:用PS给人物皮肤均匀的磨皮2019-05-10
热门文章
-
 Photoshop利用素材制作炫丽的科技背景2021-03-11
-
 Photoshop使用中性灰磨皮法给人像精修2021-02-23
-
 Photoshop制作水彩风格的风景图2021-03-10
-
 Photoshop制作创意的文字排版人像效果2021-03-09
-
 Photoshop制作逼真的投影效果2021-03-11
-
 Photoshop制作故障干扰艺术效果2021-03-09
-
 Photoshop制作被切割的易拉罐效果图2021-03-10
-
 Photoshop制作人物支离破碎的打散效果2021-03-10
-
 Photoshop利用素材制作炫丽的科技背景
相关文章2062021-03-11
-
 Photoshop快速制作数码照片柔焦艺术效果
相关文章6332020-10-10
-
 Photoshop快速的增加写实人像的质感
相关文章7502020-10-10
-
 Photoshop制作编织效果的人物
相关文章9832020-04-01
-
 Photoshop制作唯美可爱的女生头像照片
相关文章8162020-03-17
-
 Photoshop快速给黑白人像照片上色
相关文章7582020-03-12
-
 Photoshop如何去除照片上的透明水印
相关文章12362020-03-08
-
 Photoshop调出儿童照片工笔画艺术效果
相关文章4942020-03-08
