Photoshop制作时尚风格的眼镜广告教程(2)
文章来源于 PS教程网,感谢作者 魔法世界的小姑娘 给我们带来经精彩的文章!设计教程/PS教程/设计教程2017-03-14
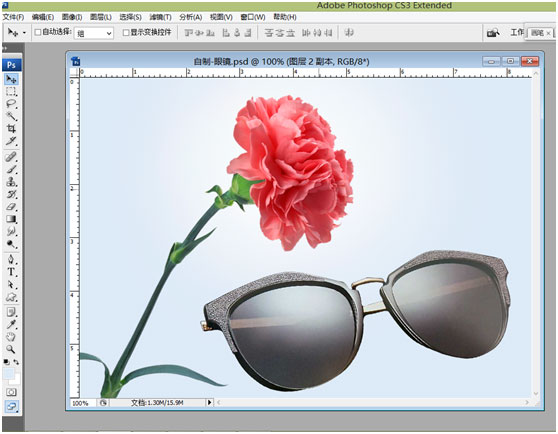
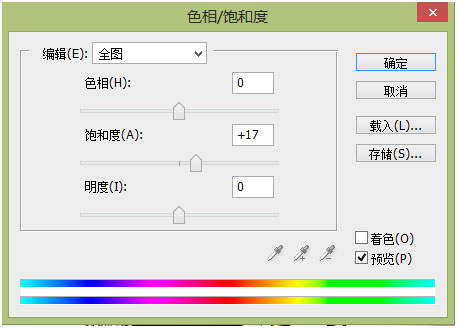
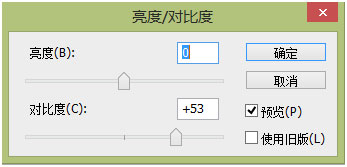
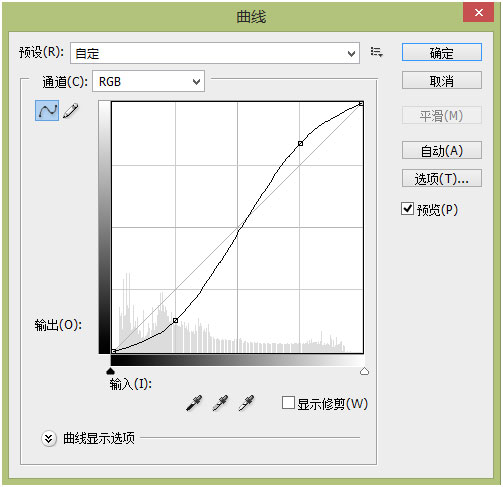
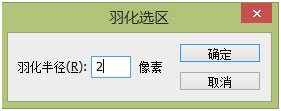
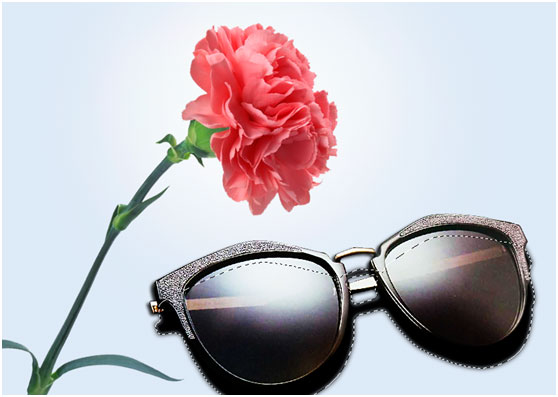
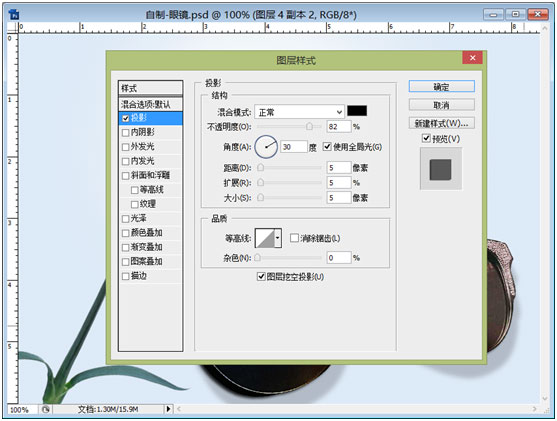
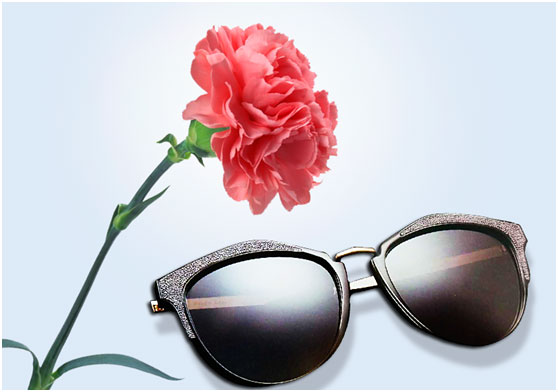
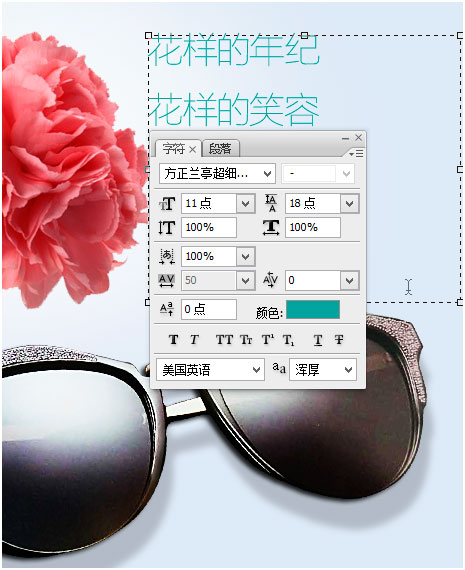
7.放到下面的位置。 8.对墨镜作如下调整,色相/饱和度 亮度/对比度 曲线 数值设置如下,记得三个都要创建剪切蒙版哟! 9.其他图层都关掉,只留下墨镜图层和上面针对墨镜进行调整的三个剪切蒙版图层,Ctrl + Shift +
 情非得已
情非得已
推荐文章
-
 Photoshop设计撕纸特效的人物海报教程2020-10-28
-
 Photoshop制作立体风格的国庆节海报2020-10-10
-
 Photoshop设计撕纸特效的人像海报2020-03-27
-
 图标设计:用PS制作奶油质感手机主题图标2019-11-06
-
 图标设计:用PS制作中国风圆形APP图标2019-11-01
-
 手机图标:用PS设计儿童贴画风格的APP图标2019-08-09
-
 电影海报:用PS制作蜘蛛侠海报效果2019-07-09
-
 创意海报:用PS合成铁轨上的霸王龙2019-07-08
-
 电影海报:用PS设计钢铁侠电影海报2019-07-08
-
 立体海报:用PS制作创意的山川海报2019-05-22
热门文章
-
 Photoshop设计猕猴桃风格的APP图标2021-03-10
-
 Photoshop制作逼真的毛玻璃质感图标2021-03-09
-
 Photoshop结合AI制作抽象动感的丝带2021-03-16
-
 Photoshop结合AI制作炫酷的手机贴纸2021-03-16
-
 Photoshop结合AI制作炫酷的手机贴纸
相关文章652021-03-16
-
 Photoshop设计猕猴桃风格的APP图标
相关文章2212021-03-10
-
 Photoshop设计撕纸特效的人物海报教程
相关文章16362020-10-28
-
 Photoshop结合AI制作炫丽的网格效果
相关文章10302020-10-28
-
 Photoshop制作立体风格的国庆节海报
相关文章7132020-10-10
-
 Photoshop制作时尚大气的足球比赛海报
相关文章11832020-07-09
-
 Photoshop制作花朵穿插文字海报教程
相关文章24942020-04-02
-
 Photoshop设计撕纸特效的人像海报
相关文章25062020-03-27
