Photoshop快速抠出室内美丽的婚纱照片
文章来源于 240PS,感谢作者 昀恒 给我们带来经精彩的文章!设计教程/PS教程/抠图教程2017-06-16
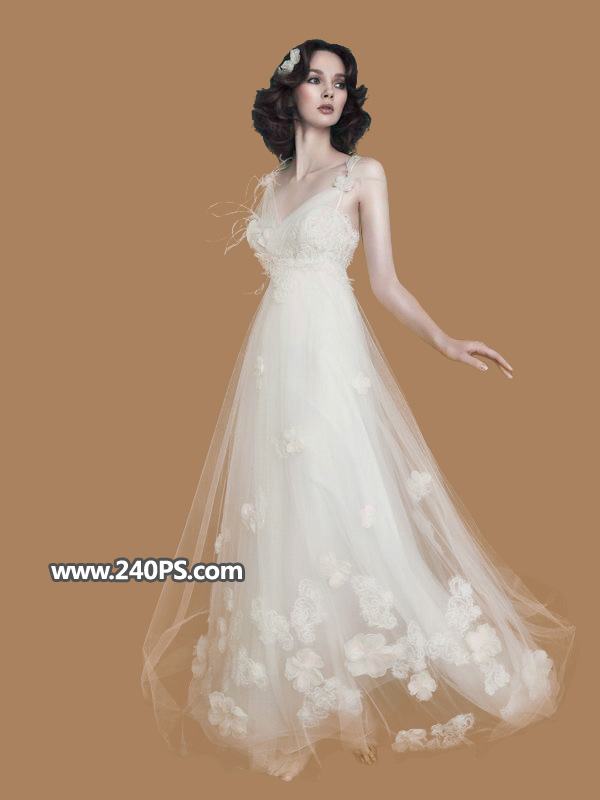
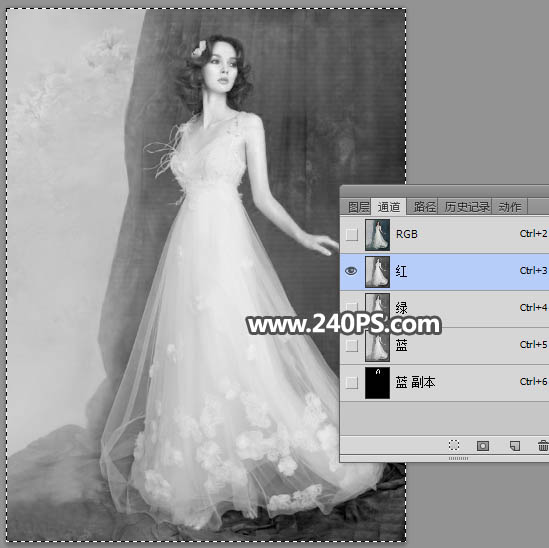
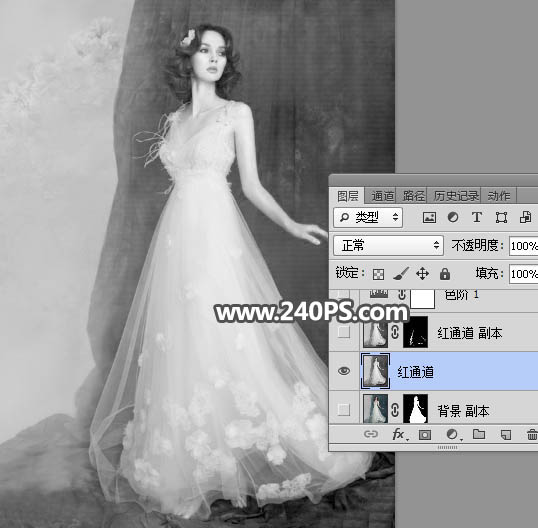
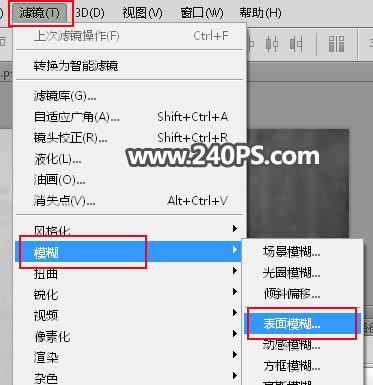
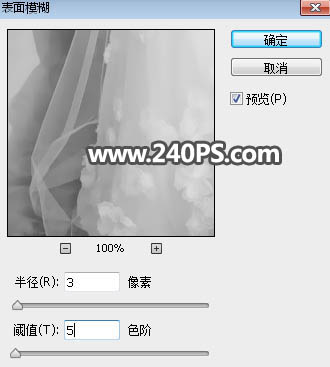
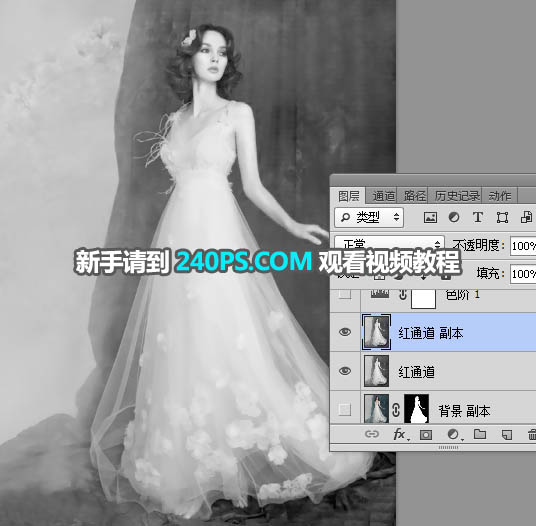
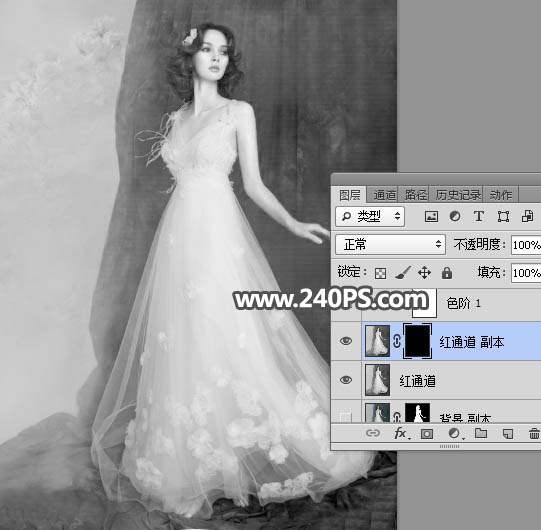
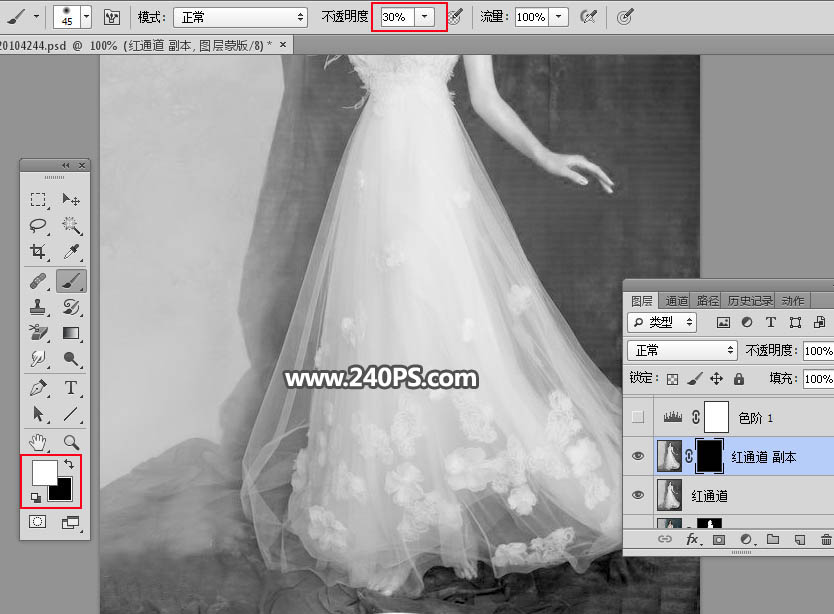
本文抠出分为两个部分。首先是婚纱裙子部分,这一部分相对要难一点,因为裙子边缘及底部区域都是半透明的,通道中处理的时候不能调得过亮;然后是头发部分,颜色比较暗,比较容易抠出。
 情非得已
情非得已
推荐文章
-
 Photoshop使用通道工具抠出可爱的狗狗2020-03-15
-
 Photoshop使用通道工具抠出逆光美女2020-03-08
-
 抠图教程:详解5种PS经典的抠图方法2019-08-29
-
 Photoshop巧用通道超精细的抠儿童头发丝教程2015-05-20
-
 Photoshop完美抠出穿婚纱的新娘照片2013-11-07
-
 Photoshop使用通道混合器给狗狗抠图2012-10-25
-
 Photoshop给头发蓬松的孩子抠图并合成2012-06-19
-
 Photoshop给白色婚纱抠图并合成到风景照中2012-06-14
-
 Photoshop详细讲解钢笔工具在抠图中的使用2011-08-30
-
 Photoshop抠图教程:抠出飘逸长发美女2011-03-30
热门文章
-
 Photoshop快速抠出卷发的美女人像2021-03-04
-
 人像PS抠图:多头发丝照片抠图技巧
相关文章16822019-01-13
-
 Photoshop快速抠出昏暗背景中的婚纱照
相关文章14722018-11-16
-
 Photoshop抠出复杂背景下的透明婚纱人像
相关文章9642018-09-14
-
 Photoshop完美抠出穿着透明婚纱的新娘
相关文章19882018-08-14
-
 Photoshop快速的抠出红色婚纱新娘照片
相关文章20252018-07-11
-
 Photoshop使用钢笔和通道抠出婚纱人像
相关文章11062018-04-23
-
 Photoshop抠出很多细头发丝的人像照片
相关文章26122018-02-26
-
 Photoshop抠出披着透明婚纱的新娘
相关文章20162018-01-18
