Photoshop创意合成被翻开书本的头像(4)
文章来源于 240PS,感谢作者 昀恒 给我们带来经精彩的文章!设计教程/PS教程/合成教程2017-11-24
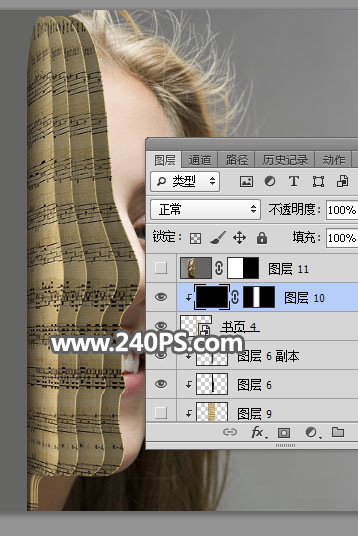
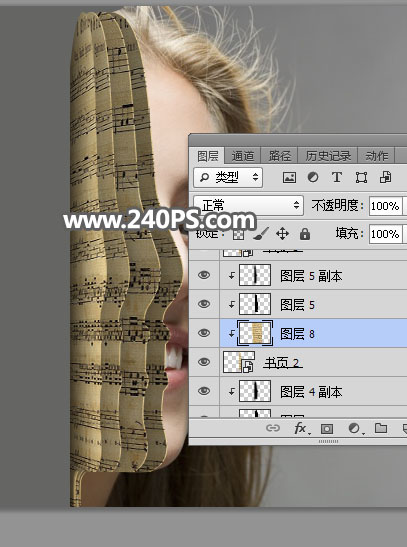
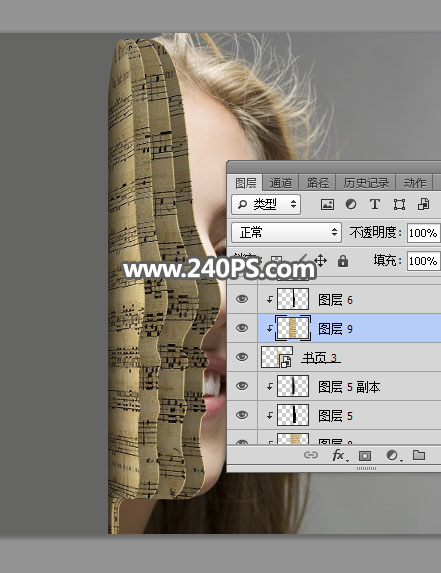
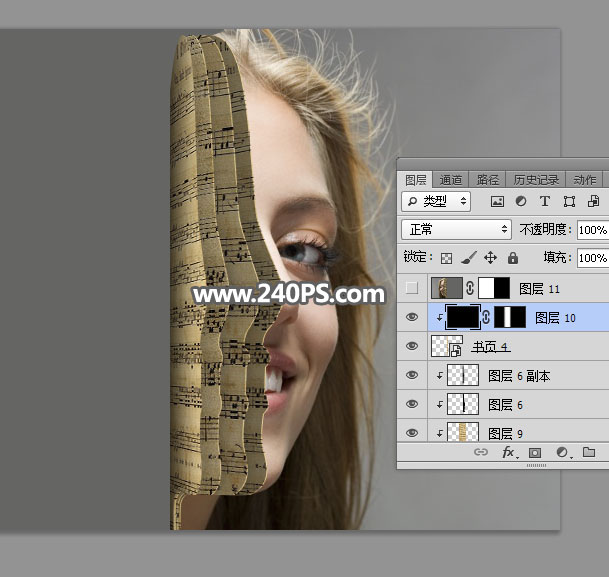
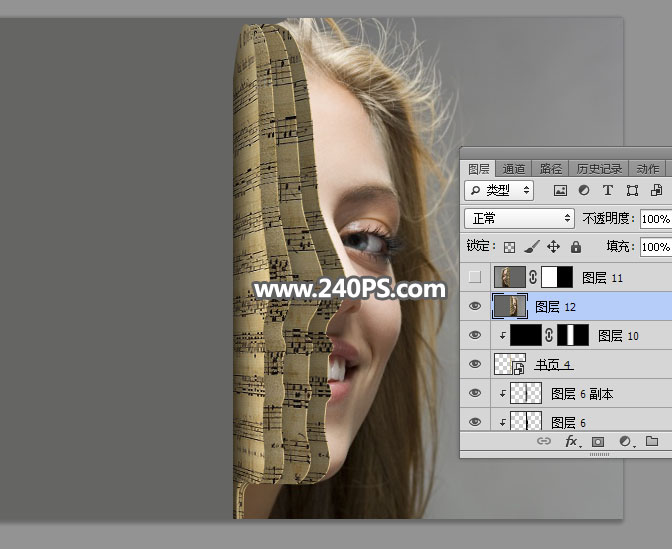
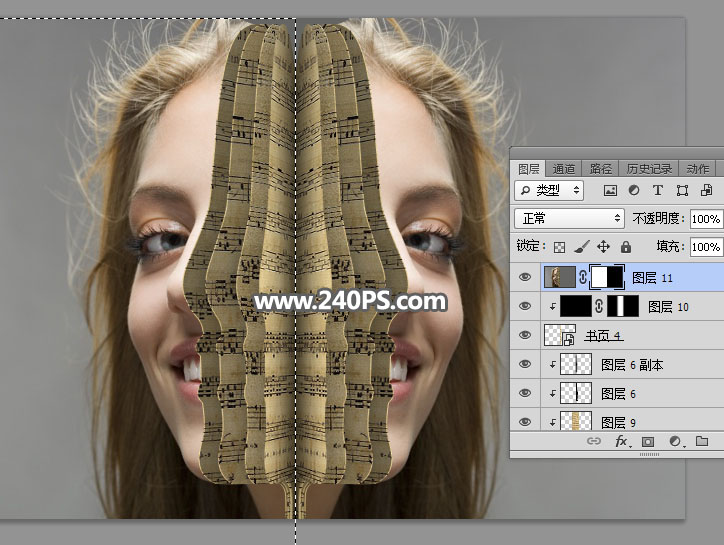
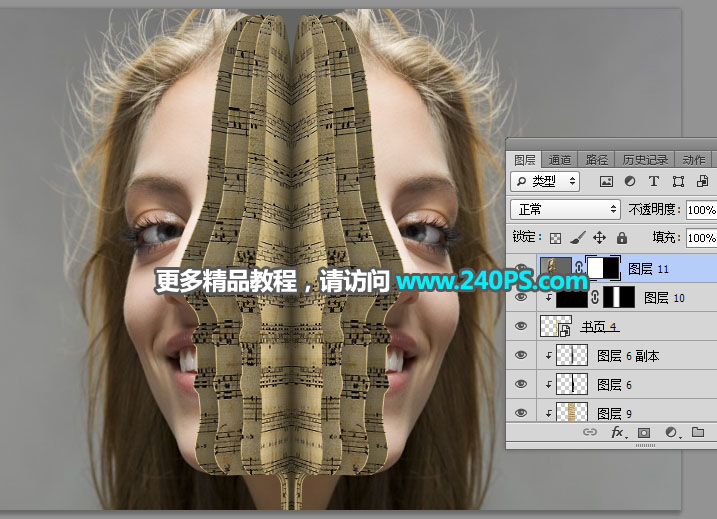
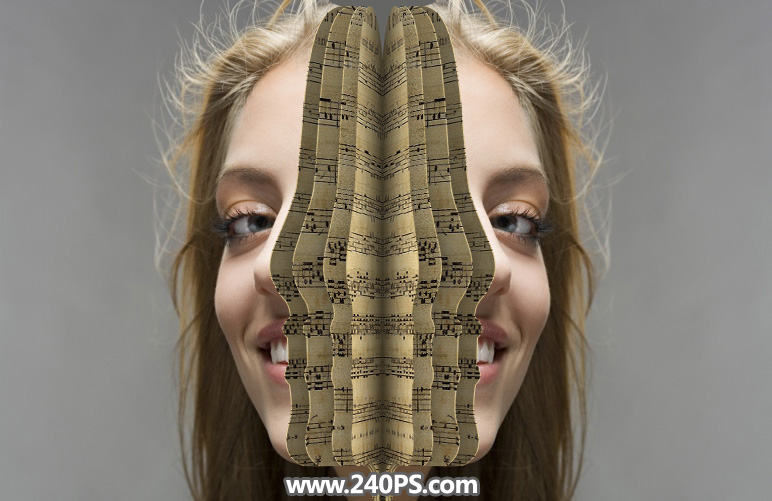
32、书页4只需要给左侧加上阴影,效果如下图。 33、如果觉得书页内容过于单一,可以给每页加上不同的内容,如下图。 34、这是大致处理好的效果。 35、在图层的最上面新建一个图层,按Ctrl + Alt + Shift + E 盖印图
 情非得已
情非得已
推荐文章
-
 Photoshop合成海边海龟和被掀起的海浪场景2021-03-08
-
 Photoshop创意合成森林中的新娘和鸟笼2021-02-23
-
 Photoshop合成森林中马灯下的小动物2020-04-01
-
 Photoshop合成梦幻仙境场景的精灵仙子2020-03-27
-
 Photoshop合成创意头像长出花朵效果2020-03-26
-
 Photoshop合成被蝴蝶和星光打散的头像2020-03-26
-
 Photoshop合成创意的美女和野兽场景2020-03-20
-
 Photoshop合成创意的乌龟背着城堡效果图2020-03-20
-
 Photoshop合成房间里抚摸恐龙头的小男孩2020-03-20
-
 Photoshop快速给建筑照片添加傍晚效果2020-03-19
热门文章
-
Photoshop创意合成森林中的新娘和鸟笼2021-02-23
-
 Photoshop合成魔幻主题的发光山羊2021-03-04
-
Photoshop合成海边海龟和被掀起的海浪场景2021-03-08
-
 Photoshop创意合成苹果身体的易拉罐2021-03-10
-
 Photoshop合成闪电下的超级跑车2021-03-04
-
 Photoshop创意合成在脚底下魔法师2021-03-08
-
 Photoshop创意合成被热气球带飞的鲸鱼2021-03-16
-
Photoshop创意合成被热气球带飞的鲸鱼
相关文章672021-03-16
-
Photoshop创意合成苹果身体的易拉罐
相关文章2362021-03-10
-
Photoshop创意合成在脚底下魔法师
相关文章1422021-03-08
-
Photoshop合成海边海龟和被掀起的海浪场景
相关文章2562021-03-08
-
Photoshop合成魔幻主题的发光山羊
相关文章2882021-03-04
-
Photoshop合成闪电下的超级跑车
相关文章1882021-03-04
-
Photoshop创意合成森林中的新娘和鸟笼
相关文章2982021-02-23
-
 Photoshop创意的合成猫咪头像的猫头鹰
相关文章9822020-10-10
Photoshop创意的合成猫咪头像的猫头鹰
相关文章9822020-10-10
