Photoshop创意合成森林中演奏的天使(4)
文章来源于 240PS,感谢作者 昀恒 给我们带来经精彩的文章!设计教程/PS教程/合成教程2018-08-06
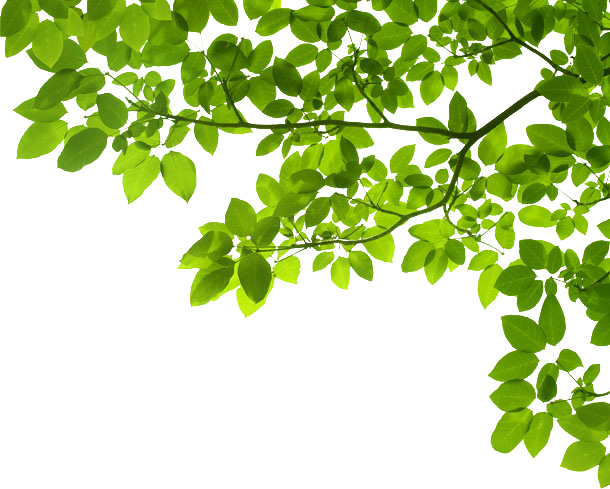
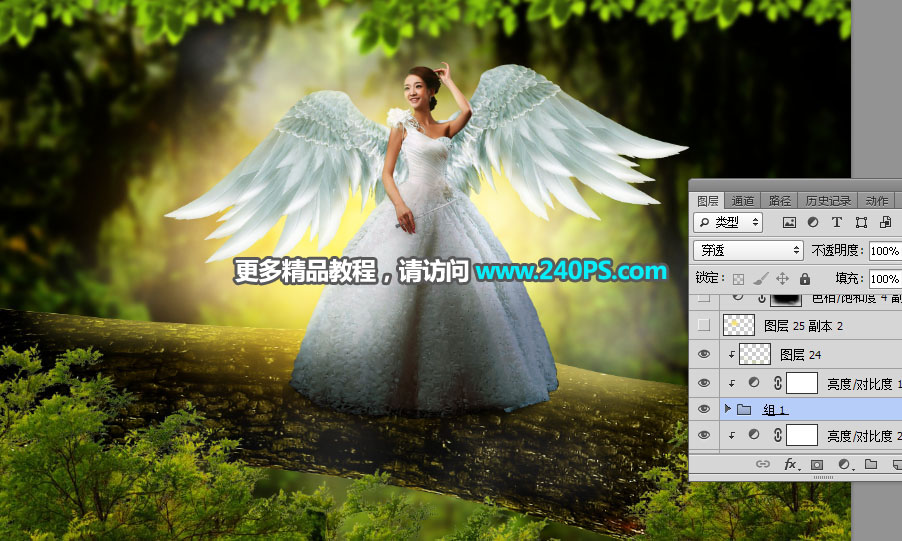
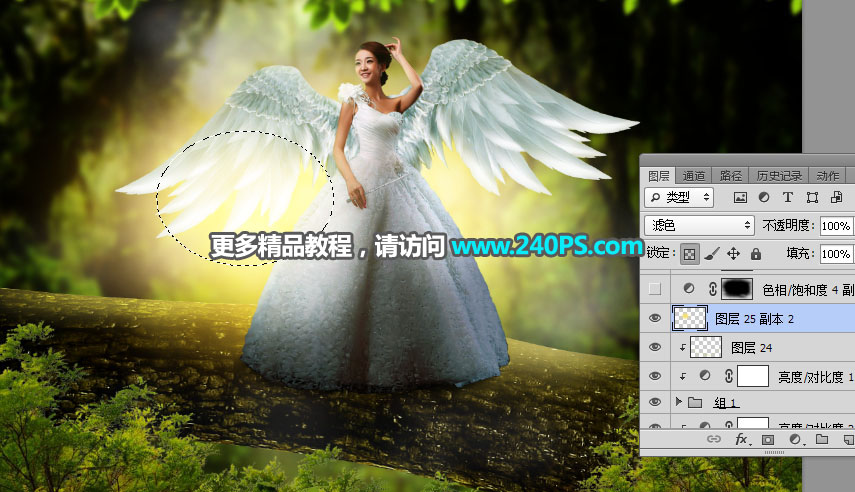
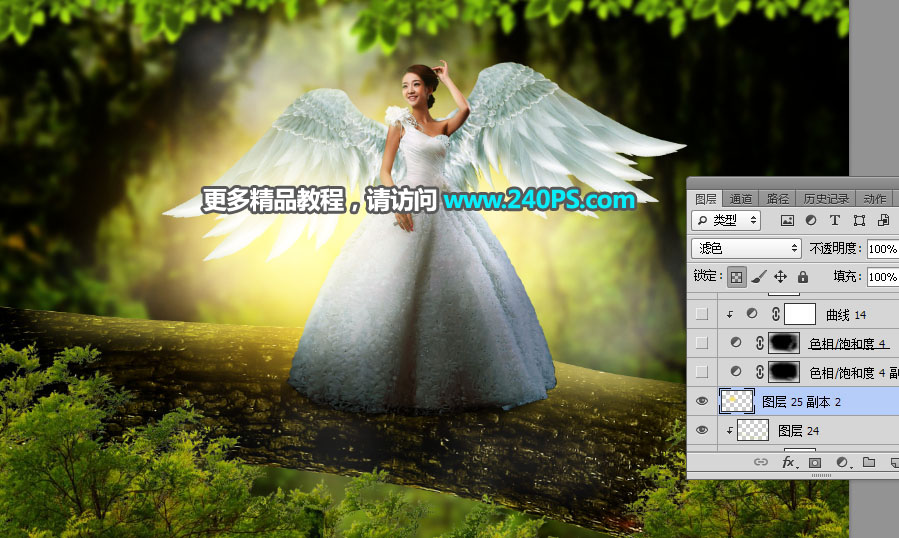
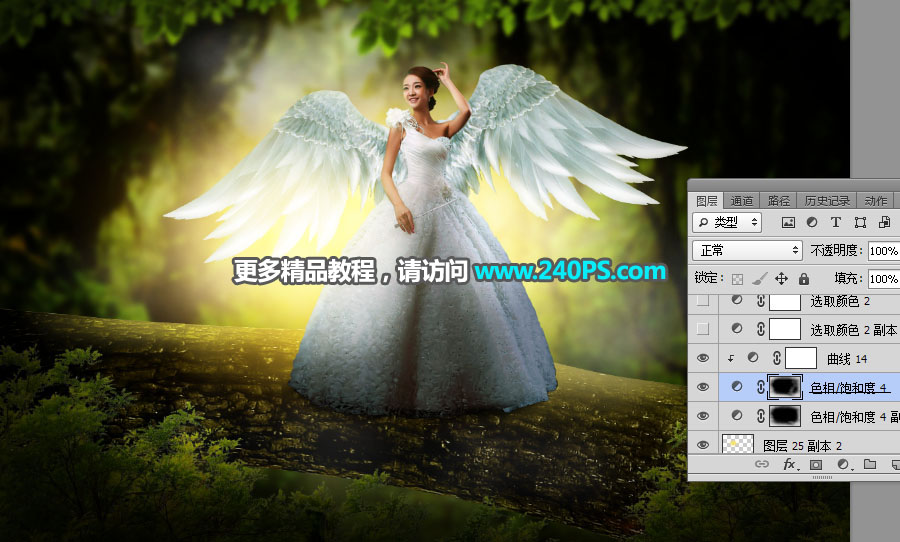
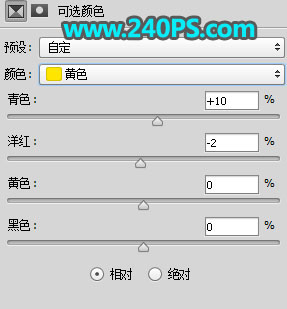
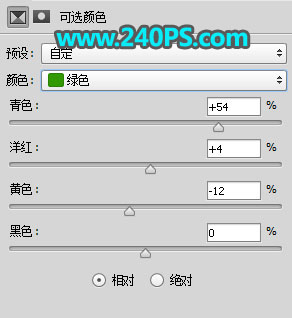
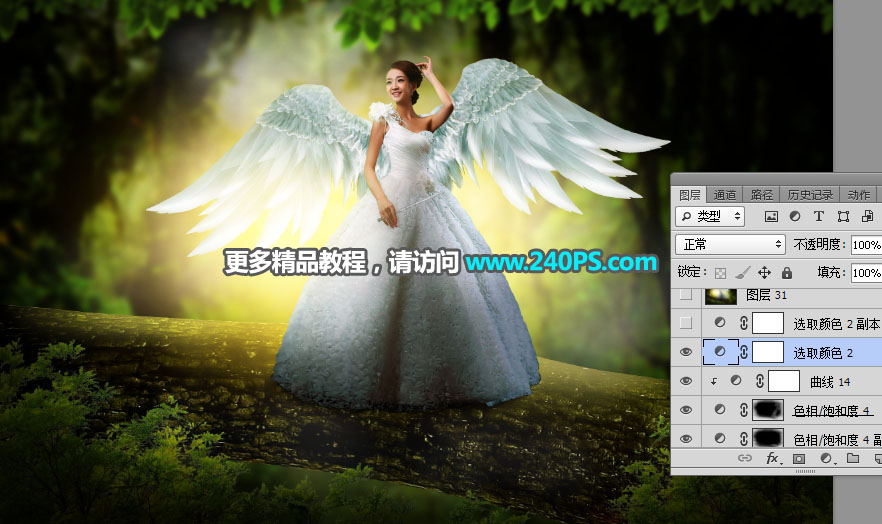
21、把树林素材放到底部位置,然后复制局部贴到左右两侧,效果如下图。 22、同样的方法给顶部加上下面的树叶素材,并适当模糊处理。 23、新建一个图层,用椭圆选框工具拉出下图所示的选区,羽化35个像素后填充淡黄
 情非得已
情非得已
推荐文章
-
 Photoshop合成海边海龟和被掀起的海浪场景2021-03-08
-
 Photoshop创意合成森林中的新娘和鸟笼2021-02-23
-
 Photoshop合成森林中马灯下的小动物2020-04-01
-
 Photoshop合成梦幻仙境场景的精灵仙子2020-03-27
-
 Photoshop合成创意头像长出花朵效果2020-03-26
-
 Photoshop合成被蝴蝶和星光打散的头像2020-03-26
-
 Photoshop合成创意的美女和野兽场景2020-03-20
-
 Photoshop合成创意的乌龟背着城堡效果图2020-03-20
-
 Photoshop合成房间里抚摸恐龙头的小男孩2020-03-20
-
 Photoshop快速给建筑照片添加傍晚效果2020-03-19
热门文章
-
 Photoshop创意合成森林中的新娘和鸟笼2021-02-23
-
 Photoshop合成魔幻主题的发光山羊2021-03-04
-
 Photoshop合成海边海龟和被掀起的海浪场景2021-03-08
-
 Photoshop创意合成苹果身体的易拉罐2021-03-10
-
 Photoshop合成闪电下的超级跑车2021-03-04
-
 Photoshop创意合成在脚底下魔法师2021-03-08
-
 Photoshop创意合成被热气球带飞的鲸鱼2021-03-16
-
 Photoshop创意合成森林中的新娘和鸟笼
相关文章2982021-02-23
-
 Photoshop合成森林中马灯下的小动物
相关文章21572020-04-01
-
 童话场景:用PS合成森林中的精灵仙子
相关文章19402019-12-24
-
 创意合成:用PS合成森林中的魔法精灵
相关文章17272019-04-19
-
 创意合成:用PS合成月亮下的天使和狼
相关文章23212019-04-14
-
 Photoshop合成森林中的弓箭手场景图
相关文章7282018-11-27
-
 Photoshop合成在森林中搭建的休闲小居
相关文章10872018-08-22
-
 Photoshop合成走进梦幻森林城堡的小女孩
相关文章7812018-06-11

