Illustrator打造漂亮的梦幻高光气泡
文章来源于 中国教程网论坛,感谢作者 fightting 编译 给我们带来经精彩的文章!设计教程/矢量教程/Illustrator教程2010-05-10
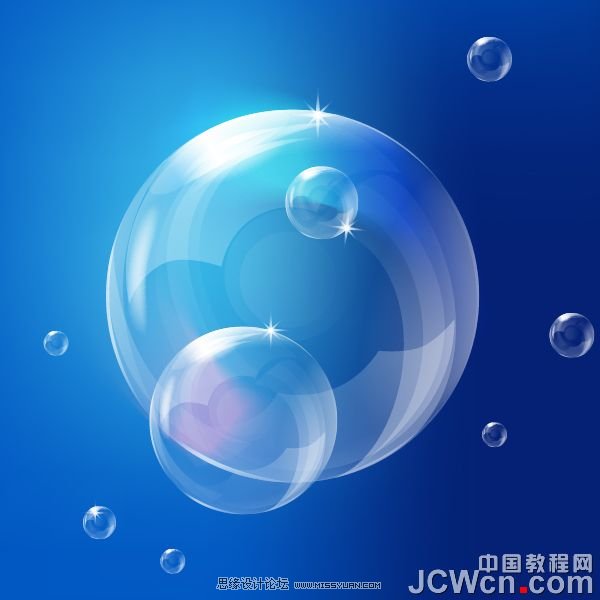
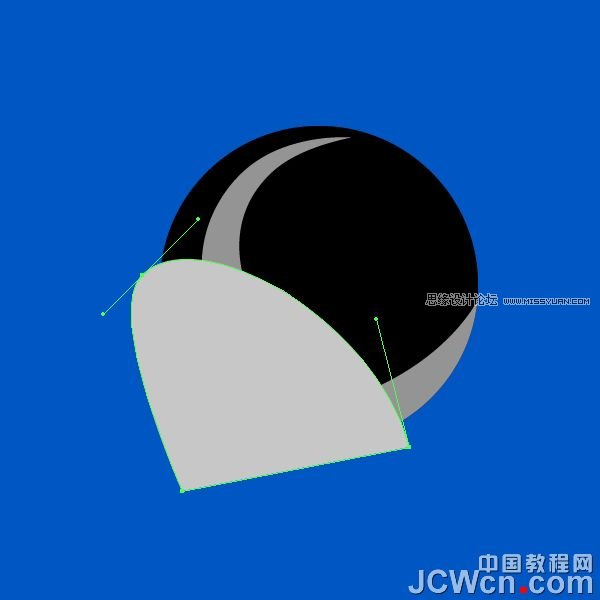
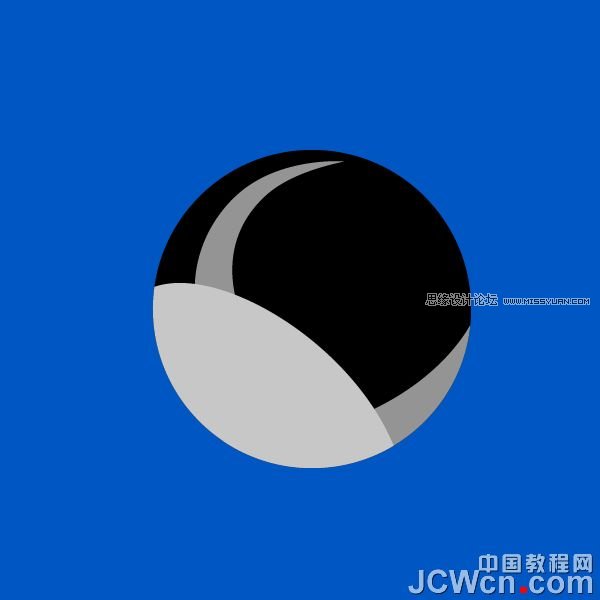
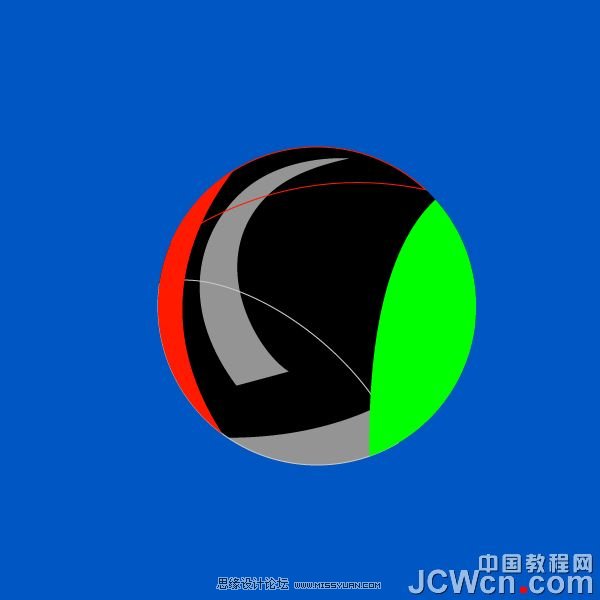
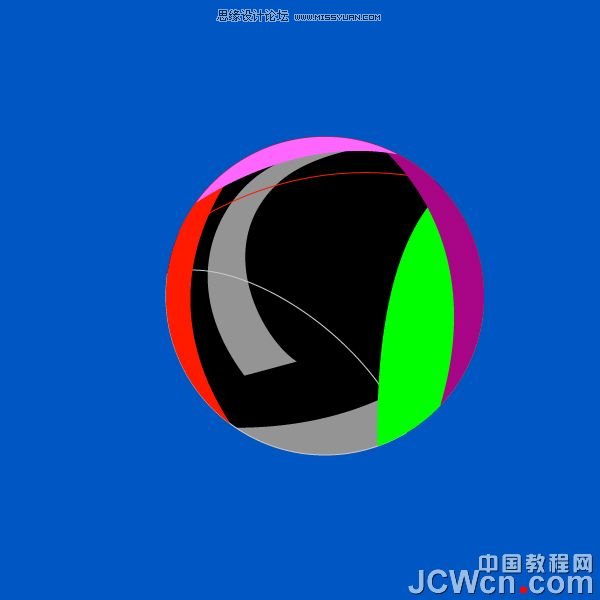
本例介绍运用AI创建一个漂亮的梦幻高光矢量气泡,主要学习运用钢笔工具创建气泡高光的形状,再用渐变填充工具填充高光颜色,另外还讲解了矢量星光的制作方法,希望能给朋友们带来帮助。

 情非得已
情非得已
推荐文章
-
 Illustrator绘制扁平化风格的建筑图2020-03-19
-
 Illustrator制作扁平化风格的电视机2020-03-18
-
 Illustrator绘制渐变风格的建筑场景插画2020-03-12
-
 佩奇插画:用AI绘制卡通风格的小猪佩奇2019-02-26
-
 插画设计:AI绘制复古风格的宇航员海报2019-01-24
-
 房屋插画:AI绘制圣诞节主题的房屋插画2019-01-21
-
 圣诞插画:AI绘制简约风格圣诞节插画2019-01-21
-
 灯塔绘制:AI绘制的灯塔插画2019-01-21
-
 时尚船锚:AI绘制鲜花装饰的船锚图标2019-01-18
-
 扁平宝箱图形:AI绘制游戏中常见的宝箱2019-01-18
热门文章
-
 Illustrator制作复古风格的邮票效果2021-03-10
-
 Illustrator制作3D网格特效的梦幻花朵效果
相关文章62372017-09-23
Illustrator制作3D网格特效的梦幻花朵效果
相关文章62372017-09-23
-
 Illustrator绘制梦幻卡通风格的城堡
相关文章7742017-05-17
Illustrator绘制梦幻卡通风格的城堡
相关文章7742017-05-17
-
 Illustrator巧用画笔工具快速打造铁链效果
相关文章14572015-10-06
Illustrator巧用画笔工具快速打造铁链效果
相关文章14572015-10-06
-
 Illustrator制作漂亮几何形状背景教程
相关文章37032015-09-02
Illustrator制作漂亮几何形状背景教程
相关文章37032015-09-02
-
 Illustrator绘制立体风格的蜗牛效果图
相关文章9482015-07-08
Illustrator绘制立体风格的蜗牛效果图
相关文章9482015-07-08
-
 Illustrator制作卡通漂亮的字体LOGO教程
相关文章29082014-10-24
Illustrator制作卡通漂亮的字体LOGO教程
相关文章29082014-10-24
-
 Illustrator绘制漂亮的白色雏菊效果
相关文章51662014-09-13
Illustrator绘制漂亮的白色雏菊效果
相关文章51662014-09-13
-
 Illustrator绘制漂亮的叠加圆环效果图
相关文章79282014-08-29
Illustrator绘制漂亮的叠加圆环效果图
相关文章79282014-08-29
