Illustrator绘制绿色逼真的铅笔效果图(3)
文章来源于 思缘论坛,感谢作者 abin9527 给我们带来经精彩的文章!设计教程/矢量教程/Illustrator教程2014-08-11
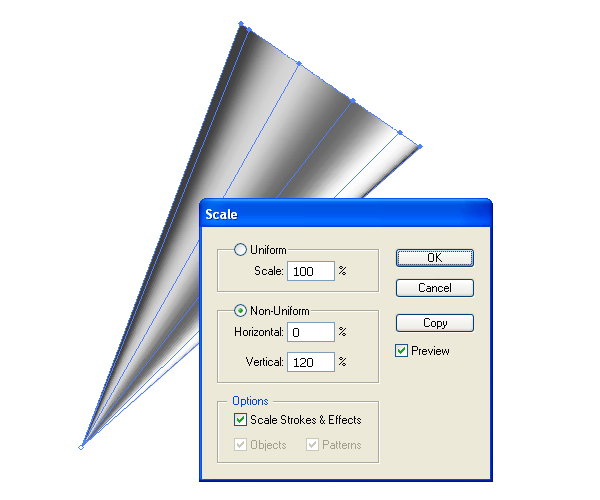
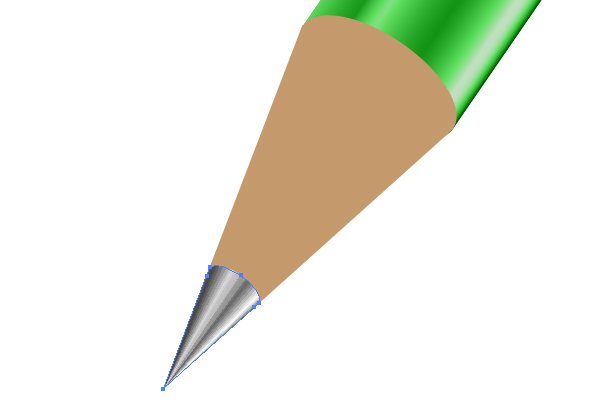
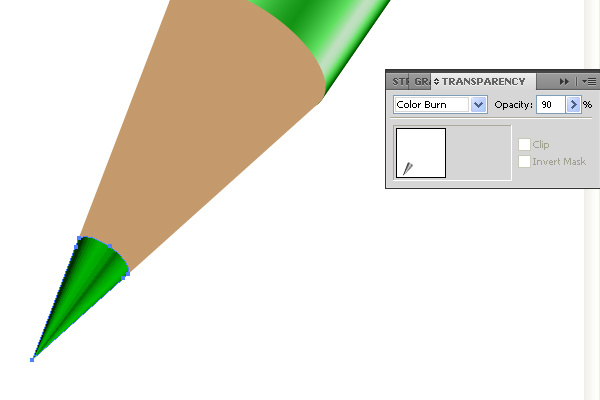
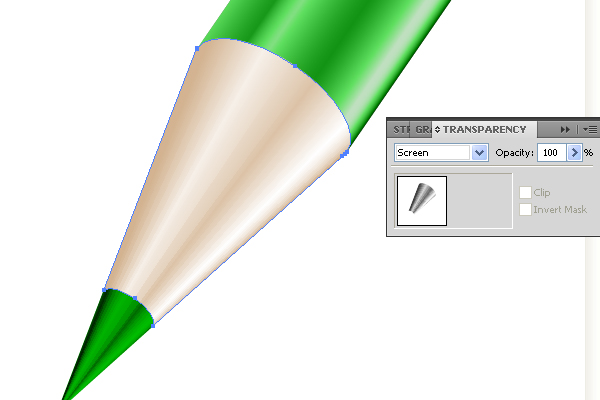
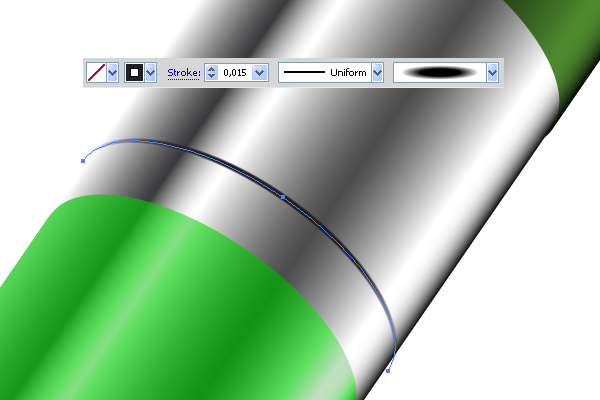
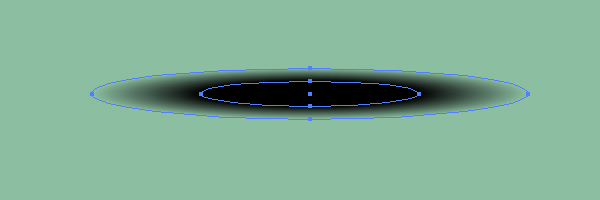
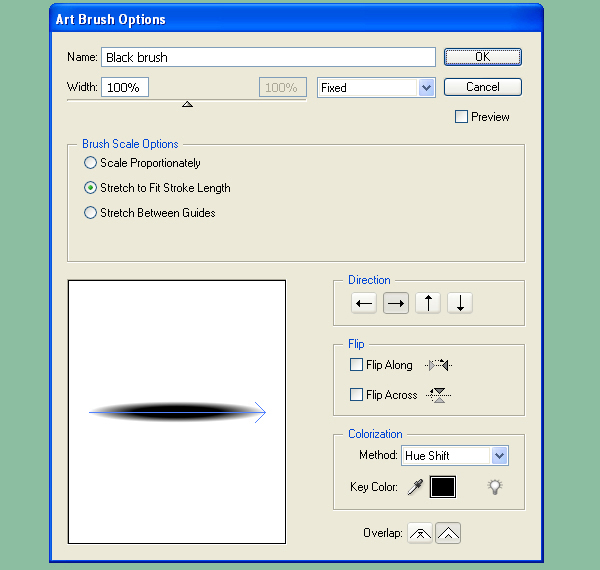
15 16设置不等比,目的是减少节点手柄 17调整位置,并设定蒙版 18.颜色加深 19.利用同一个元素,设定为虑色 20用特殊画笔画笔头,需要做一个这个种艺术画笔,做法用混合模式

 情非得已
情非得已
推荐文章
-
 Illustrator绘制扁平化风格的建筑图2020-03-19
-
 Illustrator制作扁平化风格的电视机2020-03-18
-
 Illustrator绘制渐变风格的建筑场景插画2020-03-12
-
 佩奇插画:用AI绘制卡通风格的小猪佩奇2019-02-26
-
 插画设计:AI绘制复古风格的宇航员海报2019-01-24
-
 房屋插画:AI绘制圣诞节主题的房屋插画2019-01-21
-
 圣诞插画:AI绘制简约风格圣诞节插画2019-01-21
-
 灯塔绘制:AI绘制的灯塔插画2019-01-21
-
 时尚船锚:AI绘制鲜花装饰的船锚图标2019-01-18
-
 扁平宝箱图形:AI绘制游戏中常见的宝箱2019-01-18
热门文章
-
 Illustrator制作复古风格的邮票效果2021-03-10
-
 Illustrator绘制扁平化风格的室内效果图
相关文章15042020-03-19
Illustrator绘制扁平化风格的室内效果图
相关文章15042020-03-19
-
 小猪插画:用AI绘制可爱的小猪插画
相关文章5642019-02-15
小猪插画:用AI绘制可爱的小猪插画
相关文章5642019-02-15
-
灯塔绘制:AI绘制的灯塔插画
相关文章6922019-01-21
-
 Illustrator绘制时尚的城市建筑效果图
相关文章13432018-09-07
Illustrator绘制时尚的城市建筑效果图
相关文章13432018-09-07
-
 Illustrator绘制北极冰川效果图
相关文章4852018-04-16
Illustrator绘制北极冰川效果图
相关文章4852018-04-16
-
 Illustrator绘制唯美的冬季插画效果图
相关文章4822018-03-05
Illustrator绘制唯美的冬季插画效果图
相关文章4822018-03-05
-
 Illustrator绘制简约风格的欧式餐具效果图
相关文章12252017-12-06
Illustrator绘制简约风格的欧式餐具效果图
相关文章12252017-12-06
-
 Illustrator绘制扁平化风格的厨房效果图
相关文章7822017-09-28
Illustrator绘制扁平化风格的厨房效果图
相关文章7822017-09-28
