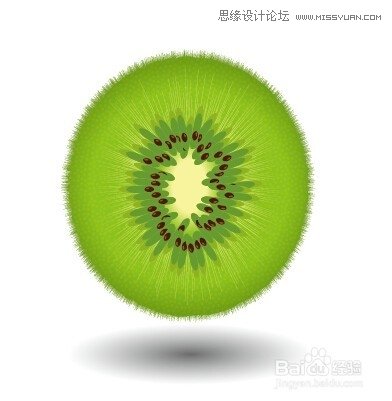
Illustrator绘制切开的猕猴桃效果图
文章来源于 百度经验,感谢作者 Abin9527 给我们带来经精彩的文章!设计教程/矢量教程/Illustrator教程2014-08-17
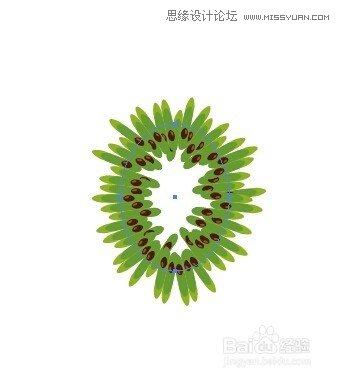
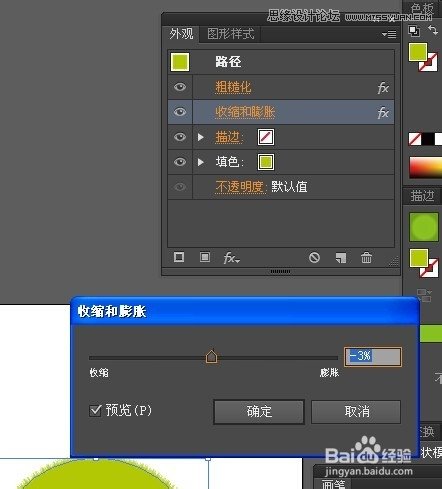
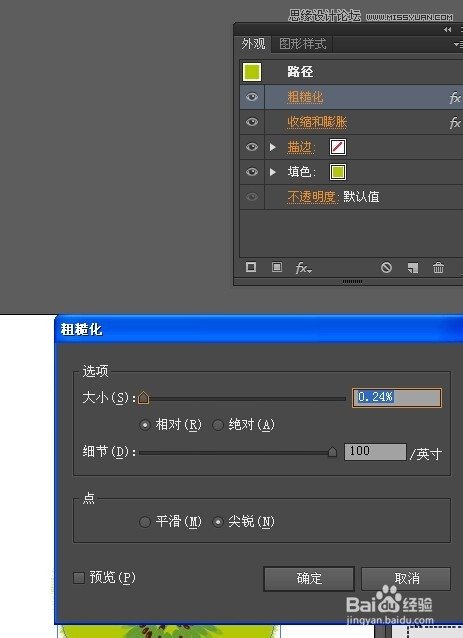
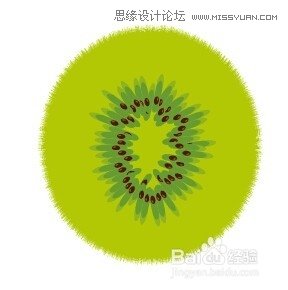
本教程主要使用Illustrator绘制从中间切开的猕猴桃效果,教程的重点要掌握粗糙滤镜,主要使用的收缩和膨胀工具,喜欢的朋友让我们一起来学习吧。
 情非得已
情非得已
推荐文章
-
 Illustrator绘制扁平化风格的建筑图2020-03-19
-
 Illustrator制作扁平化风格的电视机2020-03-18
-
 Illustrator绘制渐变风格的建筑场景插画2020-03-12
-
 佩奇插画:用AI绘制卡通风格的小猪佩奇2019-02-26
-
 插画设计:AI绘制复古风格的宇航员海报2019-01-24
-
 房屋插画:AI绘制圣诞节主题的房屋插画2019-01-21
-
 圣诞插画:AI绘制简约风格圣诞节插画2019-01-21
-
 灯塔绘制:AI绘制的灯塔插画2019-01-21
-
 时尚船锚:AI绘制鲜花装饰的船锚图标2019-01-18
-
 扁平宝箱图形:AI绘制游戏中常见的宝箱2019-01-18
热门文章
-
 Illustrator制作复古风格的邮票效果2021-03-10
-
 Illustrator绘制扁平化风格的室内效果图
相关文章15042020-03-19
Illustrator绘制扁平化风格的室内效果图
相关文章15042020-03-19
-
 小猪插画:用AI绘制可爱的小猪插画
相关文章5642019-02-15
小猪插画:用AI绘制可爱的小猪插画
相关文章5642019-02-15
-
灯塔绘制:AI绘制的灯塔插画
相关文章6922019-01-21
-
 Illustrator绘制塞尔达传说角色插画
相关文章5352018-09-07
Illustrator绘制塞尔达传说角色插画
相关文章5352018-09-07
-
 Illustrator绘制时尚的城市建筑效果图
相关文章13432018-09-07
Illustrator绘制时尚的城市建筑效果图
相关文章13432018-09-07
-
 Illustrator绘制卡通风格的蜗牛教程
相关文章4982018-09-07
Illustrator绘制卡通风格的蜗牛教程
相关文章4982018-09-07
-
 Illustrator绘制2.5D风格的游戏场景效果
相关文章7152018-07-23
Illustrator绘制2.5D风格的游戏场景效果
相关文章7152018-07-23
-
 Illustrator绘制北极冰川效果图
相关文章4852018-04-16
Illustrator绘制北极冰川效果图
相关文章4852018-04-16
