Illustrator绘制唯美的水彩美人鱼插图(3)
文章来源于 站酷,感谢作者 UI设计zz 给我们带来经精彩的文章!设计教程/矢量教程/Illustrator教程2017-12-07
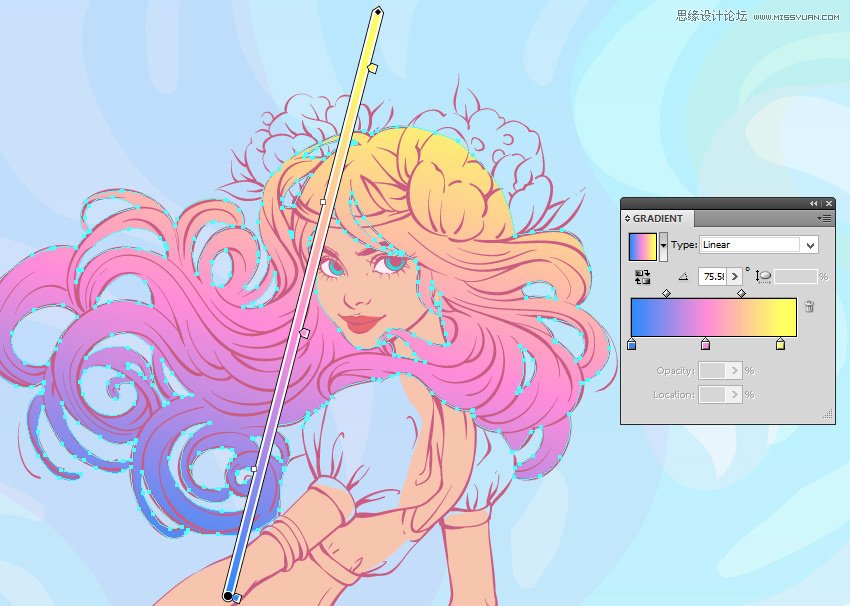
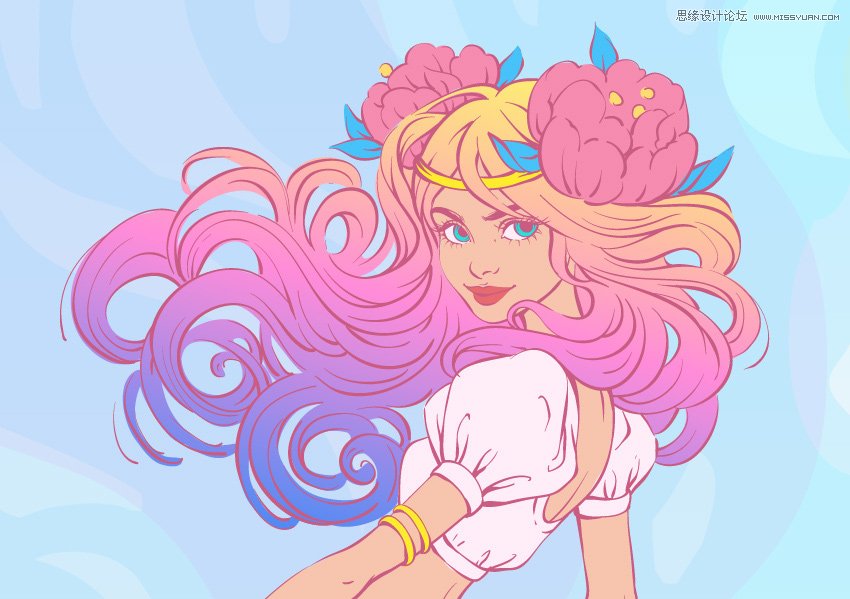
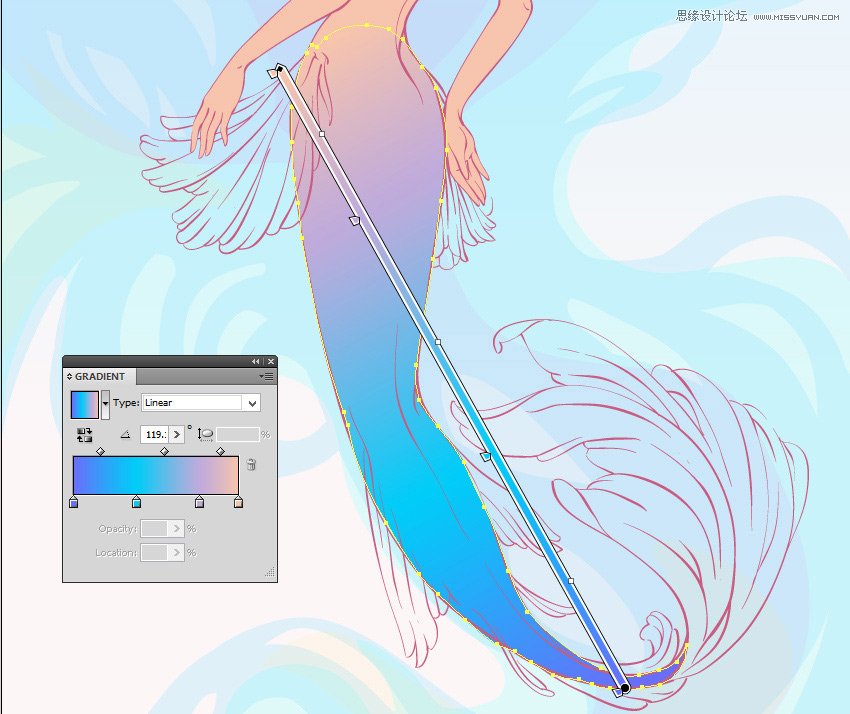
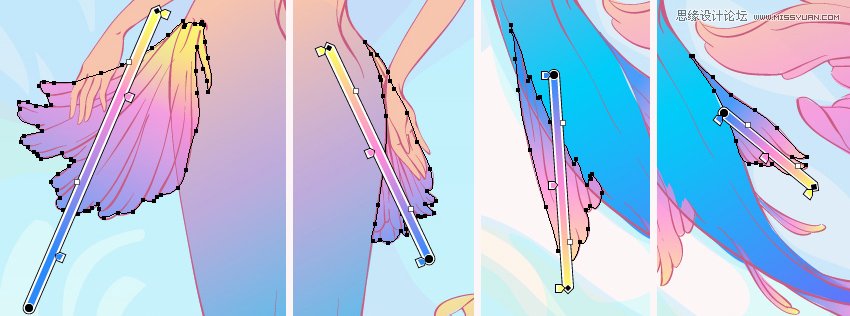
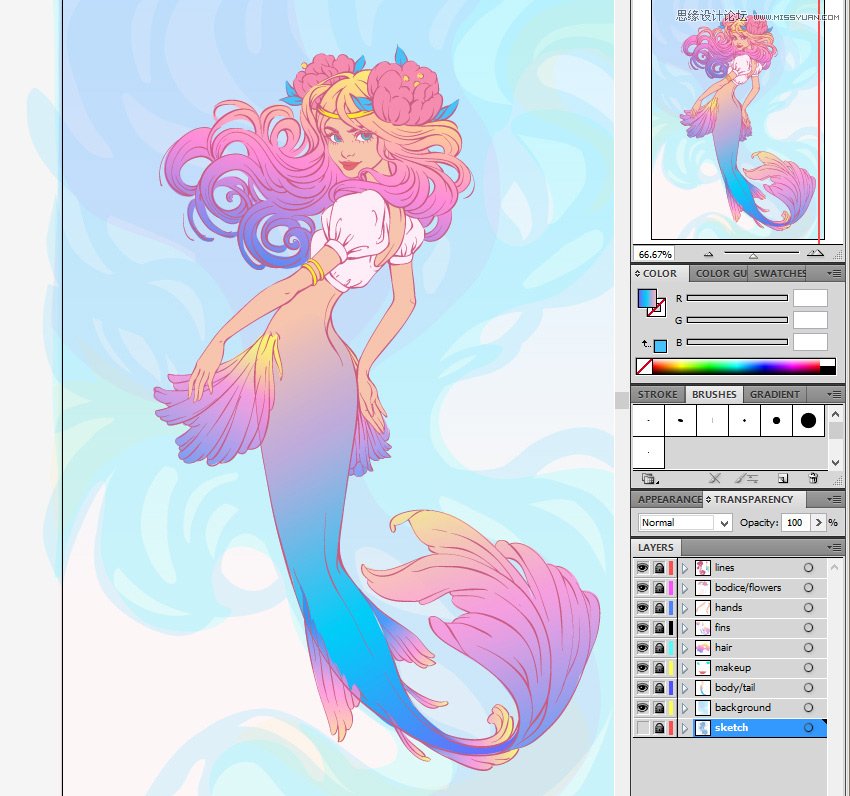
第8步 在妆层上方为发型添加一个新层。画出头发的形状和填充用它线性渐变使用黄色,粉红色和蓝色。 第9步 胸衣使用淡粉色,首饰使用黄色,鲜花使用粉红色。 第10步 从肤色使用线性渐变到蓝色为美人鱼的尾巴。在body

 情非得已
情非得已
推荐文章
-
 Illustrator绘制扁平化风格的建筑图2020-03-19
-
 Illustrator制作扁平化风格的电视机2020-03-18
-
 Illustrator绘制渐变风格的建筑场景插画2020-03-12
-
 佩奇插画:用AI绘制卡通风格的小猪佩奇2019-02-26
-
 插画设计:AI绘制复古风格的宇航员海报2019-01-24
-
 房屋插画:AI绘制圣诞节主题的房屋插画2019-01-21
-
 圣诞插画:AI绘制简约风格圣诞节插画2019-01-21
-
 灯塔绘制:AI绘制的灯塔插画2019-01-21
-
 时尚船锚:AI绘制鲜花装饰的船锚图标2019-01-18
-
 扁平宝箱图形:AI绘制游戏中常见的宝箱2019-01-18
热门文章
-
 Illustrator制作复古风格的邮票效果2021-03-10
-
Illustrator制作扁平化风格的电视机
相关文章5132020-03-18
-
 文字设计:用AI制作趣味剪影文字效果
相关文章12412019-08-15
文字设计:用AI制作趣味剪影文字效果
相关文章12412019-08-15
-
 标志设计:用AI制作2.5D风格的LOGO图标
相关文章26042019-04-16
标志设计:用AI制作2.5D风格的LOGO图标
相关文章26042019-04-16
-
 矢量插画:通过摄影作品学习AI插画绘画
相关文章7422019-03-14
矢量插画:通过摄影作品学习AI插画绘画
相关文章7422019-03-14
-
 扁平化海报:用AI制作线性风格的插画海报
相关文章7252019-03-14
扁平化海报:用AI制作线性风格的插画海报
相关文章7252019-03-14
-
 矢量插画:使用AI制作滑板车插画教程
相关文章6612019-02-26
矢量插画:使用AI制作滑板车插画教程
相关文章6612019-02-26
-
 插画设计:用AI绘制可爱的小柯基插画
相关文章8322019-01-24
插画设计:用AI绘制可爱的小柯基插画
相关文章8322019-01-24
-
 万圣节作品:AI制作唯美的万圣节插画
相关文章6422019-01-21
万圣节作品:AI制作唯美的万圣节插画
相关文章6422019-01-21
