Illustrator绘制时尚的指纹按钮教程(3)
文章来源于 UI中国,感谢作者 设计软件通 给我们带来经精彩的文章!设计教程/矢量教程/Illustrator教程2018-10-31
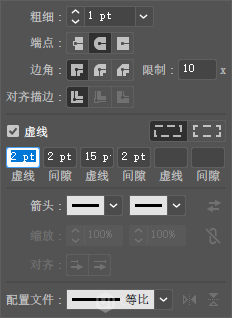
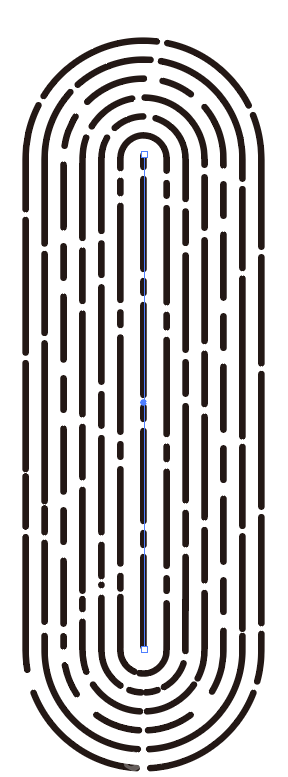
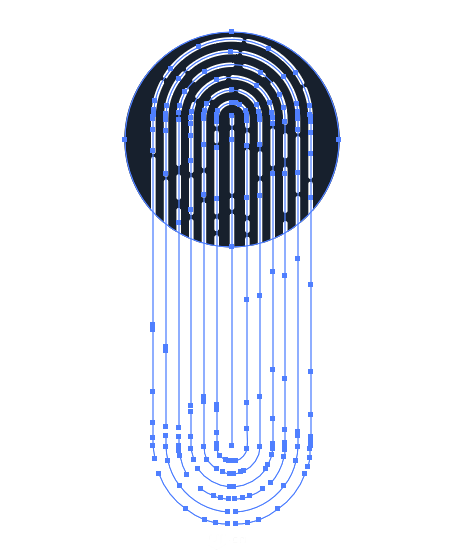
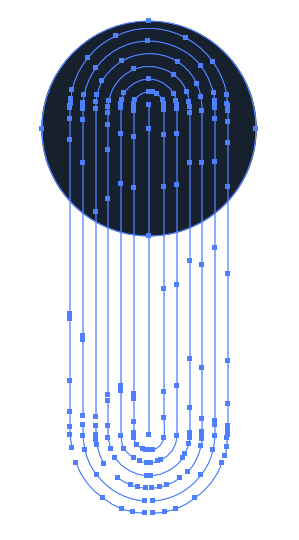
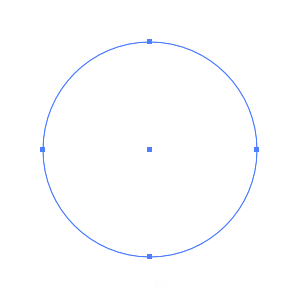
15 然后为它添加虚线属性 16 到这里就差不多完成了 我们再使用椭圆工具在画板上绘制一个圆形 放置在我们做的指纹底下 为了看清楚 我这边把指纹的描边色设置为纯白色 17 调整好位置以后再把圆形放置到指纹的上方 按
 情非得已
情非得已
推荐文章
-
 Illustrator绘制扁平化风格的建筑图2020-03-19
-
 Illustrator制作扁平化风格的电视机2020-03-18
-
 Illustrator绘制渐变风格的建筑场景插画2020-03-12
-
 佩奇插画:用AI绘制卡通风格的小猪佩奇2019-02-26
-
 插画设计:AI绘制复古风格的宇航员海报2019-01-24
-
 房屋插画:AI绘制圣诞节主题的房屋插画2019-01-21
-
 圣诞插画:AI绘制简约风格圣诞节插画2019-01-21
-
 灯塔绘制:AI绘制的灯塔插画2019-01-21
-
 时尚船锚:AI绘制鲜花装饰的船锚图标2019-01-18
-
 扁平宝箱图形:AI绘制游戏中常见的宝箱2019-01-18
热门文章
-
 Illustrator制作复古风格的邮票效果2021-03-10
-
 Illustrator制作复古风格的邮票效果
相关文章2112021-03-10
-
 Illustrator设计简洁的乒乓球主题页面
相关文章8532020-09-28
-
 Illustrator绘制扁平化风格的室内效果图
相关文章15042020-03-19
-
 Illustrator绘制扁平化风格的建筑图
相关文章7132020-03-19
-
 Illustrator快速的设计复杂的箭头
相关文章2542020-03-19
-
 Illustrator设计紫色立体效果的企业LOGO
相关文章9252020-03-19
-
 Illustrator制作卡通风格的法国建筑图
相关文章6122020-03-18
-
 Illustrator绘制以手为装饰的字体海报
相关文章2722020-03-18
