美图秀秀宝典:打造非主流头像
文章来源于 太平洋电脑网,感谢作者 Mon 给我们带来经精彩的文章!设计教程/摄影作品/其他资讯2009-09-03
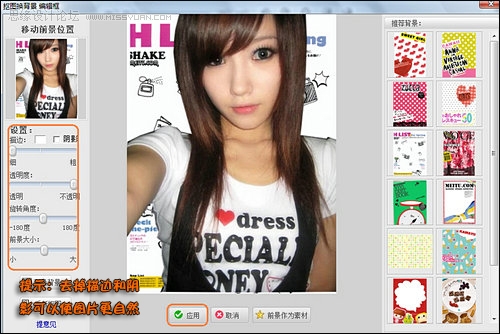
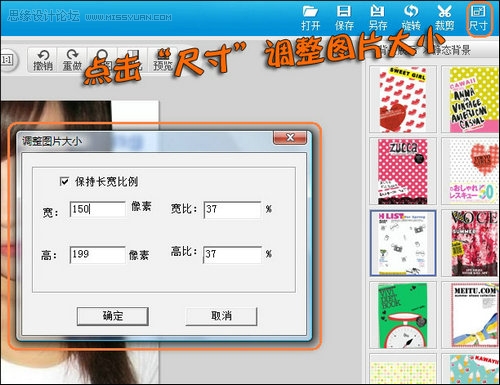
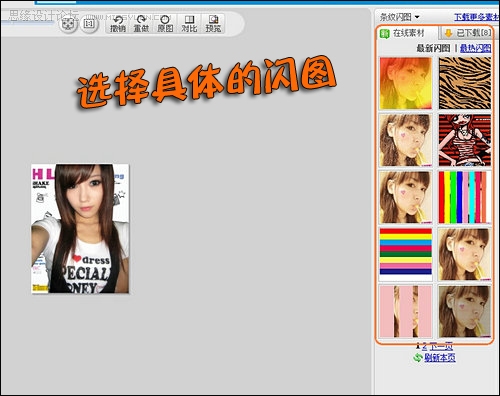
新版的MSN头像可以用动态图片哦,有用MSN的朋友应该一早就知道吧!但是,你是否曾为拥有一个与众不同的头像而烦恼呢,今天我就教你如何通过“美图秀秀”成为一个MSN头像达人吧,超COOL的呢!
 情非得已
情非得已
推荐文章
-
 Sketch制作磨砂玻璃特效的UI效果2021-03-09
-
 12套简约大气的个人简历模板下载2019-01-21
-
 AE制作绚丽的抽象光线动画效果2019-01-18
-
 中文字体:超好看的圣诞节字体下载2018-12-26
-
 30款高颜值的免费英文字体下载2018-12-12
-
 1100多套各种优秀的手绘素材打包下载2018-12-07
-
 800多套各种色系的PS渐变免费下载2018-10-10
-
 可商用的中英文字体合集打包下载2018-10-10
-
 好看又免费的霓虹灯字体免费下载2018-05-28
-
 23款WEB设计师必备的英文字体下载2018-04-06
热门文章
-
 Sketch制作磨砂玻璃特效的UI效果2021-03-09
-
 11个为设计师专属打造的Chrome扩展插件
相关文章3322016-10-13
-
 快速打造美观实用的线上个人简历网站
相关文章2772016-05-22
-
 22款国际范大气的英文字体打包下载
相关文章80412013-09-17
-
 巧用好照片软件打造轻盈白皙肌肤
相关文章3992012-09-06
-
 打造春季时尚LOMO调效果美图
相关文章4512011-03-22
-
 美图秀秀打造时尚独特签名图
相关文章6832011-03-22
-
 温柔女生专属非主流意境静态头像
相关文章7972010-12-30
-
 甜美非主流女生最新可爱QQ头像
相关文章193682010-12-30


