Photoshop设计木质谦镶嵌效果的艺术字(3)
文章来源于 活力盒子,感谢作者 汤汤翻译 给我们带来经精彩的文章!设计教程/PS教程/文字特效2010-07-08
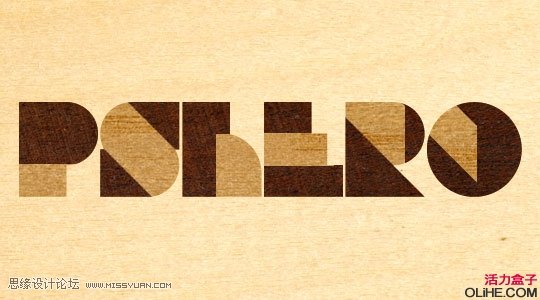
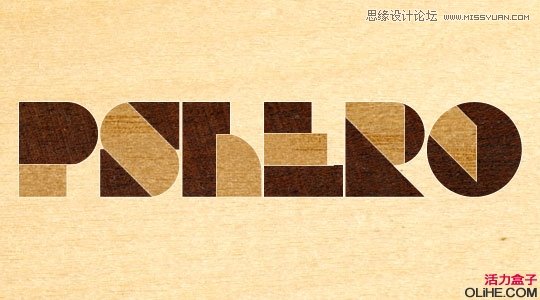
步骤13 继续此过程,要使每个字母的线条和突出显得适当。 步骤14 最后一点我可以做的就是在字母两个不同深度的木质纹理中间添加一个1像素的白色轮廓。按下图使用描边的图层样式设置。要注意,我改变了颜色,大小和


 情非得已
情非得已
推荐文章
-
 Photoshop制作火焰燃烧的文字效果2021-03-10
-
 Photoshop制作金色的海报标题文字教程2021-02-22
-
 Photoshop制作炫丽的游戏风格艺术字2021-02-22
-
 Photoshop制作立体效果的黄金艺术字2020-03-18
-
 Photoshop制作逼真的熔岩艺术字2020-03-15
-
 Photoshop通过透视制作公路上的艺术字2020-03-15
-
 Photoshop设计金色立体特效的艺术字2020-03-12
-
 Photoshop制作卡通风格的手绘艺术字2020-03-09
-
 银色文字:用PS图层样式制作金属字教程2019-07-22
-
 3D立体字:用PS制作沙发靠椅主题立体字2019-07-18
热门文章
-
Photoshop制作金色的海报标题文字教程2021-02-22
-
 Photoshop绘制逼真的粉笔字教程2021-03-05
-
Photoshop制作火焰燃烧的文字效果2021-03-10
-
 Photoshop制作火焰燃烧的文字教程2021-03-05
-
 Photoshop制作暗黑破坏神主题金属字教程2021-03-16
-
Photoshop制作炫丽的游戏风格艺术字2021-02-22
-
Photoshop制作火焰燃烧的文字效果
相关文章2082021-03-10
-
Photoshop制作炫丽的游戏风格艺术字
相关文章1692021-02-22
-
 Photoshop设计金属质感的火焰燃烧字
相关文章22472020-09-28
Photoshop设计金属质感的火焰燃烧字
相关文章22472020-09-28
-
 Photoshop制作彩色手写字教程
相关文章20042020-09-28
Photoshop制作彩色手写字教程
相关文章20042020-09-28
-
 Photoshop制作夏季水花艺术字教程
相关文章16862020-07-09
Photoshop制作夏季水花艺术字教程
相关文章16862020-07-09
-
 Photoshop制作创意的海边泡沫艺术字
相关文章17032020-03-18
Photoshop制作创意的海边泡沫艺术字
相关文章17032020-03-18
-
Photoshop制作立体效果的黄金艺术字
相关文章19362020-03-18
-
Photoshop制作逼真的熔岩艺术字
相关文章8122020-03-15
