Photoshop后期妆容和修肤详细图解(2)
文章来源于 火星时代,感谢作者 佚名 给我们带来经精彩的文章!设计教程/PS教程/照片处理2011-01-25
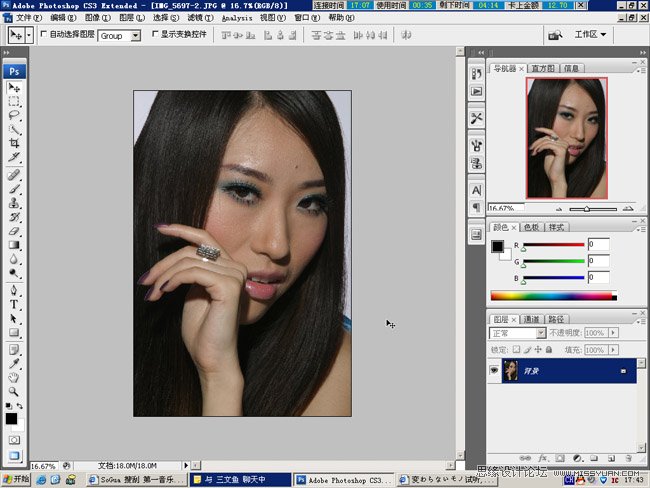
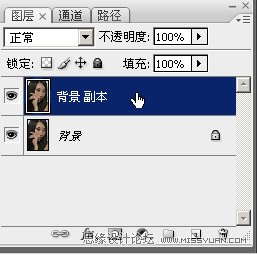
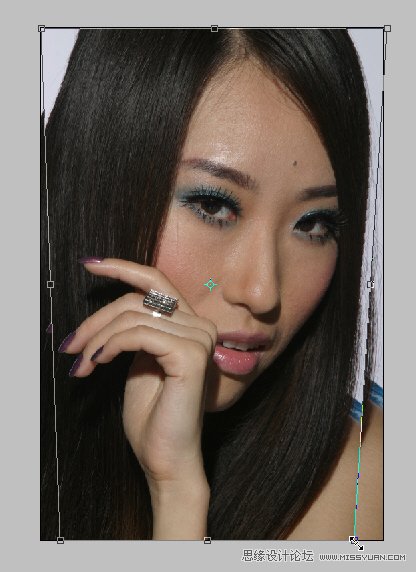
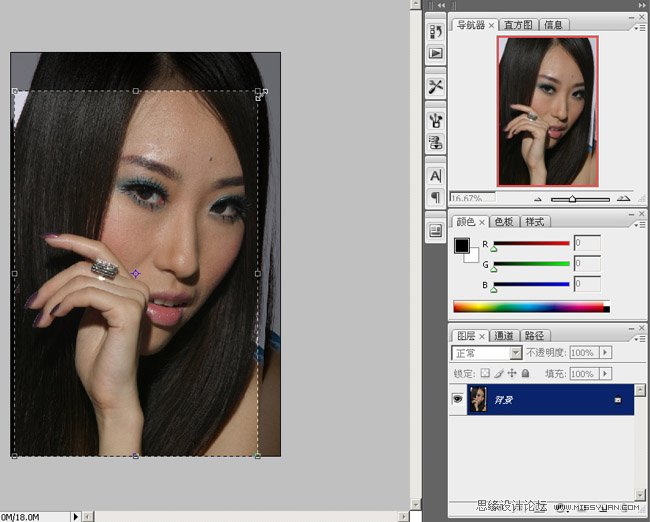
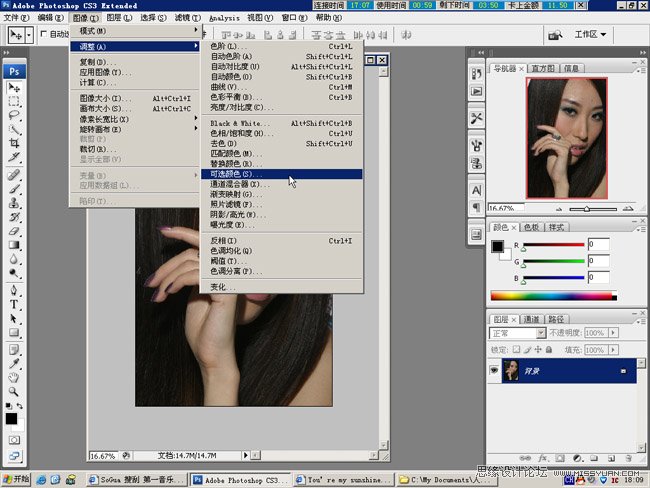
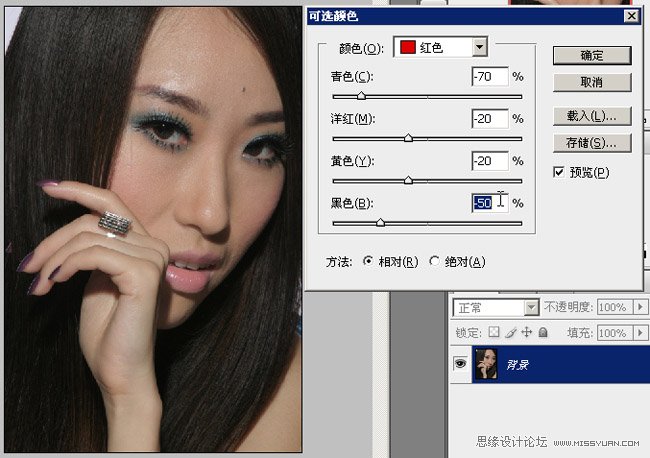
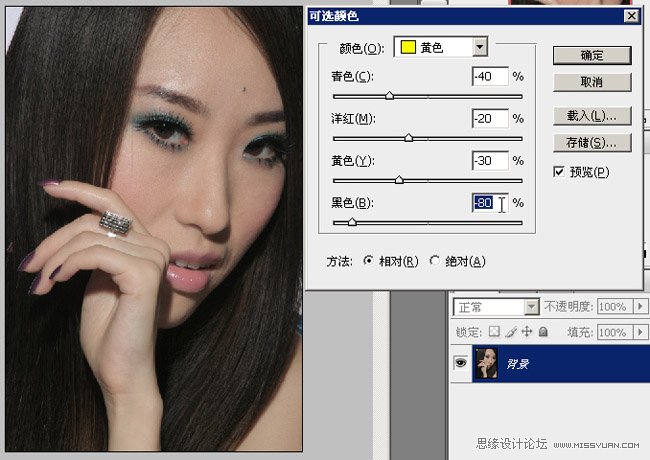
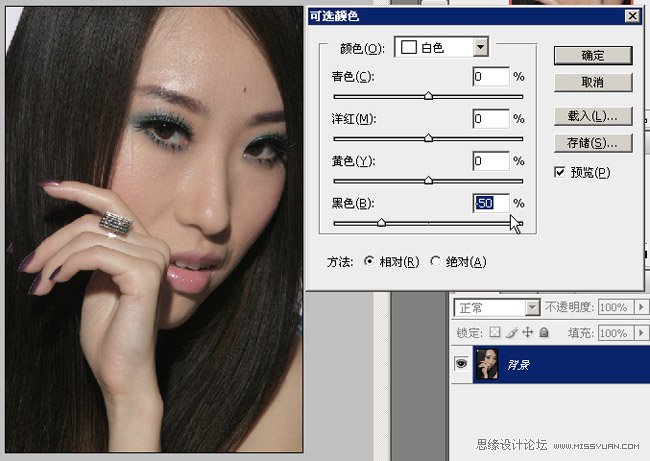
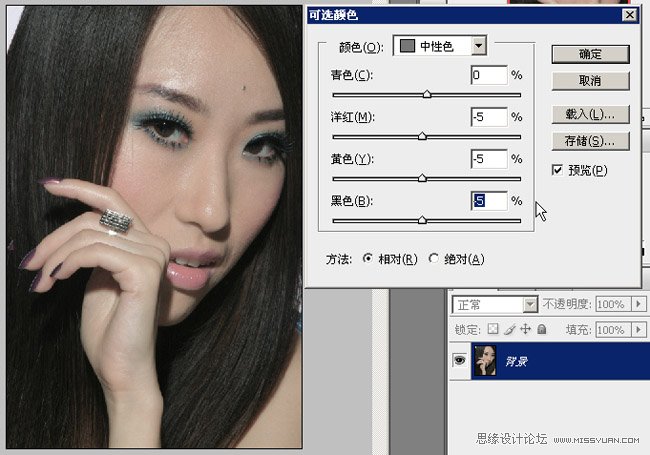
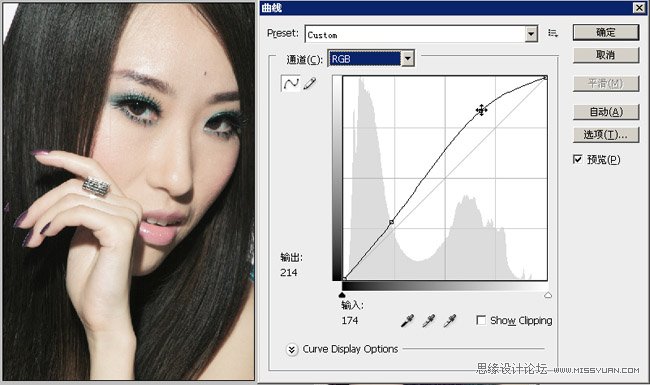
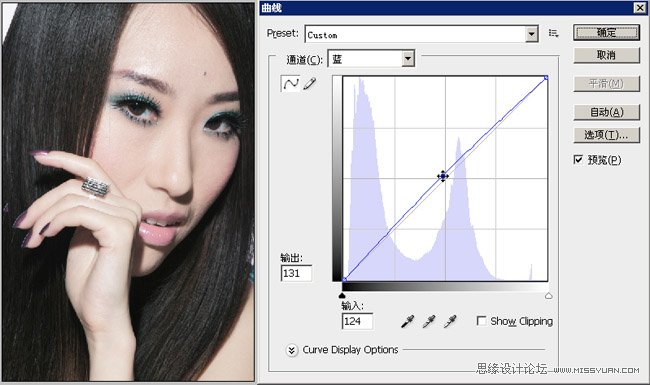
制作步骤: 第一步 打开文件,复制一个图层副本。(图01、02) 图01 图02 第二步 选中复制的图层按自由变换快捷键ctrl+t改变人物的脸形使更修长。(图03) 图03 第三步 按合并图层快捷键ctrl+e合层后,用载剪工具使画面
 情非得已
情非得已
推荐文章
-
 Photoshop制作唯美可爱的女生头像照片2020-03-17
-
 Photoshop快速给人物添加火焰燃烧效果2020-03-12
-
 Photoshop调出人物写真甜美通透艺术效果2020-03-06
-
 Photoshop保留质感修出古铜色人像皮肤2020-03-06
-
 Photoshop制作模特人像柔润的头发效果2020-03-04
-
 古风效果:用PS调出外景人像中国风意境效果2019-11-08
-
 插画效果:用PS把风景照片转插画效果2019-10-21
-
 胶片效果:用PS调出人像复古胶片效果2019-08-02
-
 素描效果:用PS制作人像彩色铅笔画效果2019-07-12
-
 后期精修:用PS给人物皮肤均匀的磨皮2019-05-10
热门文章
-
 Photoshop利用素材制作炫丽的科技背景2021-03-11
-
 Photoshop使用中性灰磨皮法给人像精修2021-02-23
-
 Photoshop制作水彩风格的风景图2021-03-10
-
 Photoshop制作创意的文字排版人像效果2021-03-09
-
 Photoshop制作逼真的投影效果2021-03-11
-
 Photoshop制作故障干扰艺术效果2021-03-09
-
 Photoshop制作被切割的易拉罐效果图2021-03-10
-
 Photoshop制作人物支离破碎的打散效果2021-03-10
-
 Photoshop制作模特人像柔润的头发效果
相关文章4872020-03-04
-
 后期修图:详解商业级人像修图磨皮技巧
相关文章13122019-08-22
-
 夜景效果:用PS把白天的风景变成黑夜效果
相关文章9112019-07-11
-
 文字人像:用PS制作文字图案肖像效果
相关文章18982019-05-22
-
 后期精修:用PS给人物皮肤均匀的磨皮
相关文章36512019-05-10
-
 商业精修:用PS中性灰给人像后期磨皮
相关文章16012019-04-30
-
 后期精修:用PS详细解析化妆品瓶子精修
相关文章8802019-04-14
-
 产品精修:用PS给化妆品后期精修
相关文章7092019-04-10
