Photoshop制作抽象光线效果的绿色立体字(2)
文章来源于 草原之夜,感谢作者 佚名 给我们带来经精彩的文章!设计教程/PS教程/文字特效2012-08-01
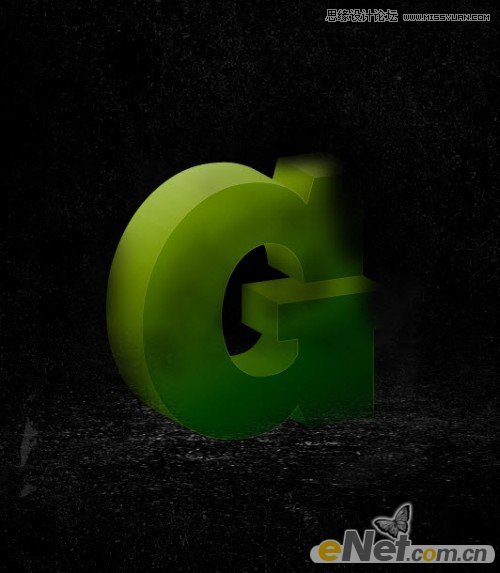
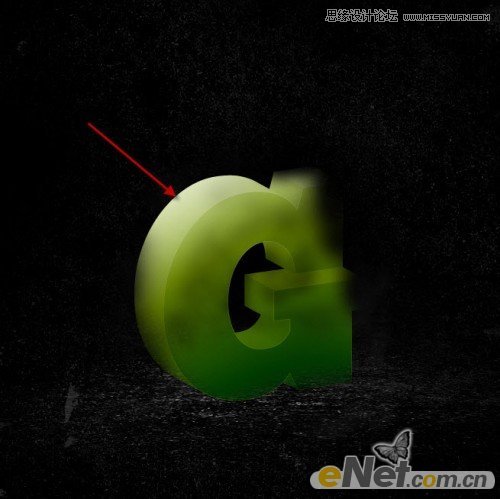
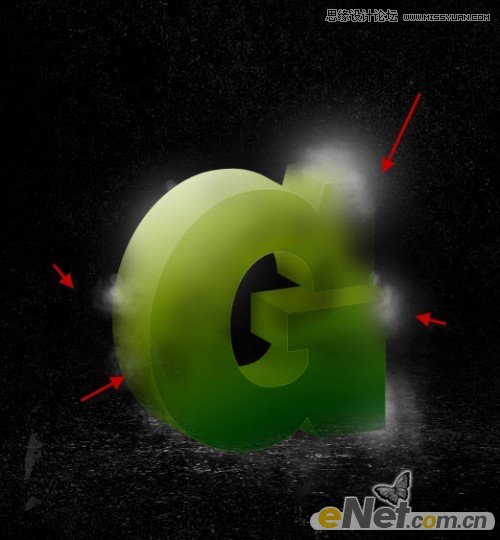
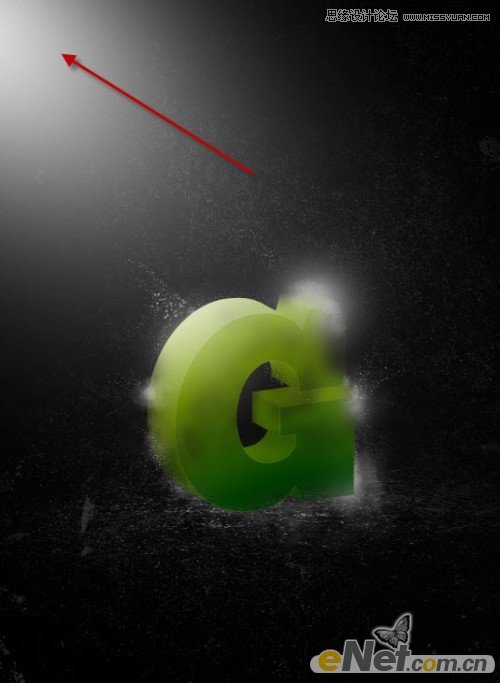
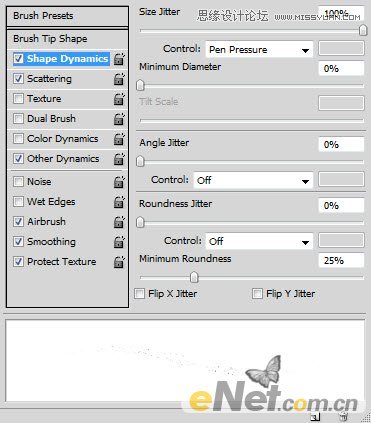
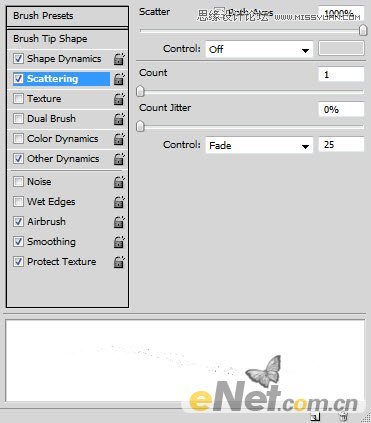
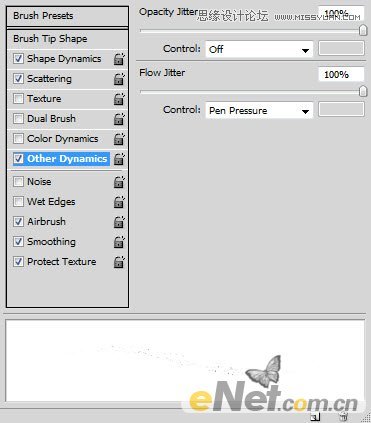
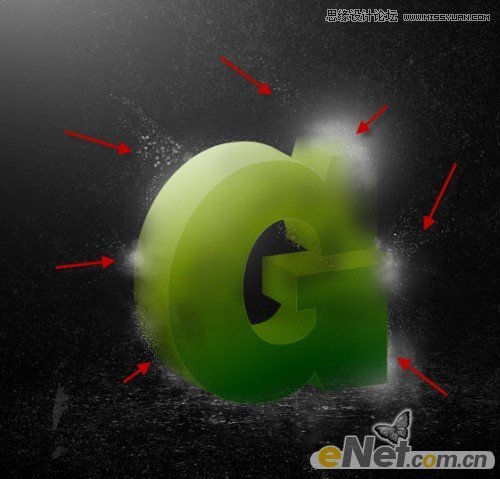
得到如下效果 新建一个层,命名为光,使用软角白色画笔,将大小设置大一些,合适就好,在图中所示部位绘制一个点光 3.新建一个层命名为云使用云笔刷,云笔刷在网上很多,可以去下载一个,如下图绘制云得效果 添加一
 情非得已
情非得已
推荐文章
-
 Photoshop制作火焰燃烧的文字效果2021-03-10
-
 Photoshop制作金色的海报标题文字教程2021-02-22
-
 Photoshop制作炫丽的游戏风格艺术字2021-02-22
-
 Photoshop制作立体效果的黄金艺术字2020-03-18
-
 Photoshop制作逼真的熔岩艺术字2020-03-15
-
 Photoshop通过透视制作公路上的艺术字2020-03-15
-
 Photoshop设计金色立体特效的艺术字2020-03-12
-
 Photoshop制作卡通风格的手绘艺术字2020-03-09
-
 银色文字:用PS图层样式制作金属字教程2019-07-22
-
 3D立体字:用PS制作沙发靠椅主题立体字2019-07-18
热门文章
-
 Photoshop制作金色的海报标题文字教程2021-02-22
-
 Photoshop绘制逼真的粉笔字教程2021-03-05
-
 Photoshop制作火焰燃烧的文字效果2021-03-10
-
 Photoshop制作火焰燃烧的文字教程2021-03-05
-
 Photoshop制作暗黑破坏神主题金属字教程2021-03-16
-
 Photoshop制作炫丽的游戏风格艺术字2021-02-22
-
 Photoshop制作火焰燃烧的文字效果
相关文章2082021-03-10
-
 Photoshop制作创意的海边泡沫艺术字
相关文章17032020-03-18
-
 Photoshop制作立体效果的黄金艺术字
相关文章19362020-03-18
-
 Photoshop制作橙色圆润的新年立体字
相关文章4762020-03-14
-
 Photoshop设计金色立体特效的艺术字
相关文章6462020-03-12
-
 Photoshop制作叠加效果立体字教程
相关文章6252020-03-12
-
 书法文字:PS制作油漆组成的书法艺术字
相关文章7502020-03-11
-
 Photoshop制作卡通风格的手绘艺术字
相关文章3932020-03-09
