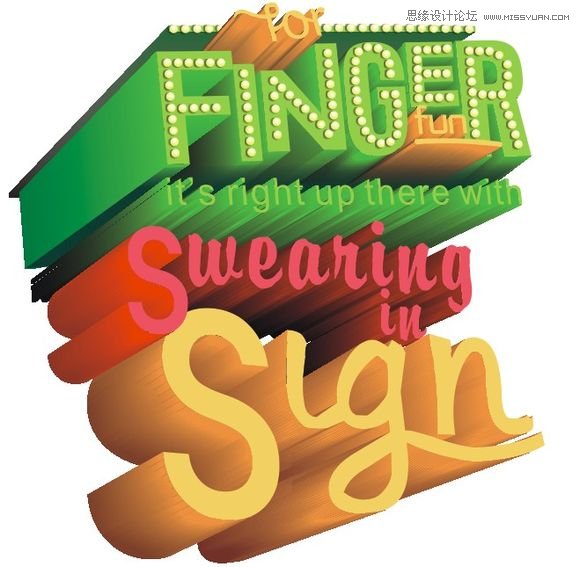
CorelDraw制作超漂亮的立体字教程
文章来源于 未知,感谢作者 情非得已 给我们带来经精彩的文章!设计教程/矢量教程/CorelDraw教程2013-08-27
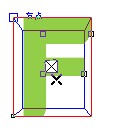
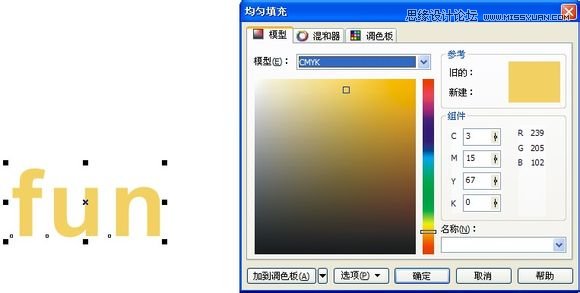
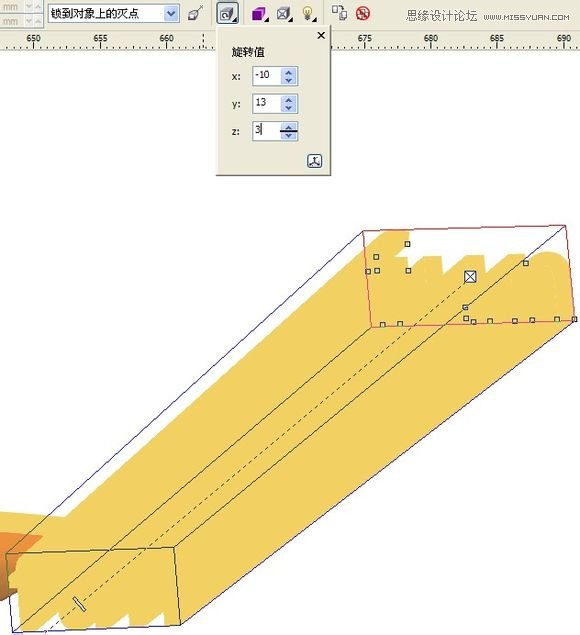
本教程主要使用CorelDraw制作漂亮大气的立体字海报,程制作出来的立体字效果还挺漂亮的,在一些海报的设计中经常的遇到这样的效果,喜欢的朋友让我们一起来学习吧。


 情非得已
情非得已
推荐文章
-
 CorelDRAW结合PS制作超酷的海报立体字2016-11-28
-
 CorelDRAW巧用网格工具绘制恶魔谷插画2014-03-29
-
 CorelDraw绘制颓废风格的立体字教程2012-12-08
-
 CorelDRAW实例教程:绘制中国风国画教程2012-06-03
-
 CorelDRAW绘制时尚风格的美少女漫画2012-05-23
-
 CorelDRAW绘制卡通插画美女教程清晨的阳光2012-05-23
-
 CorelDRAW实例教程:绘制中国风瓷器醉花阴2012-05-23
-
 CorelDRAW模拟人物照片绘画全过程分析2012-05-23
-
 CorelDRAW详细解析报纸文字排版2010-08-22
-
 CorelDRAW鼠绘教程:矢量抽象人物装饰画的绘制2010-07-21
热门文章
-
 字体教程:CDR制作时尚的镂空艺术字
相关文章8542018-12-20
字体教程:CDR制作时尚的镂空艺术字
相关文章8542018-12-20
-
 CorelDraw绘制海报中炫酷的中文立体字
相关文章108142017-03-13
CorelDraw绘制海报中炫酷的中文立体字
相关文章108142017-03-13
-
CorelDRAW结合PS制作超酷的海报立体字
相关文章87512016-11-28
-
 CorelDRAW绘制抽象绚丽的圆点螺旋效果
相关文章48742016-11-28
CorelDRAW绘制抽象绚丽的圆点螺旋效果
相关文章48742016-11-28
-
 CorelDRAW结合PS制作超酷的立体字教程
相关文章28832016-11-23
CorelDRAW结合PS制作超酷的立体字教程
相关文章28832016-11-23
-
 CorelDRAW绘制立体风格的UI开关教程
相关文章40132016-07-20
CorelDRAW绘制立体风格的UI开关教程
相关文章40132016-07-20
-
 CorelDraw制作渐变风格的艺术字教程
相关文章49622016-06-30
CorelDraw制作渐变风格的艺术字教程
相关文章49622016-06-30
-
 CorelDraw制作淘宝宣传促销海报教程
相关文章69632016-01-07
CorelDraw制作淘宝宣传促销海报教程
相关文章69632016-01-07
