Photoshop制作可爱的糖果饼干字【英】(3)
文章来源于 Tutsplus,感谢作者 Rose 给我们带来经精彩的文章!Step 2
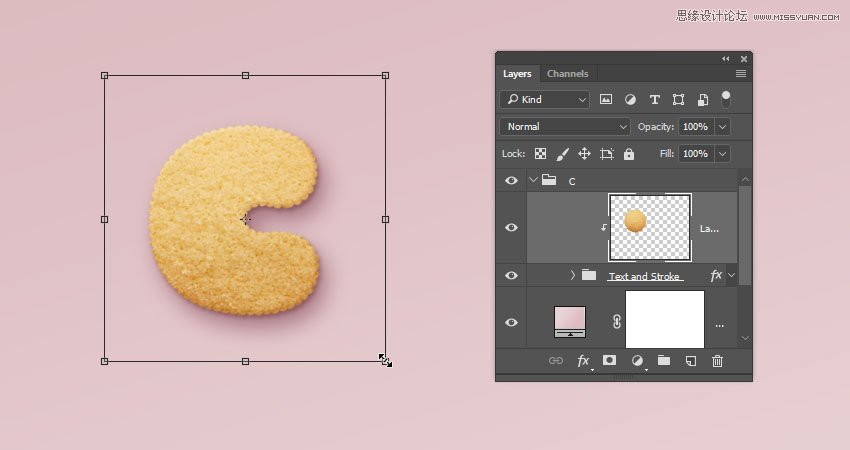
Go back to the original document and go to Edit > Paste to paste the copied biscuit texture.
Place the pasted layer inside the letter's group on top of the Text and Stroke group. Then, right-click the biscuit texture layer, and choose Create Clipping Mask.
Press Command-T to enter Free Transform Mode, and resize and rotate the texture until you like how it looks.
Hit Return to commit the changes.
6. How to Contract a Selection
Step 1
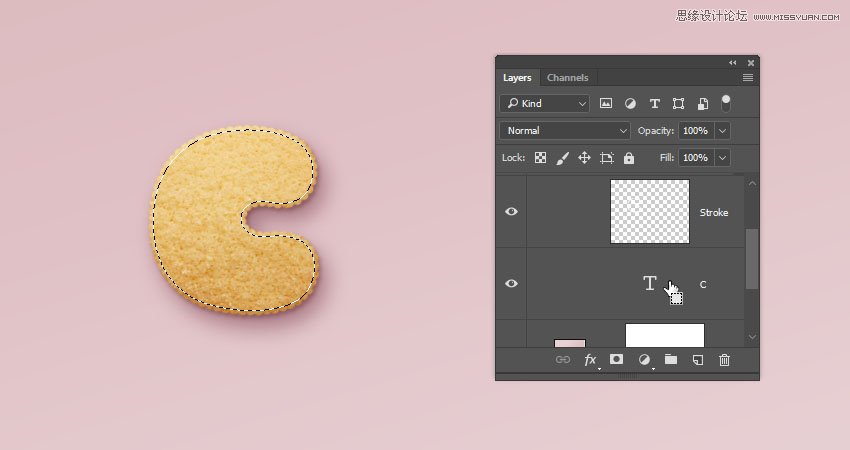
Command-click the text layer's thumbnail to create a selection.
Step 2
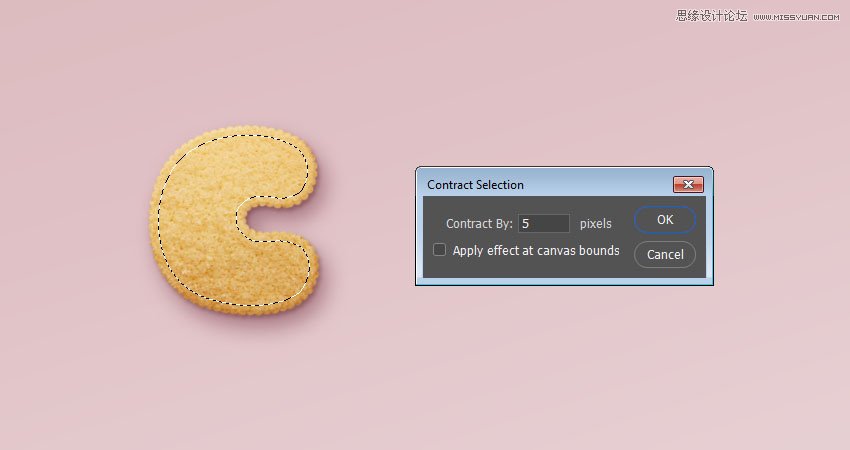
Go to Select > Modify > Contract, and change the Contract By value to 5.
Step 3
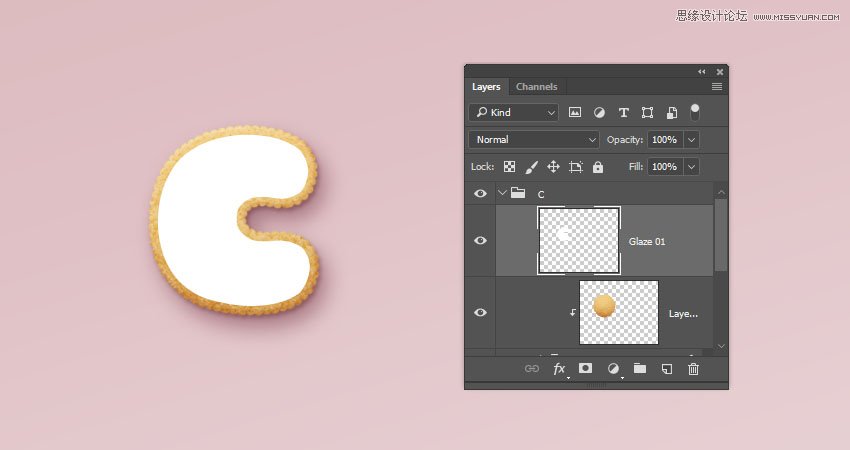
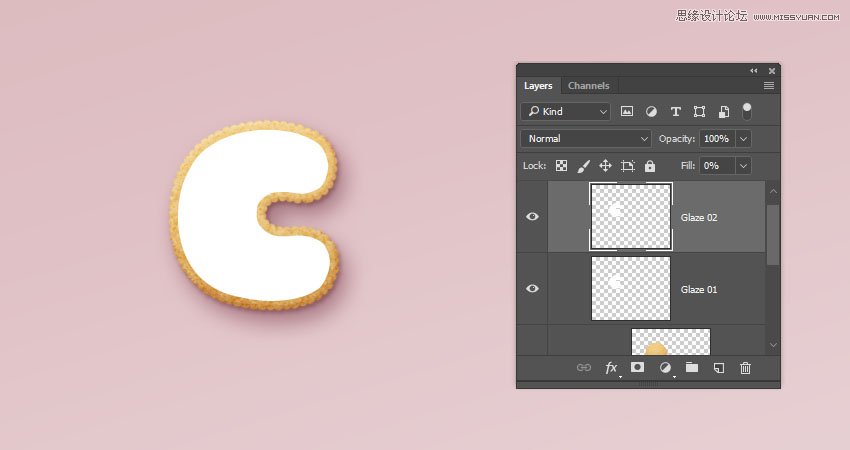
Create a new layer at the top of the letter's group and name it Glaze 01.
Fill the selection with White, and press Command-D to deselect.
Step 4
Duplicate the Glaze 01 layer and name the copy Glaze 02, and change the copy's Fill value to 0.
Step 5
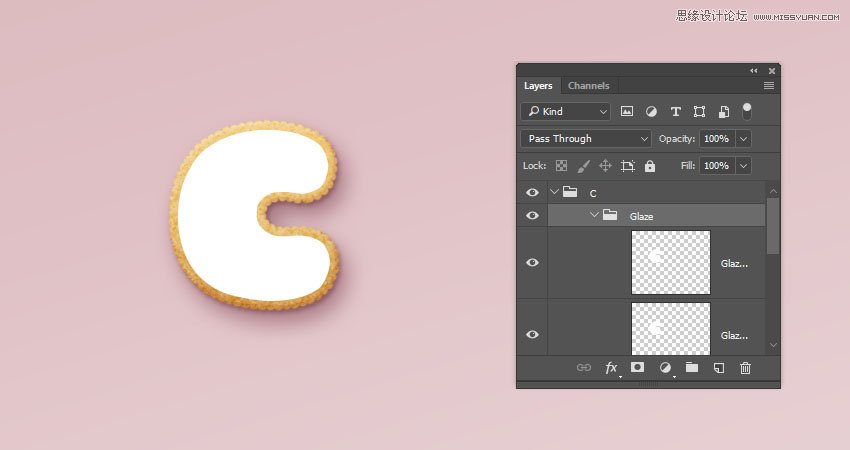
Place both glaze layers in a group and name it Glaze.
 情非得已
情非得已
-
 Photoshop制作复古风格的老照片效果【英】2018-04-23
-
 Photoshop合成长着创意大树的长颈鹿【英】2018-04-23
-
 Photoshop合成冰冻特效的金鱼场景【英】2018-02-10
-
 Photoshop合成梦幻风格的森林场景【英】2018-02-10
-
 Photoshop合成正在施法的巫师【英】2018-02-10
-
 Photoshop制作金属质感的3D立体字【英】2018-01-09
-
 Photoshop设计火焰燃烧艺术字教程【英】2018-01-09
-
 Photoshop制作复古风格的老照片效果【英】
相关文章11882018-04-23
-
 Photoshop合成长着创意大树的长颈鹿【英】
相关文章13832018-04-23
-
 Photoshop合成冰冻特效的金鱼场景【英】
相关文章34052018-02-10
-
 Photoshop制作黄金质感立体字【英】
相关文章7422018-02-10
-
 Photoshop制作惊艳大气的3D立体字
相关文章14682018-02-10
-
 Photoshop合成梦幻风格的森林场景【英】
相关文章24492018-02-10
-
 Photoshop合成正在施法的巫师【英】
相关文章8372018-02-10
-
 Photoshop制作复古双重曝光字体
相关文章6532018-01-09
