Photoshop制作时尚的网页按扭
文章来源于 ximumu.cn,感谢作者 夕木木 给我们带来经精彩的文章!设计教程/PS教程/其他教程2009-12-25
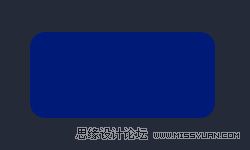
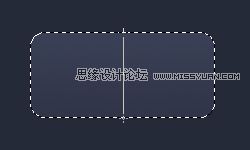
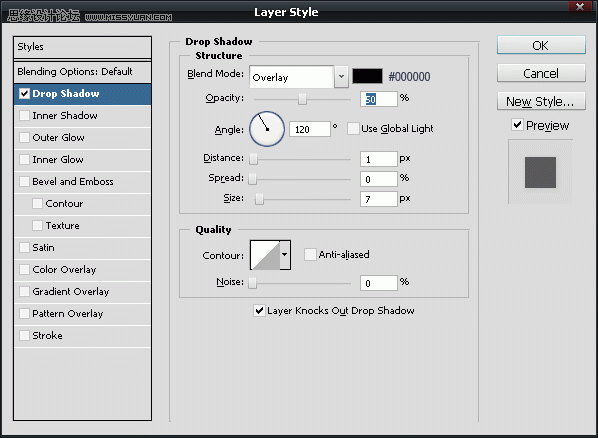
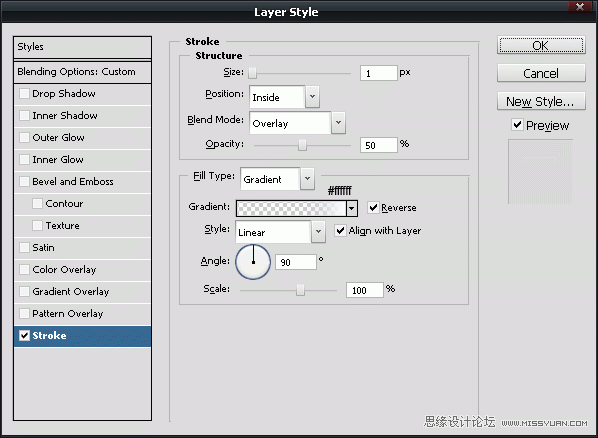
本教程主要用Photoshop制作一个立体质感的时尚按钮,银灰色的质感表现的非常完美,下面一起来为自己的网页设计一个漂亮的按钮吧.
 情非得已
情非得已
推荐文章
-
 Photoshop详解商业磨皮中如何提升照片质感2020-03-19
-
 直方图原理:实例解析PS直方图的应用2019-01-17
-
 工具原理:详解PS渐变映射的使用技巧2019-01-10
-
 Photoshop CC 2019 20.0中文版新功能介绍2018-10-24
-
 Photoshop详解ACR渐变滤镜在后期的妙用2018-09-29
-
 Photoshop通过调色实例解析直方图使用技巧2018-09-29
-
 Photoshop详细解析CameraRaw插件使用2018-03-29
-
 Photoshop解析新手必须知道的学习笔记2017-06-05
-
 Photoshop详细解析曲线工具的使用原理2017-02-08
-
 Photoshop详细解析钢笔工具的高级使用技巧2016-12-08
热门文章
-
 水印制作:用PS给照片添加水印效果
相关文章10292019-04-07
-
 毛笔字设计:详细解析毛笔字的制作方法
相关文章6332019-01-25
-
 Photoshop制作创意的几何图案填充图案
相关文章4062017-05-12
-
 Photoshop简单的制作创意的边框效果图
相关文章4932017-05-12
-
 Photoshop制作绚丽风格的特效光圈效果图
相关文章8052017-05-02
-
 Photoshop详解PPT制作必须懂的4个技巧
相关文章7812017-02-22
-
 Photoshop详细解析时尚大片后期修图技巧
相关文章7232017-02-08
-
 Photoshop制作像素画入门教程详解
相关文章5432016-12-20


