Photoshop鼠绘漂亮的芭比娃娃(2)
文章来源于 艺尚视觉,感谢作者 小棉袄 给我们带来经精彩的文章!设计教程/PS教程/鼠绘教程2010-06-07
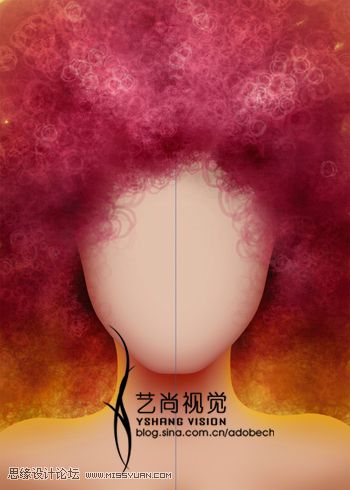
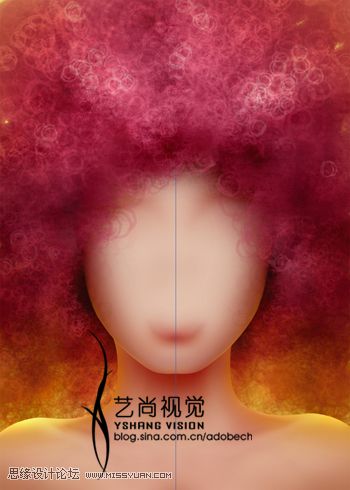
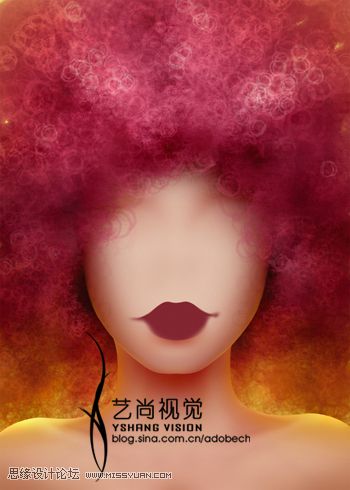
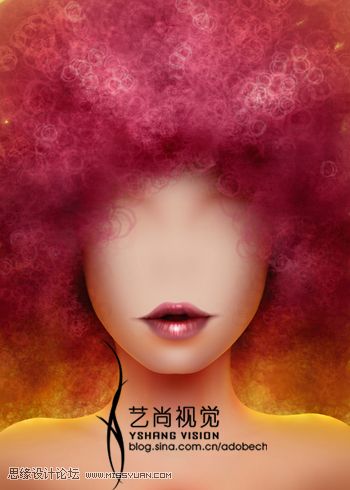
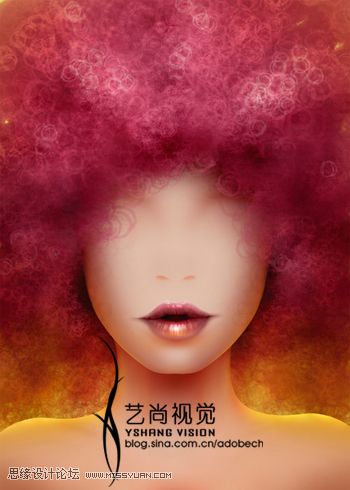
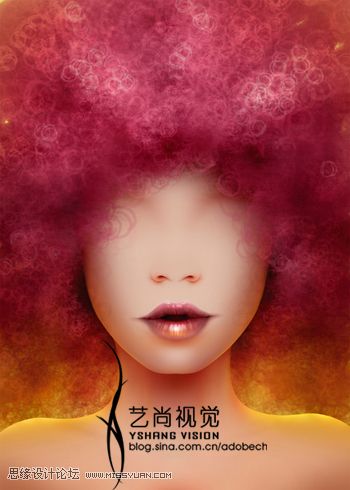
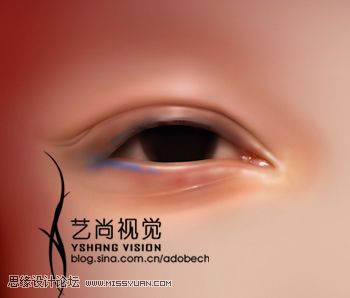
7\再新建图层,使用钢笔工具,将脸的轮廓和下半身绘制出来,使用淡淡红色填充,更改前景色稍深些(一次为深红色:脸的边缘,一次为黄色:颈部、肩),将路径转换为选区,使用软画笔在选区边缘上涂抹,如下图: 8\使用
 情非得已
情非得已
推荐文章
-
 Photoshop绘制磨砂风格的插画作品2021-03-16
-
 Photoshop结合AI制作扁平化滑轮少女插画2021-03-11
-
 Photoshop结合AI绘制扁平化风格的少女插画2020-03-13
-
 Photoshop结合AI绘制春字主题插画作品2020-03-13
-
 Photoshop绘制时尚大气的手机APP图标2020-03-12
-
 Photoshop绘制立体感十足的手机图标2020-03-12
-
 玻璃瓶绘画:PS绘制玻璃质感的魔法瓶2020-03-11
-
 像素工厂:用PS设计等距像素的工厂图标2019-03-20
-
 圣诞老人:使用PS绘制圣诞老人插画2019-02-21
-
 Lumix相机:PS绘制粉色的照相机教程2019-01-18
热门文章
-
Photoshop结合AI制作扁平化滑轮少女插画2021-03-11
-
Photoshop绘制磨砂风格的插画作品2021-03-16
-
 Photoshop绘制搞怪的胖子人像教程
相关文章6912020-09-26
Photoshop绘制搞怪的胖子人像教程
相关文章6912020-09-26
-
 Photoshop绘制晶莹剔透的水滴图标
相关文章6542018-07-28
Photoshop绘制晶莹剔透的水滴图标
相关文章6542018-07-28
-
 Photoshop合成创意的手掌双重曝光效果
相关文章13232018-03-15
Photoshop合成创意的手掌双重曝光效果
相关文章13232018-03-15
-
 Photoshop绘制毛茸茸的可爱小鸟教程
相关文章21092017-12-22
Photoshop绘制毛茸茸的可爱小鸟教程
相关文章21092017-12-22
-
 Photoshop结合AI制作2.5D风格插画
相关文章8612017-12-08
Photoshop结合AI制作2.5D风格插画
相关文章8612017-12-08
-
 Photoshop绘制创意的绿色花朵效果图
相关文章6402017-10-23
Photoshop绘制创意的绿色花朵效果图
相关文章6402017-10-23
-
 Photoshop绘制半透明形态的椭圆形玻璃气泡
相关文章11742017-10-17
Photoshop绘制半透明形态的椭圆形玻璃气泡
相关文章11742017-10-17
-
 Photoshop绘制立体风格的透明塑料袋图标
相关文章7092017-10-15
Photoshop绘制立体风格的透明塑料袋图标
相关文章7092017-10-15
