Photoshop鼠绘教程:绘制逼真的单反相机(4)
文章来源于 ICONFNAS,感谢作者 ysheen 给我们带来经精彩的文章!设计教程/PS教程/鼠绘教程2010-09-28
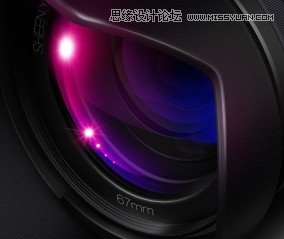
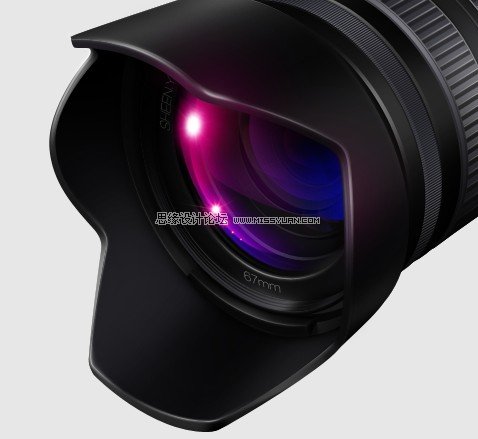
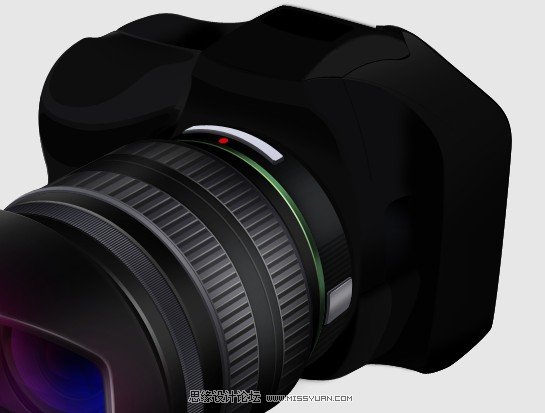
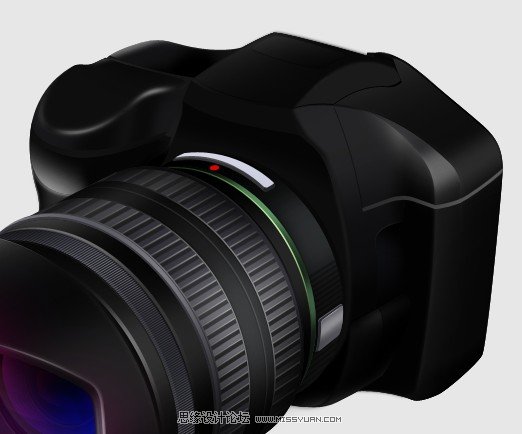
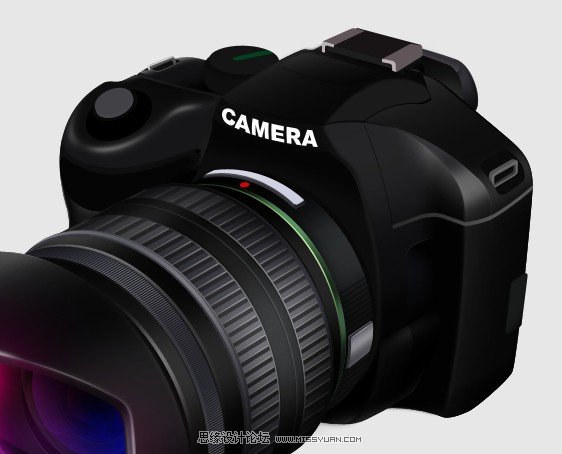
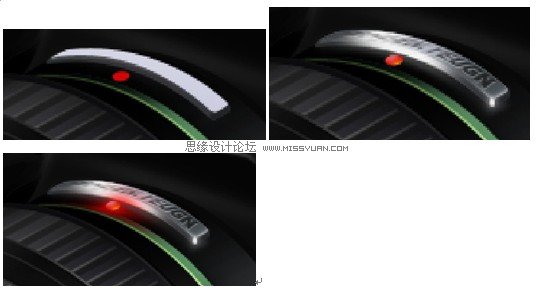
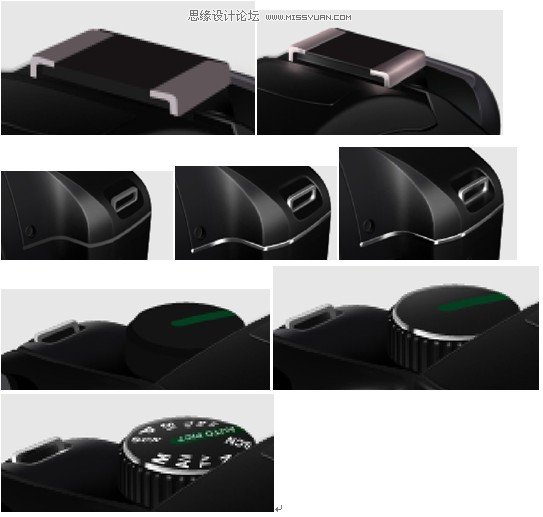
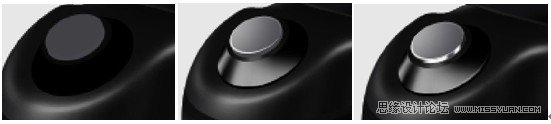
我去掉了弧状镜头反光的干扰,给大家看看里面的块状色彩是如何的。 添加高光区。 为了让紫色反光的感觉更加柔和,有必要在镜头壳上加上些许紫色的反光。 镜头的制作基本上就完成了。接下来是机身。 为机身制作出更


 情非得已
情非得已
推荐文章
-
 Photoshop绘制磨砂风格的插画作品2021-03-16
-
 Photoshop结合AI制作扁平化滑轮少女插画2021-03-11
-
 Photoshop结合AI绘制扁平化风格的少女插画2020-03-13
-
 Photoshop结合AI绘制春字主题插画作品2020-03-13
-
 Photoshop绘制时尚大气的手机APP图标2020-03-12
-
 Photoshop绘制立体感十足的手机图标2020-03-12
-
 玻璃瓶绘画:PS绘制玻璃质感的魔法瓶2020-03-11
-
 像素工厂:用PS设计等距像素的工厂图标2019-03-20
-
 圣诞老人:使用PS绘制圣诞老人插画2019-02-21
-
 Lumix相机:PS绘制粉色的照相机教程2019-01-18
热门文章
-
Photoshop结合AI制作扁平化滑轮少女插画2021-03-11
-
Photoshop绘制磨砂风格的插画作品2021-03-16
-
Lumix相机:PS绘制粉色的照相机教程
相关文章23452019-01-18
-
 蝴蝶结绘画:PS绘制逼真的蝴蝶结图标
相关文章7222019-01-07
蝴蝶结绘画:PS绘制逼真的蝴蝶结图标
相关文章7222019-01-07
-
 商业插画:PS绘制逼真的DC海王插画
相关文章8962018-12-20
商业插画:PS绘制逼真的DC海王插画
相关文章8962018-12-20
-
 Photoshop绘制立体逼真的拟物仪表盘图标
相关文章19312018-11-03
Photoshop绘制立体逼真的拟物仪表盘图标
相关文章19312018-11-03
-
 Photoshop绘制卡通风格的照相机图标
相关文章3742018-10-24
Photoshop绘制卡通风格的照相机图标
相关文章3742018-10-24
-
 Photoshop绘制逼真的超凡蜘蛛侠教程
相关文章11872018-09-17
Photoshop绘制逼真的超凡蜘蛛侠教程
相关文章11872018-09-17
-
 Photoshop绘制逼真的游戏宝箱图标
相关文章4902018-09-12
Photoshop绘制逼真的游戏宝箱图标
相关文章4902018-09-12
-
 Photoshop鼠绘逼真的音响图标教程
相关文章8722018-09-03
Photoshop鼠绘逼真的音响图标教程
相关文章8722018-09-03
