Photoshop鼠绘精细的黑白古典人物插画(2)
文章来源于 友基科技,感谢作者 新野 给我们带来经精彩的文章!设计教程/PS教程/鼠绘教程2011-07-12
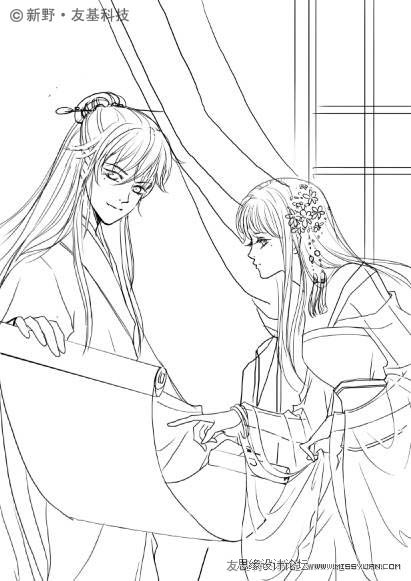
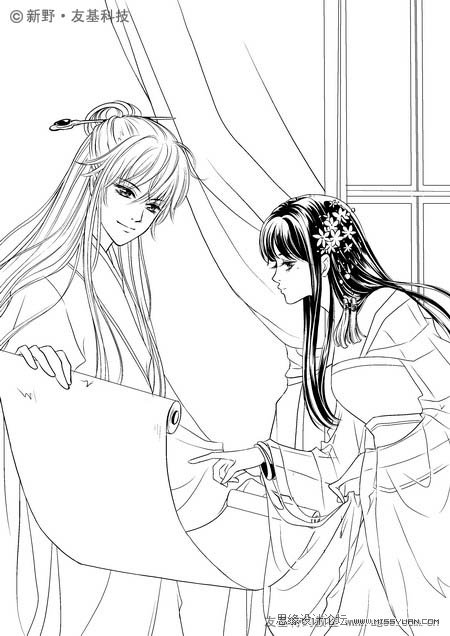
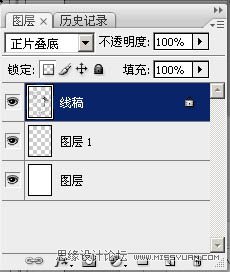
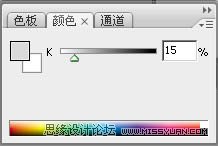
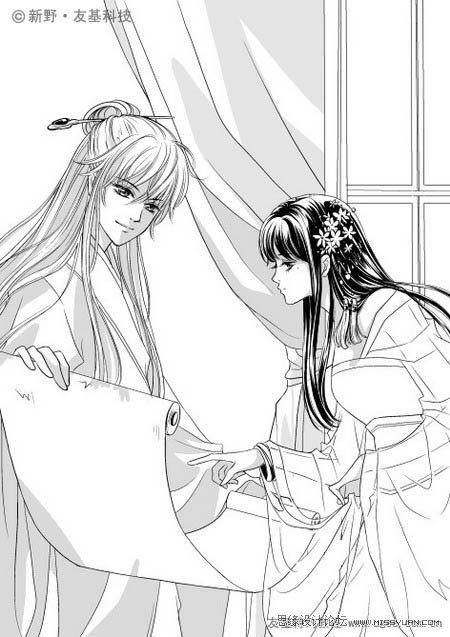
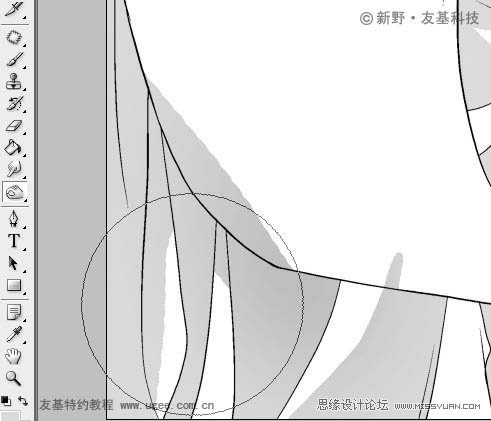
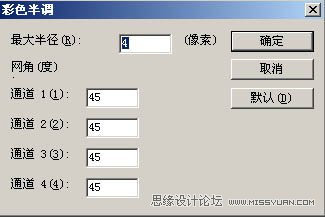
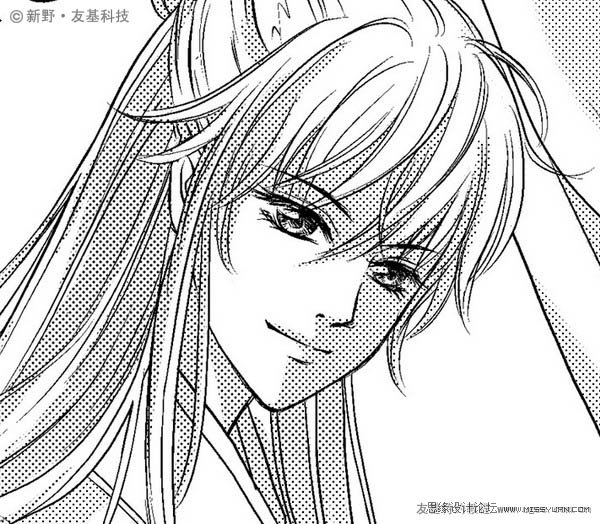
5、这样草稿就画好了,看一下整体效果。 6、给编辑看过草稿没问题后就可以开始描线了。描线要结合压感笔的压感来表现线条的粗细变化,并画出眼睛和黑头发。 7、在ps中打开线稿,图像模式改为灰度,图层模式改为正片
 情非得已
情非得已
推荐文章
-
 Photoshop绘制磨砂风格的插画作品2021-03-16
-
 Photoshop结合AI制作扁平化滑轮少女插画2021-03-11
-
 Photoshop结合AI绘制扁平化风格的少女插画2020-03-13
-
 Photoshop结合AI绘制春字主题插画作品2020-03-13
-
 Photoshop绘制时尚大气的手机APP图标2020-03-12
-
 Photoshop绘制立体感十足的手机图标2020-03-12
-
 玻璃瓶绘画:PS绘制玻璃质感的魔法瓶2020-03-11
-
 像素工厂:用PS设计等距像素的工厂图标2019-03-20
-
 圣诞老人:使用PS绘制圣诞老人插画2019-02-21
-
 Lumix相机:PS绘制粉色的照相机教程2019-01-18
热门文章
-
 Photoshop结合AI制作扁平化滑轮少女插画2021-03-11
-
 Photoshop绘制磨砂风格的插画作品2021-03-16
-
 Photoshop绘制磨砂风格的插画作品
相关文章1702021-03-16
-
 Photoshop结合AI制作扁平化滑轮少女插画
相关文章2032021-03-11
-
 Photoshop结合AI绘制扁平化风格的少女插画
相关文章7992020-03-13
-
 Photoshop结合AI绘制春字主题插画作品
相关文章4762020-03-13
-
 插画教程:用PS绘制扁平化风格的插画
相关文章5062019-03-15
-
 渐变插画:使用PSPS绘制渐变风格插画
相关文章4872019-02-28
-
 2.5D插画:用PS制作2.5D风格拖线板
相关文章13512019-02-28
-
 圣诞老人:使用PS绘制圣诞老人插画
相关文章8732019-02-21
