Photoshop路径工具制作漂亮的红色火焰(3)
文章来源于 PS联盟,感谢作者 Sener 给我们带来经精彩的文章!设计教程/PS教程/鼠绘教程2011-10-03
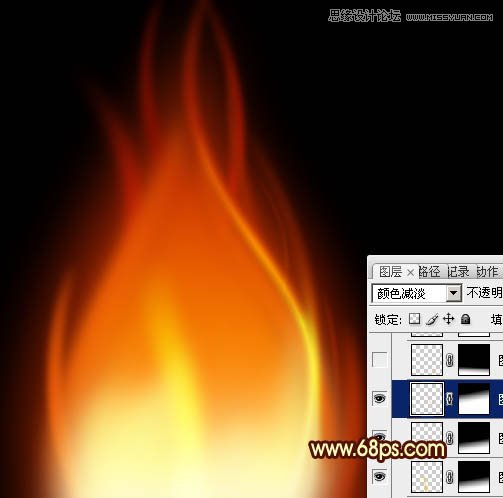
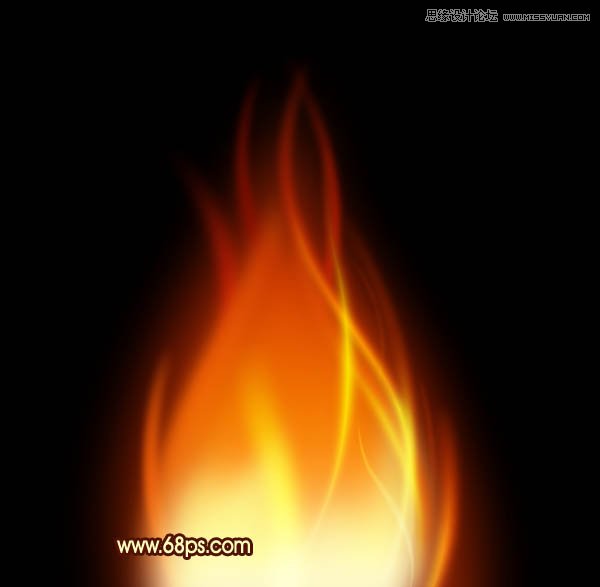
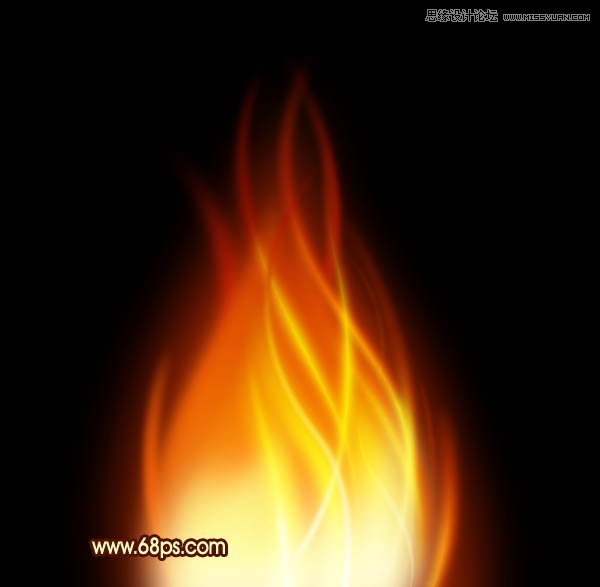
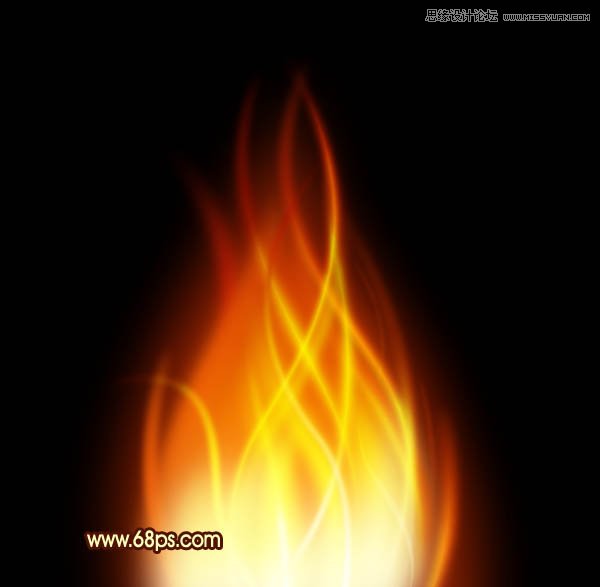
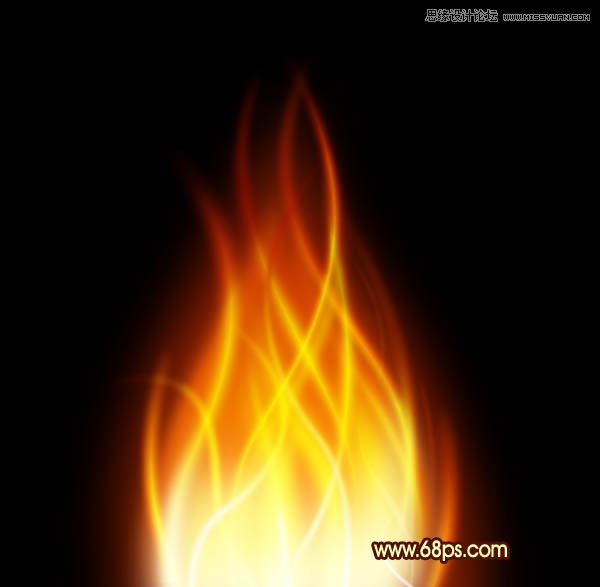
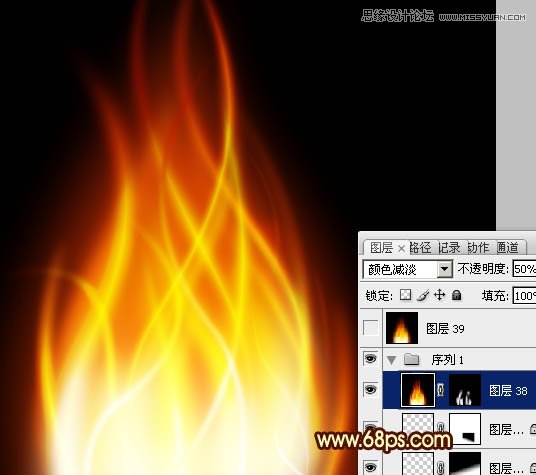
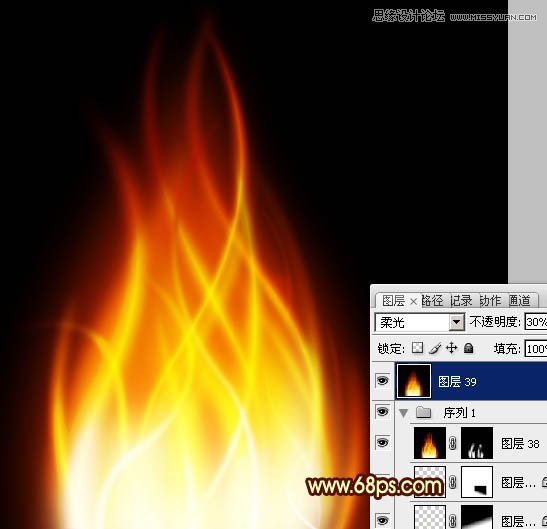
9、新建一个图层,同上方法制作其它高光曲线,过程如图17 - 21。 10、新建一个图层,按Ctrl + Alt + Shift + E 盖印图层。混合模式改为颜色减淡,不透明度改为:50%,按住ALt键添加图层蒙版,用白色画笔把需要加强

 情非得已
情非得已
推荐文章
-
 Photoshop绘制磨砂风格的插画作品2021-03-16
-
 Photoshop结合AI制作扁平化滑轮少女插画2021-03-11
-
 Photoshop结合AI绘制扁平化风格的少女插画2020-03-13
-
 Photoshop结合AI绘制春字主题插画作品2020-03-13
-
 Photoshop绘制时尚大气的手机APP图标2020-03-12
-
 Photoshop绘制立体感十足的手机图标2020-03-12
-
 玻璃瓶绘画:PS绘制玻璃质感的魔法瓶2020-03-11
-
 像素工厂:用PS设计等距像素的工厂图标2019-03-20
-
 圣诞老人:使用PS绘制圣诞老人插画2019-02-21
-
 Lumix相机:PS绘制粉色的照相机教程2019-01-18
热门文章
-
Photoshop结合AI制作扁平化滑轮少女插画2021-03-11
-
Photoshop绘制磨砂风格的插画作品2021-03-16
-
Photoshop结合AI制作扁平化滑轮少女插画
相关文章2032021-03-11
-
 绘制铁块:用PS制作金属材质的铁块
相关文章10292019-02-28
绘制铁块:用PS制作金属材质的铁块
相关文章10292019-02-28
-
 2.5D插画:用PS制作2.5D风格拖线板
相关文章13512019-02-28
2.5D插画:用PS制作2.5D风格拖线板
相关文章13512019-02-28
-
 建筑插画:PS结合AE制作摩天轮插画
相关文章5722019-01-17
建筑插画:PS结合AE制作摩天轮插画
相关文章5722019-01-17
-
 小黄人图标:PS绘制小黄人拟物图标
相关文章17502019-01-14
小黄人图标:PS绘制小黄人拟物图标
相关文章17502019-01-14
-
 汽车插画:PS制作复古风格的汽车插画
相关文章6342019-01-14
汽车插画:PS制作复古风格的汽车插画
相关文章6342019-01-14
-
 Photoshop结合AI制作卡式播放器图表
相关文章7922018-09-07
Photoshop结合AI制作卡式播放器图表
相关文章7922018-09-07
-
 Photoshop绘制逼真的汽车仪表盘教程
相关文章12252018-08-16
Photoshop绘制逼真的汽车仪表盘教程
相关文章12252018-08-16
