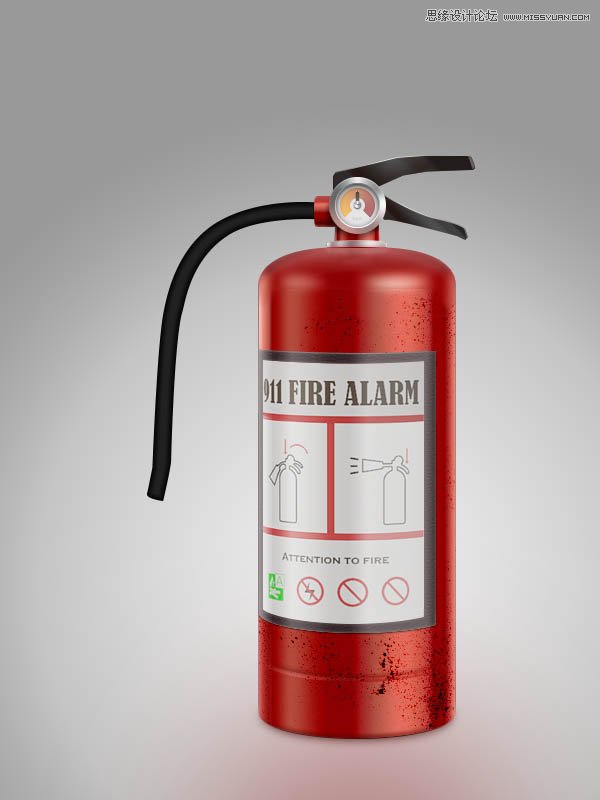
Photoshop绘制逼真的灭火器教程(2)
文章来源于 站酷,感谢作者 Nkfm3a 给我们带来经精彩的文章!设计教程/PS教程/鼠绘教程2013-07-02
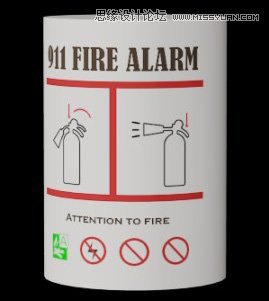
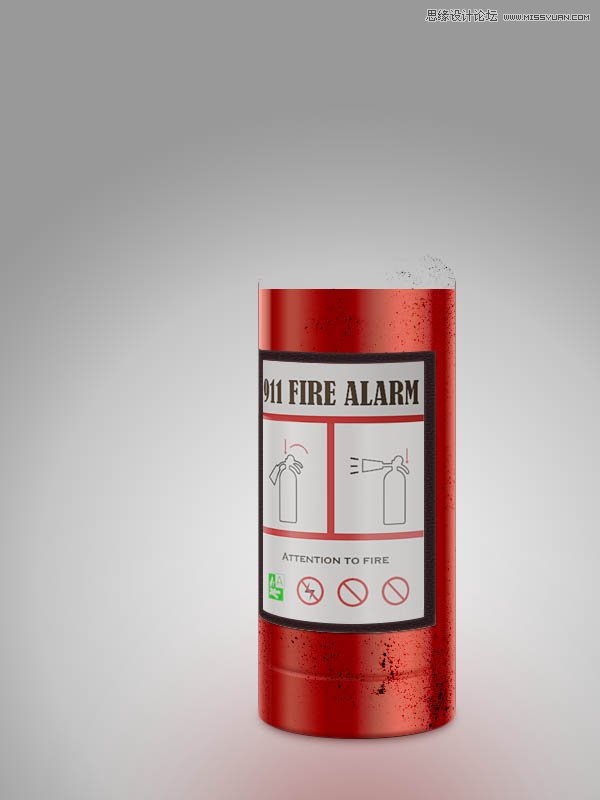
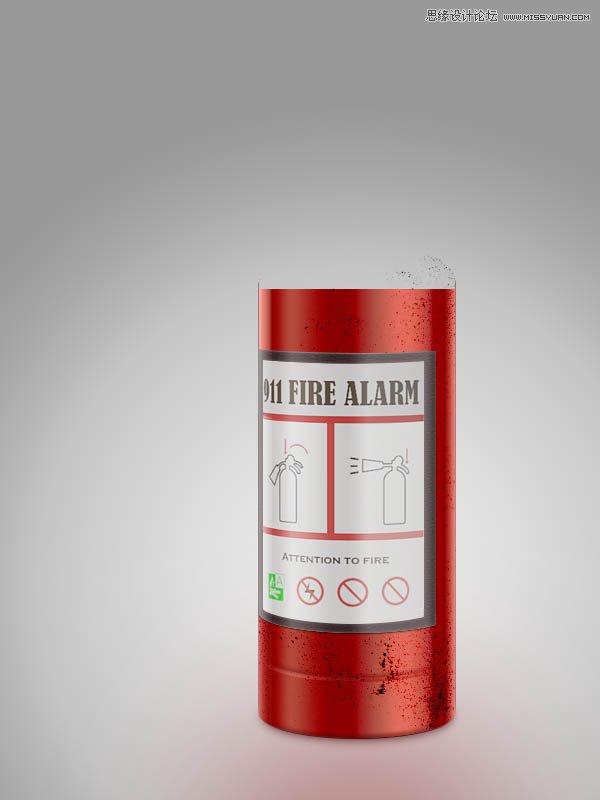
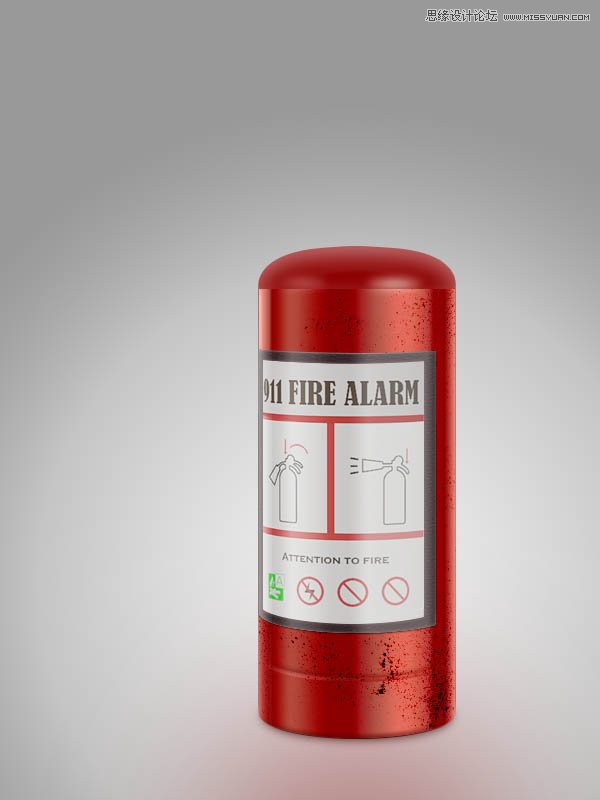
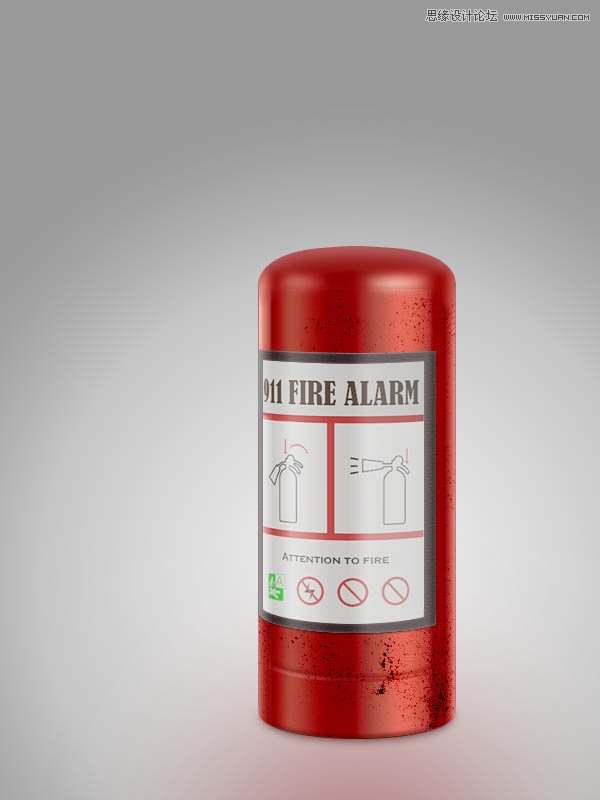
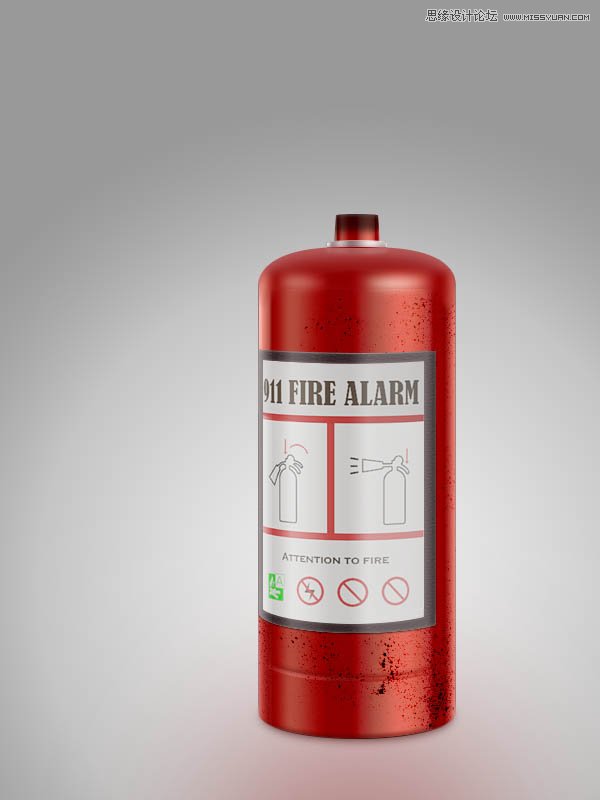
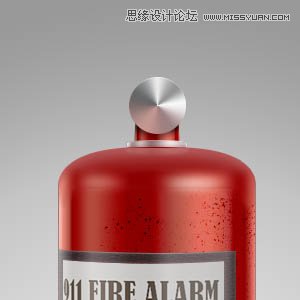
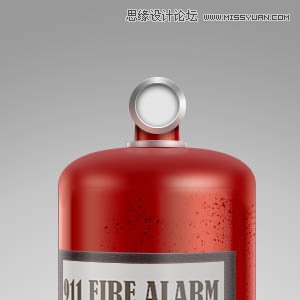
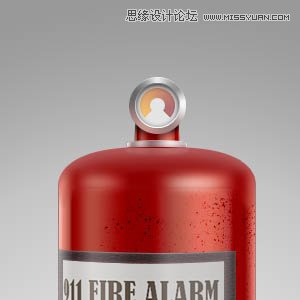
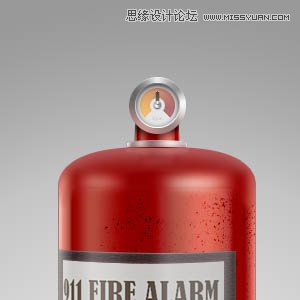
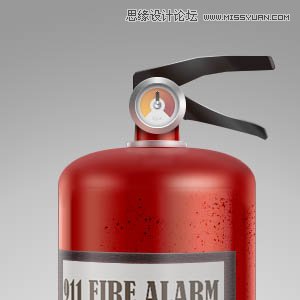
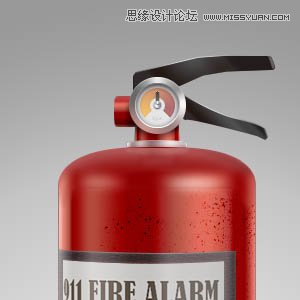
7、将渲染图贴上,调整、光线方向统一、加边框并混合一些噪点接近纸质感。 8、调整完善。 9、添加顶盖,并正好形成额接缝与视平线平行。高光和过渡要体现金属反光的整体性。 10、完善调整后的瓶体。 11、添加钢瓶瓶
 情非得已
情非得已
推荐文章
-
 Photoshop绘制磨砂风格的插画作品2021-03-16
-
 Photoshop结合AI制作扁平化滑轮少女插画2021-03-11
-
 Photoshop结合AI绘制扁平化风格的少女插画2020-03-13
-
 Photoshop结合AI绘制春字主题插画作品2020-03-13
-
 Photoshop绘制时尚大气的手机APP图标2020-03-12
-
 Photoshop绘制立体感十足的手机图标2020-03-12
-
 玻璃瓶绘画:PS绘制玻璃质感的魔法瓶2020-03-11
-
 像素工厂:用PS设计等距像素的工厂图标2019-03-20
-
 圣诞老人:使用PS绘制圣诞老人插画2019-02-21
-
 Lumix相机:PS绘制粉色的照相机教程2019-01-18
热门文章
-
 Photoshop结合AI制作扁平化滑轮少女插画2021-03-11
-
 Photoshop绘制磨砂风格的插画作品2021-03-16
-
 Photoshop绘制磨砂风格的插画作品
相关文章1702021-03-16
-
 Photoshop结合AI制作扁平化滑轮少女插画
相关文章2032021-03-11
-
 Photoshop绘制搞怪的胖子人像教程
相关文章6912020-09-26
-
 Photoshop绘制立体风格的序章图标
相关文章8612020-04-01
-
 Photoshop结合AI绘制扁平化风格的少女插画
相关文章7992020-03-13
-
 Photoshop结合AI绘制春字主题插画作品
相关文章4762020-03-13
-
 Photoshop绘制时尚大气的手机APP图标
相关文章19852020-03-12
-
 Photoshop绘制立体感十足的手机图标
相关文章6362020-03-12
